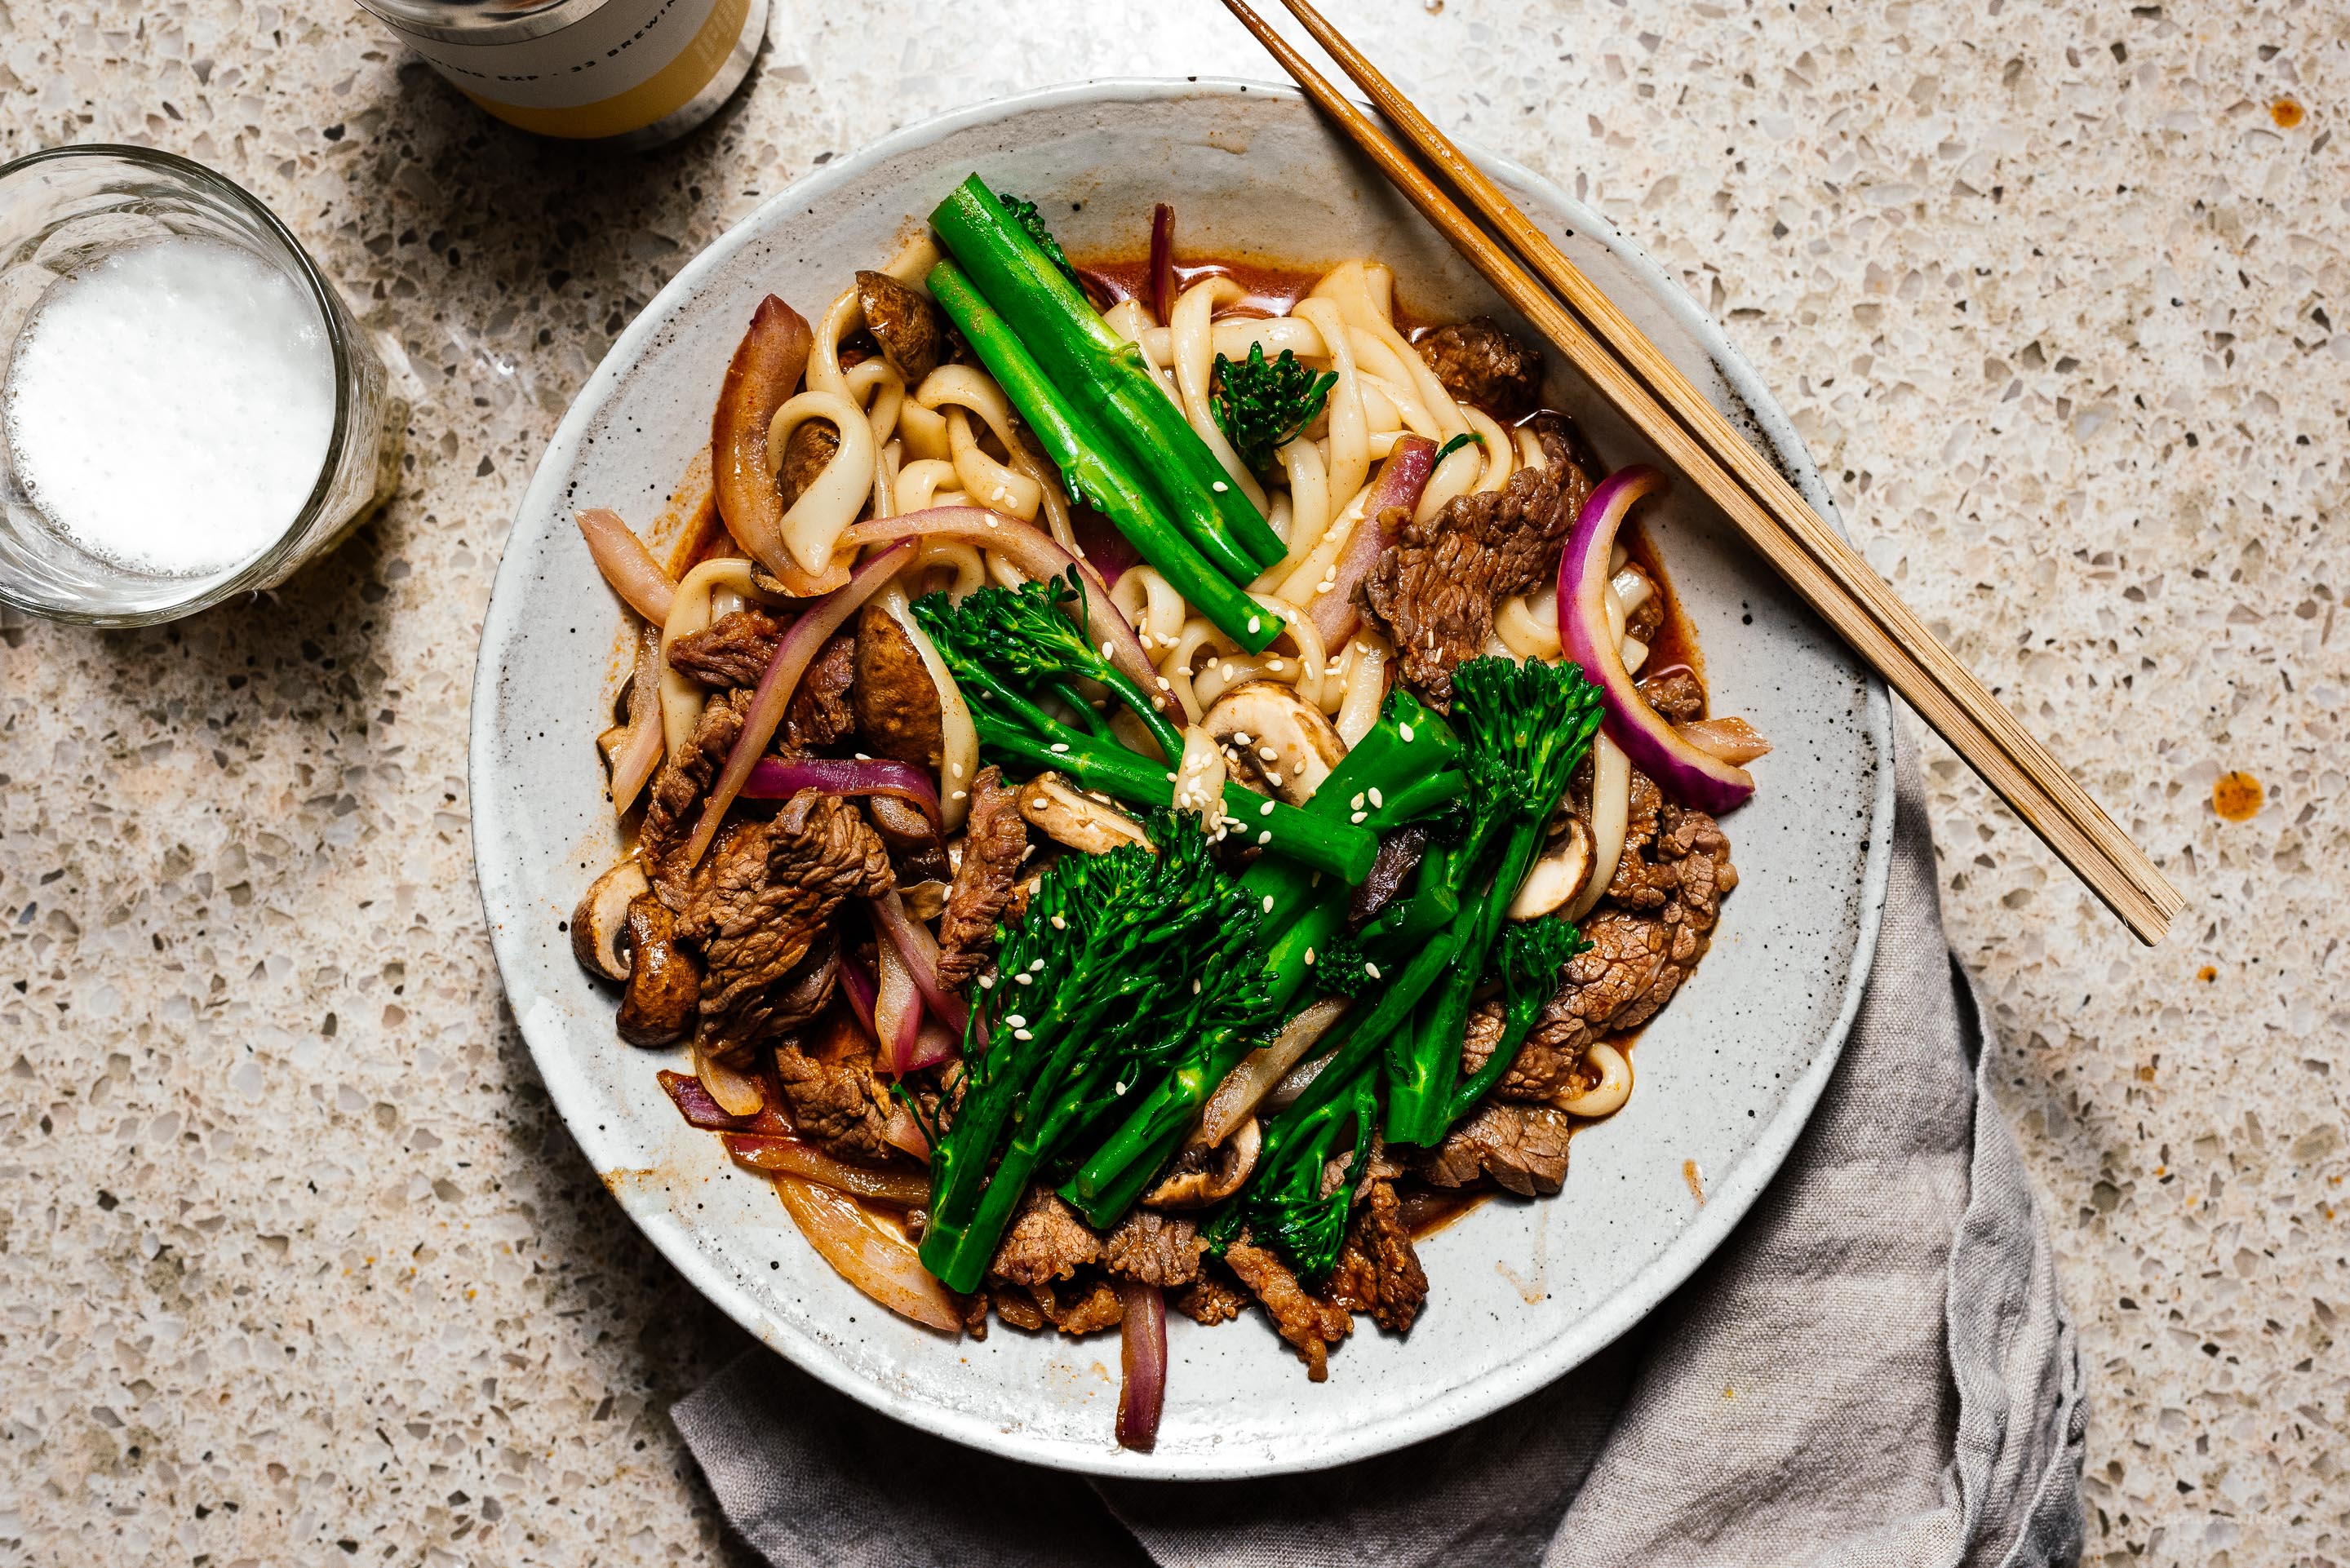
I Am... The ultimate 10 minute spicy beef weeknight stir fry udon
This is an incredibly tasty weeknight stir fried udon based on classic Japanese spicy beef that comes together easily and quickly with only 8 ingredients. It’s spicy and savory with a great mix of textures - the suppleness of the udon, the chew of the beef, and the crunch of properly cooked vegetables - that just explode in your mouth. I originally made this dish only to shoot for this blog post; we planned on saving it and having something else for dinner, but we couldn’t stop ourselves from finishing it. Our real dinner sat languishing aside, wishing it was this udon. It was so good we both decided it's going into our weekly rotation. Cooking Notes This is not one of those fake 10 minute dishes, but there are caveats. Namely, if you have time to cut your own cut of beef and marinate for 20-30 minutes, it would be a lot better. To do it in 10 minutes requires you to buy presliced beef and vegetables, which is still very tasty and way less work. If you were to go the 10 minute route, it would look like this: 1. T-10 minutes: whisk together the marinade ingredients in a bowl and add your beef 2. T-9 minutes: fill a bowl with hot water and soak udon 3. T-8 minutes: roughly halve an onion, then slice one half into 6 slices, open package of presliced mushrooms and prewashed broccolini, and slice the broccolini in half 4. T-7 minutes: preheat your pan 5. T-6 minutes: add beef 6. T-5 minutes: add vegetables 7. T-3 minutes: add udon and marinade 8. T-1 minute: plate, garnish, open a beer 9. T-0: blast off! Ingredient Notes The marinade ingredients are all available in the Asian aisle of any medium sized grocery store today. Buy cooking sake, not drinking sake. Also, buy Japanese soy sauce (kikkoman, yamasa, etc) if you can. If you can't find mirin, skip it and add 2 tablespoons of sake and 1 teaspoon more sugar, but it’s better to have mirin. These three ingredients form the base of a lot of Japanese cooking, so they won’t be collecting dust on your shelf once you have them (not that Dinner & Chill would ever ask you to buy single use ingredients). Gochujang typically comes in a red tub with Korean writing; the green and brown tubs are other pastes. These days, it also comes in a squeeze bottle, but I've never tried the squeeze bottle. You can buy presliced beef, typically labeled “stir fry beef”, or buy a cheap cut of whatever you like and slice it yourself, it’s not that much extra work if you have a good knife (it sucks if you have a bad knife though). I like brisket: it’s cheap and if you slice it thin, it has a good chew without being tough when you stir fry. You can also replace the beef with for pork, chicken, or tofu with no issues. Whatever you buy, if you can marinate for 30 minutes or more, it’ll taste 30x better (or more). The vegetables are your choice, but in this recipe I use 4 ounces each of crimini mushrooms and broccolini and 1/2 a red onion. Finally, unless you live in Japan and have access to freshly made udon, the best udon you can buy comes frozen, ideally with no english at all on it. If you can’t find that, try the shelf stable plastic bags labeled nama udon. Finally, as a last resort, use dried udon from amazon. What do you need? A large nonstick skillet and 2 medium-large bowls.
The best 10 minute spicy beef weeknight stir fry udon recipe Serves 21. Make a marinade by combining sake, mirin, soy sauce, sugar, and gochujang in a large bowl. 2. Slice your beef if you are not using a presliced cut and add to the marinade. 3. Fill a large bowl with hot tap water and soak the udon. 4. Prepare your vegetables of choice. 5. In a nonstick pan or wok, preheat a small amount of oil over medium-high heat. Using a pair of tongs or chopsticks, remove the beef from the marinade and add to the pan. Set aside the marinade and stir fry your beef for 1-2 minutes, then add vegetables and fry until the vegetables are very lightly cooked. 6. Drain and add the udon and reserved marinade. Toss well and bring the marinade to a boil, then fry for 1-2 more minutes, or until udon is warmed through. 7. Enjoy!
- 2 tablespoons soy sauce
- 2 tablespoons mirin
- 2 tablespoons sake
- 1 tablespoon sugar
- 1-2 tablespoons gochujang (dependent on spice preference)
- 8oz beef, thinly sliced
- vegetables of choice (see note above)
- 2 bricks udon
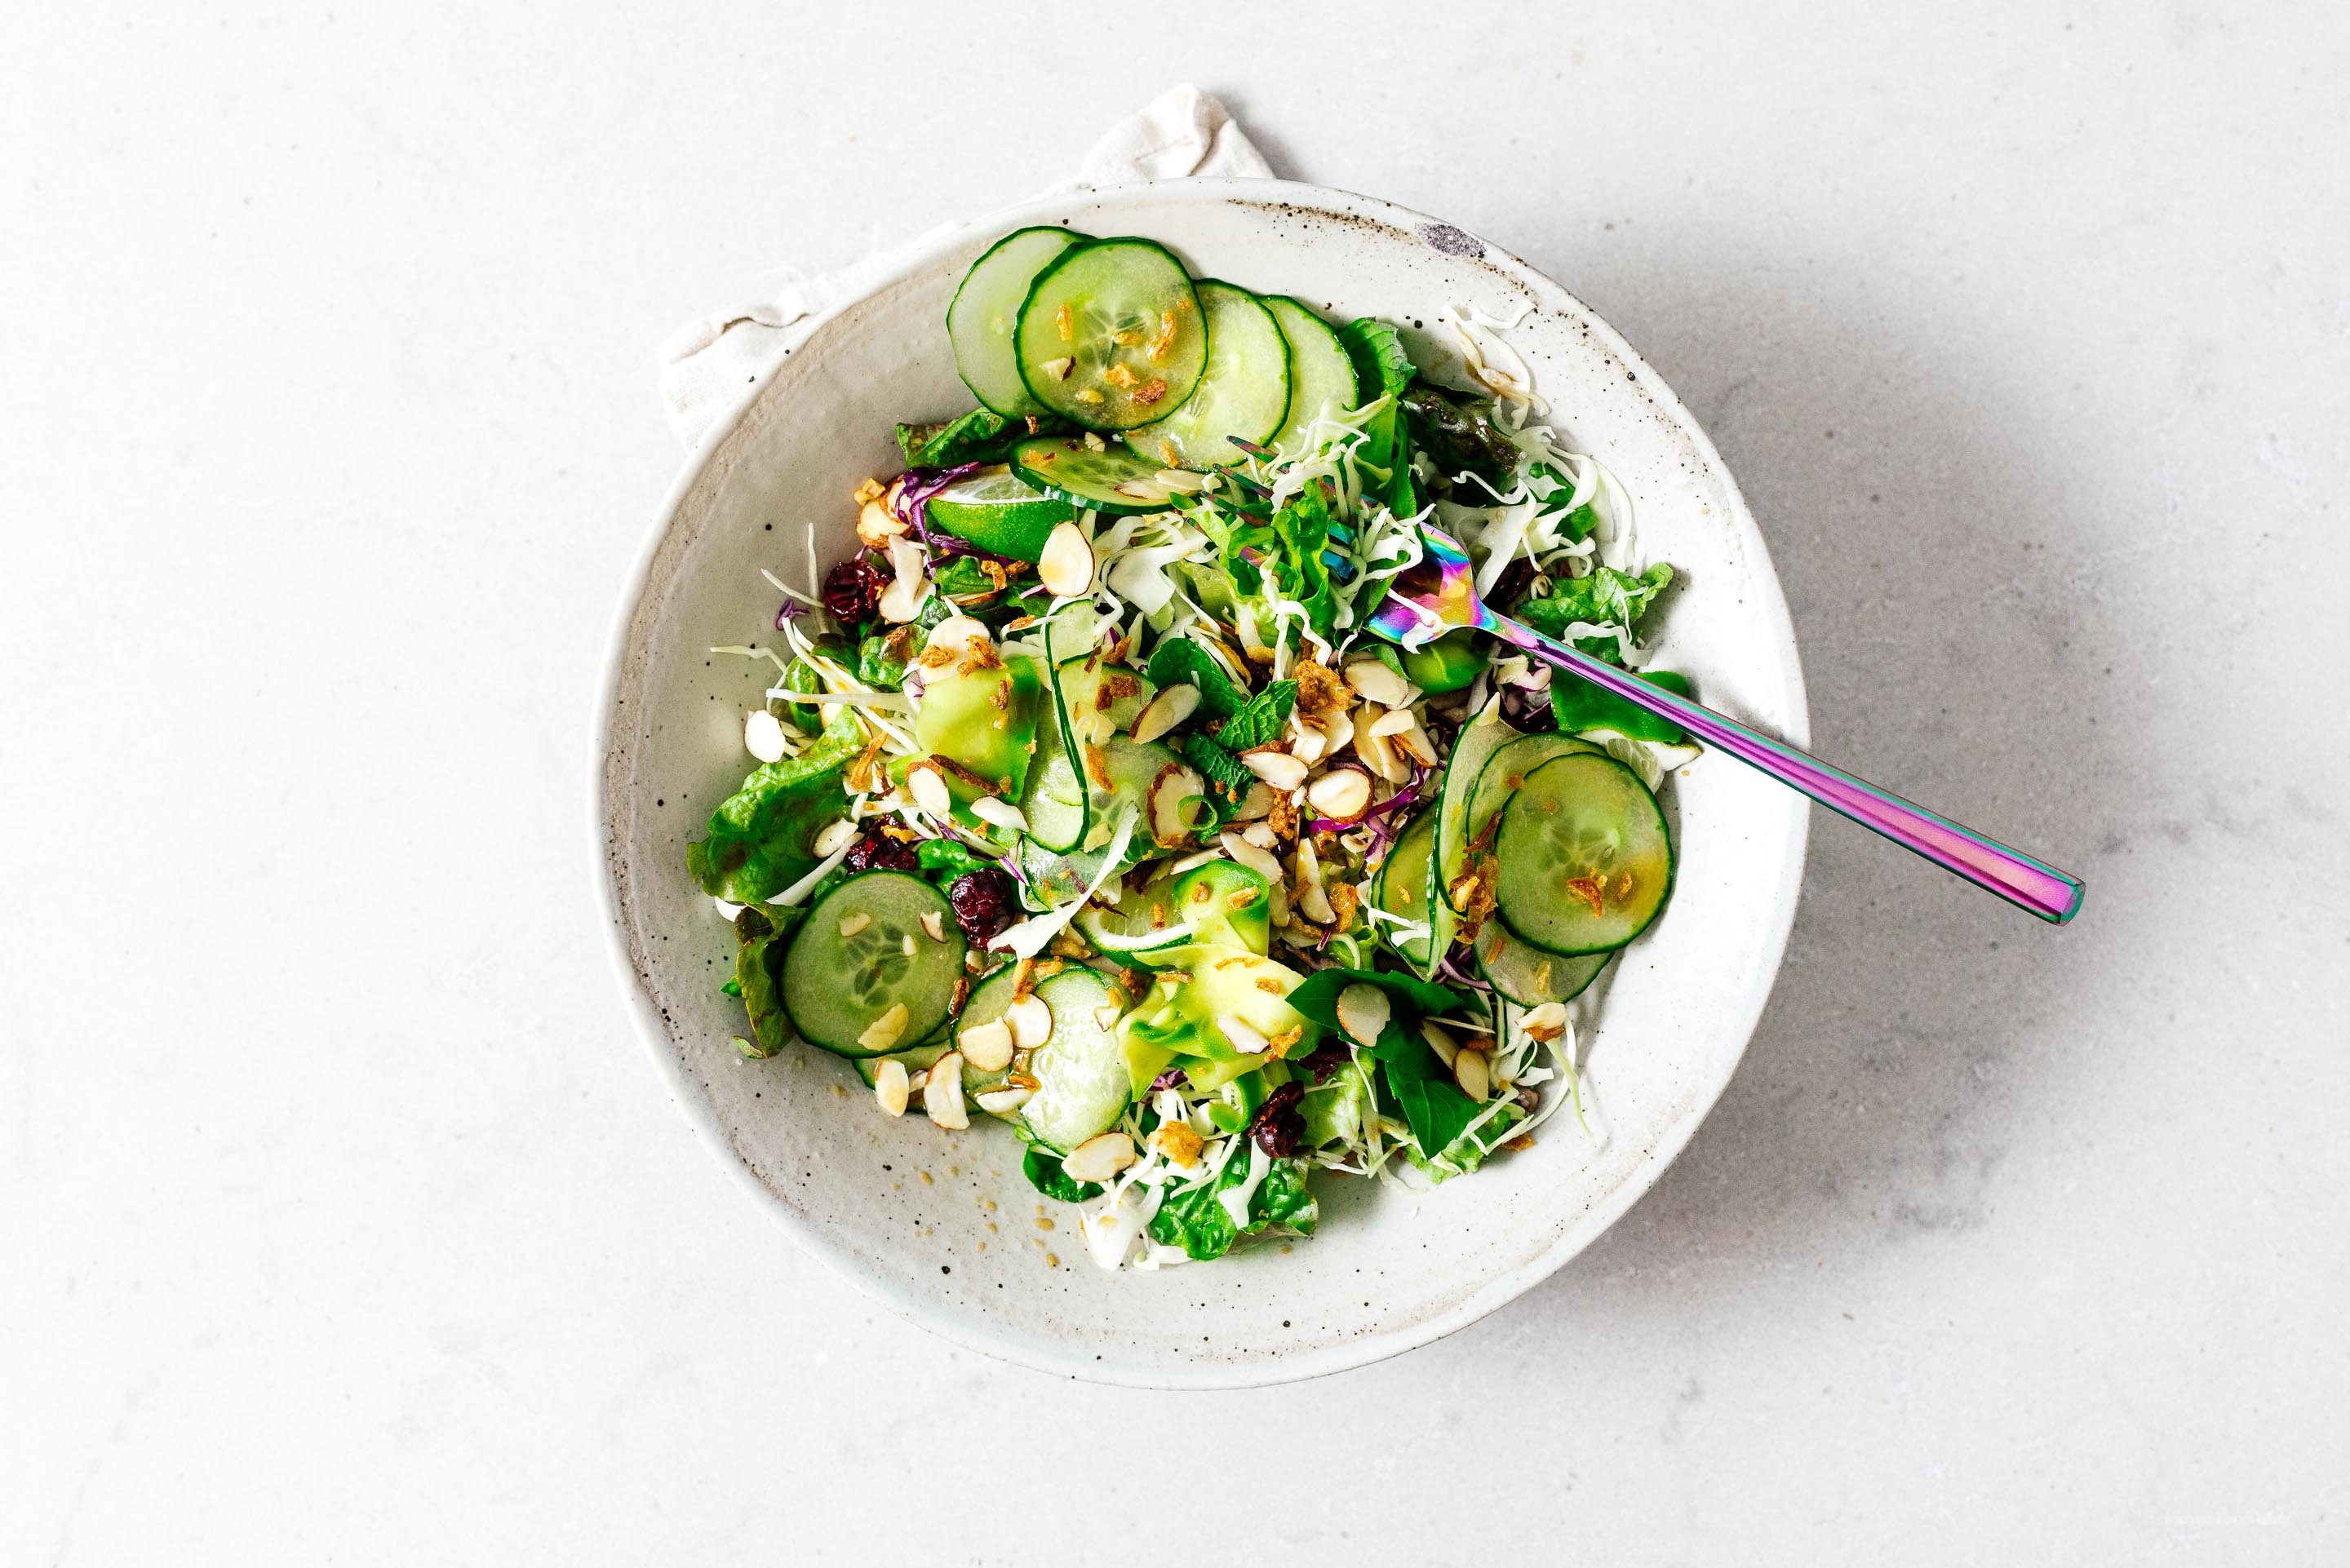
I Am... How to Make That Awesome Salad Dressing You Have at Every Japanese Restaurant: Wafu Japanese Salad Dressing
If you’ve ever had a salad in a Japanese restaurant or had a Japanese bento, you’ve probably wondered, “how the heck do they make salad taste so good?” The answer is wafu. Wafu means Japanese style, so wafu dressing is Japanese style salad dressing made from rice vinegar, soy, and oil.
Read More →
I Am... Easy Healthier Weeknight Baked Pork Meatballs Recipe
If you’re looking for a weeknight meatball, this is it: no chopping, one bowl, baked meatballs! They’re perfect because you can mix them up, pop them in the oven and skip out on standing next to the stove to sauté.
Read More →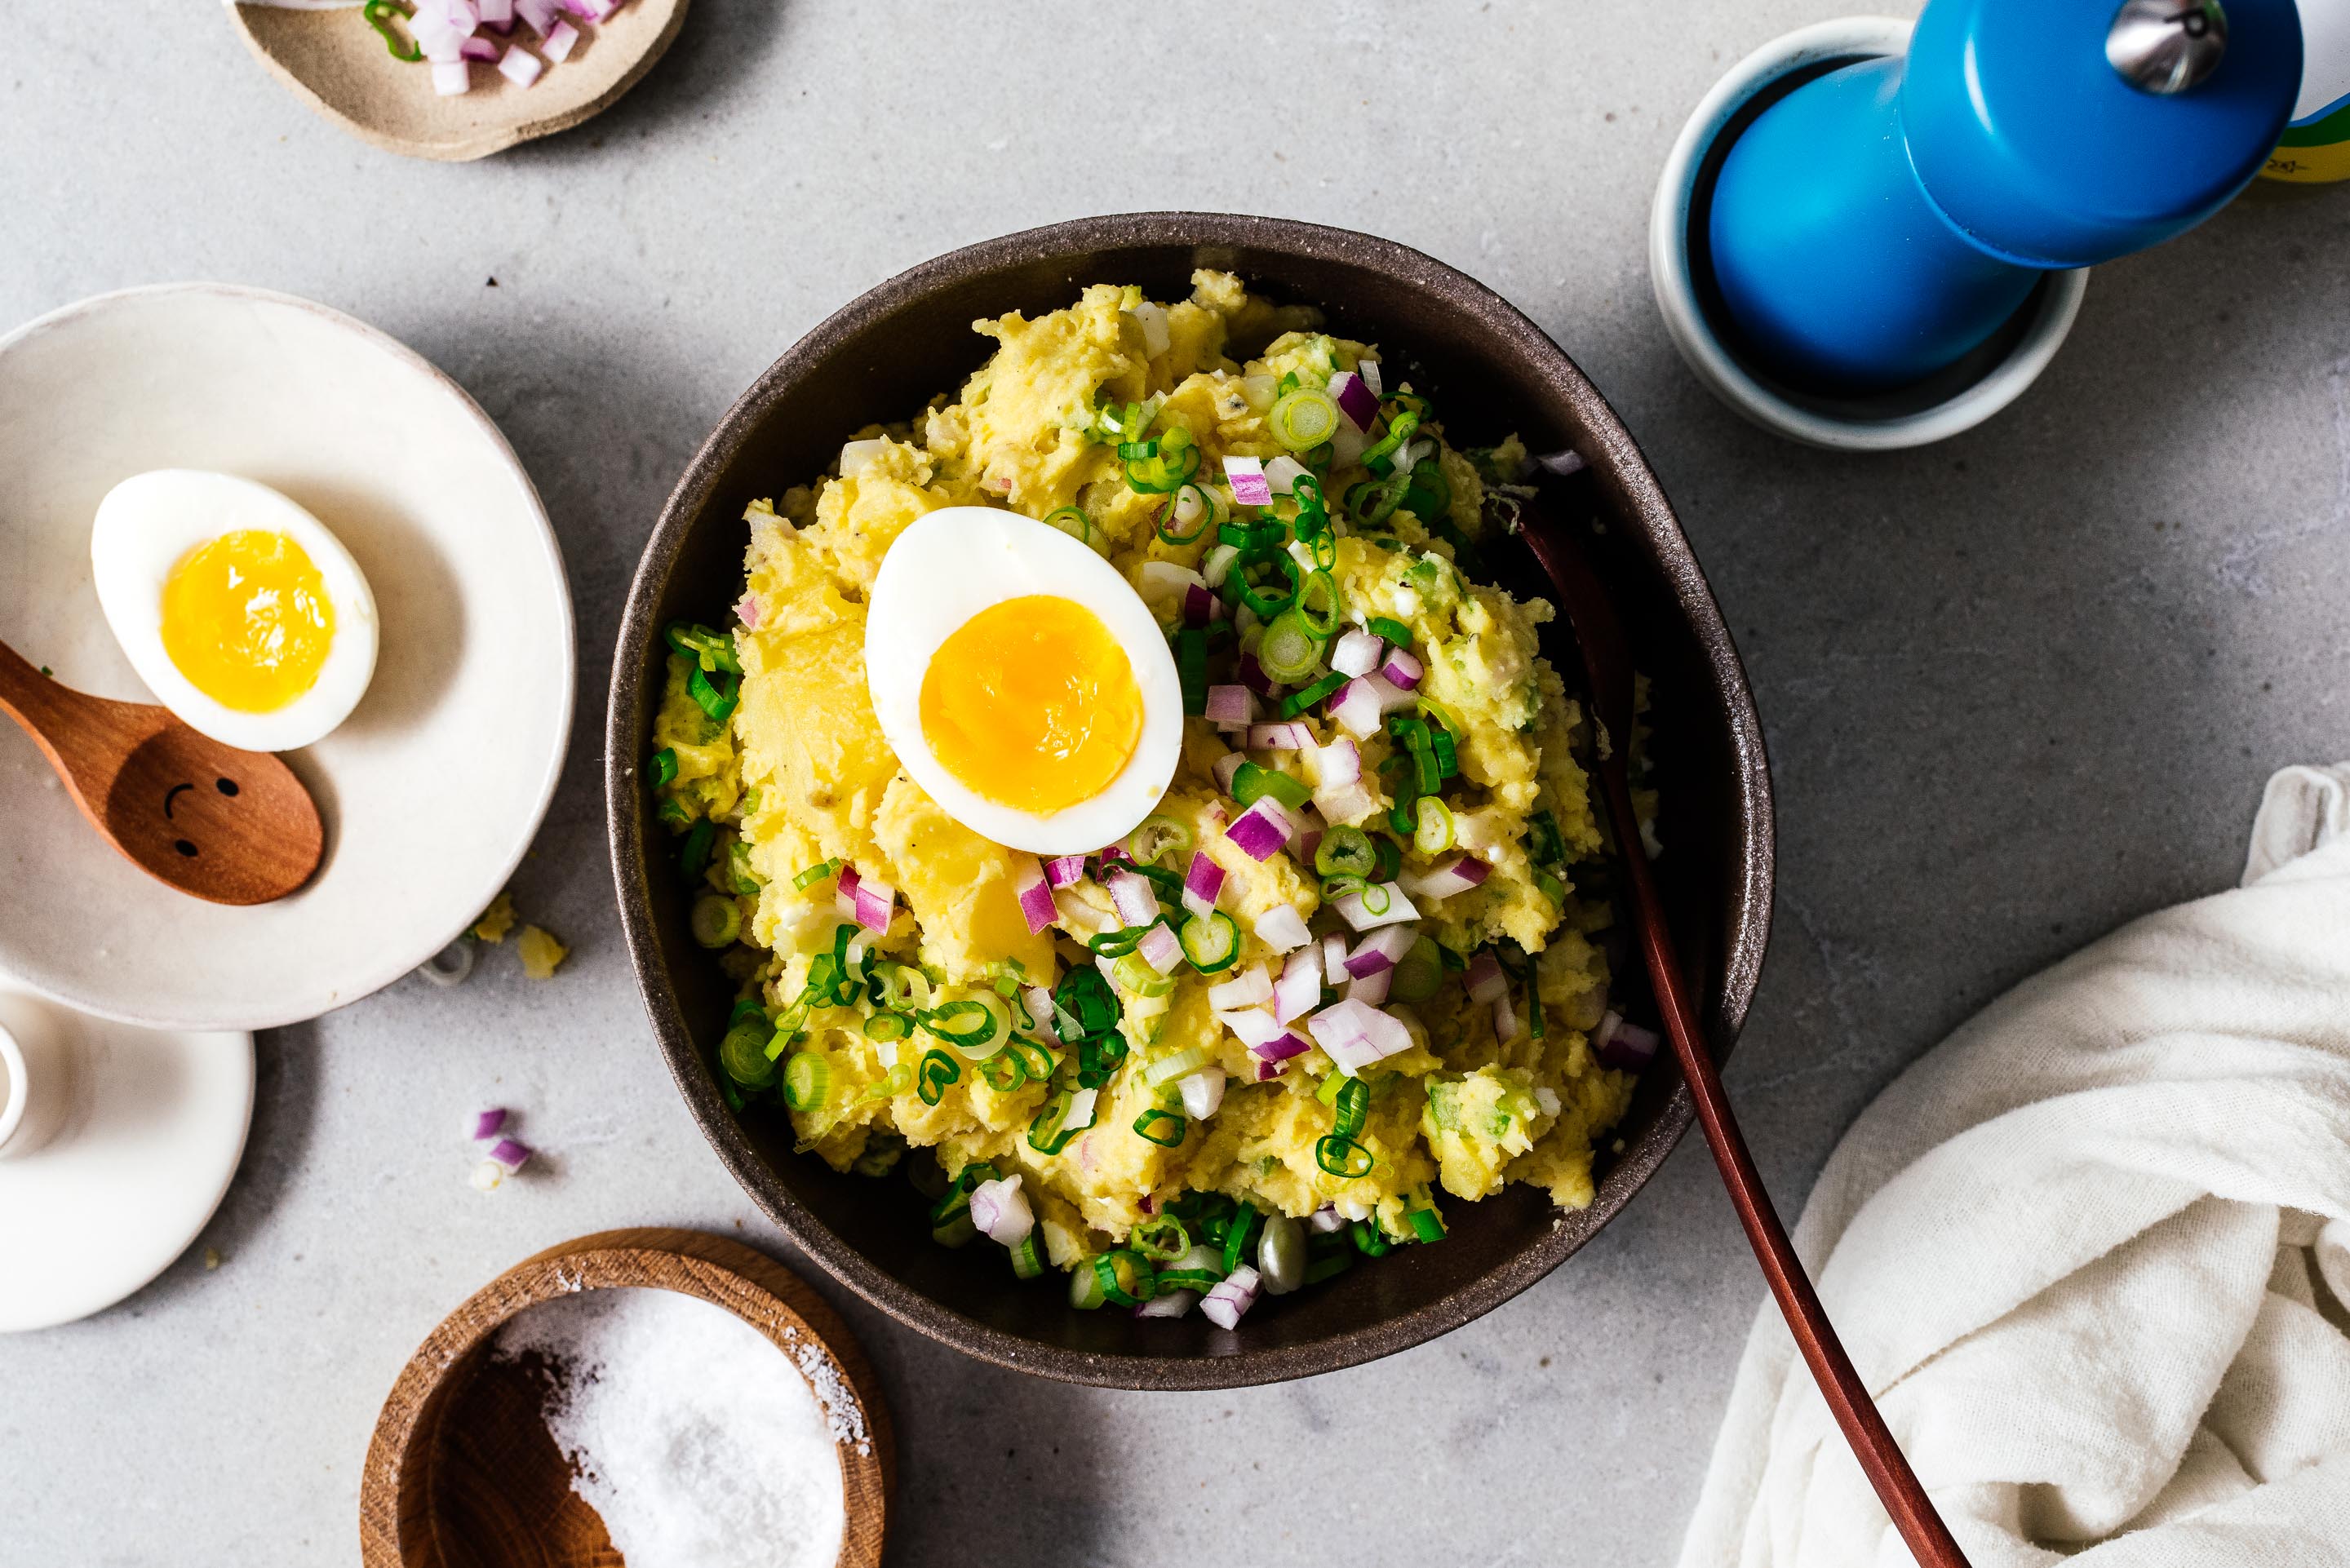
I Am... Perfect Picnic Potato Salad Recipe
The other day I got a text: can you send me your potato salad recipe? I mean, it was totally plausible that it was from a friend, but I didn’t recognize the number so I asked, “who dis?” Turns out it was a wrong number text but I offered them a potato salad recipe anyway because, why not? I thought it was hilarious and cute and so so perfect because I love potato salad so much and it reminded me that there isn’t a classic picnic potato salad recipe on the blog. So, the next day I bought some potatoes and here we are, perfect picnic potato salad. I’m a creamy mayo potato salad kinda girl. Don’t get me wrong, I like potato salads with yogurt and sour cream too, but something about barbecues and picnics means classic creamy potato salad with lots of crunchy things. The key to a good potato salad is the potatoes, of course. I like to use yellow flesh potatoes (Yukon golds are my potato of choice) and I always boil them skin on so they don’t get too soggy. Plus it’s really easy to peel potato skins off after they’ve been cooked. I learned that one from my mom – I remember her peeling potatoes after cooking them and now I do it too. Cooking them skin on also helps keep the potatoes more potato-y flavored, probably because the potatoes don’t get water logged. Anyway, after peeling the potatoes and roughly chunking them up, sprinkle on a bit of rice vinegar while the potatoes are still hot so they can absorb that awesome tartness and have a secret hidden punch. Rice vinegar is my favorite of all the vinegars, just the right amount of tart. You definitely need crunchy celery and a bit of onions as well. I go between red onions and green onions. If you like a milder onion flavor, do the green onions and if you like more crunch and sharpness, do the red onions. Sometimes I even do both. I also like using kewpie mayo because it is just so much more delicious than regular. It really adds that extra something! Happy potato salad making :)
Perfect Picnic Potato Salad serves 6Read More →Note: I love using kewpie mayo – it makes a huge flavor difference! Add the potatoes to a large pot of water and cover with water. Season generously with salt and bring to a boil. Reduce to a simmer and cook until potatoes are soft and easily pierced with a fork, 25-30 minutes, depending on size. When the potatoes are done, drain and let cool slightly. When cool enough to handle, peel the potato by pulling the skin away. Roughly chop the potatoes into bite sized chunks and place in a large bowl. Sprinkle the rice vinegar over the potatoes and toss. Mix in the onion, celery, chopped eggs, and mustard. Season with salt and pepper and mix in the mayo, a bit at a time until the salad is creamy and dressed to your liking. Taste and adjust the seasoning. Chill, covered for at least an hour before enjoying!
- 2 pounds small yellow potatoes, skin on, scrubbed
- 1-2 tablespoons rice vinegar
- 1/4 - 1/2 medium red onion, finely chopped, about 1/3 cup
- 3 stalks celery, finely chopped
- 3 hard boiled eggs, peeled and chopped
- 1 tablespoon mustard of choice
- 1/2 - 3/4 cup mayo, or to taste
- salt and freshly ground black pepper
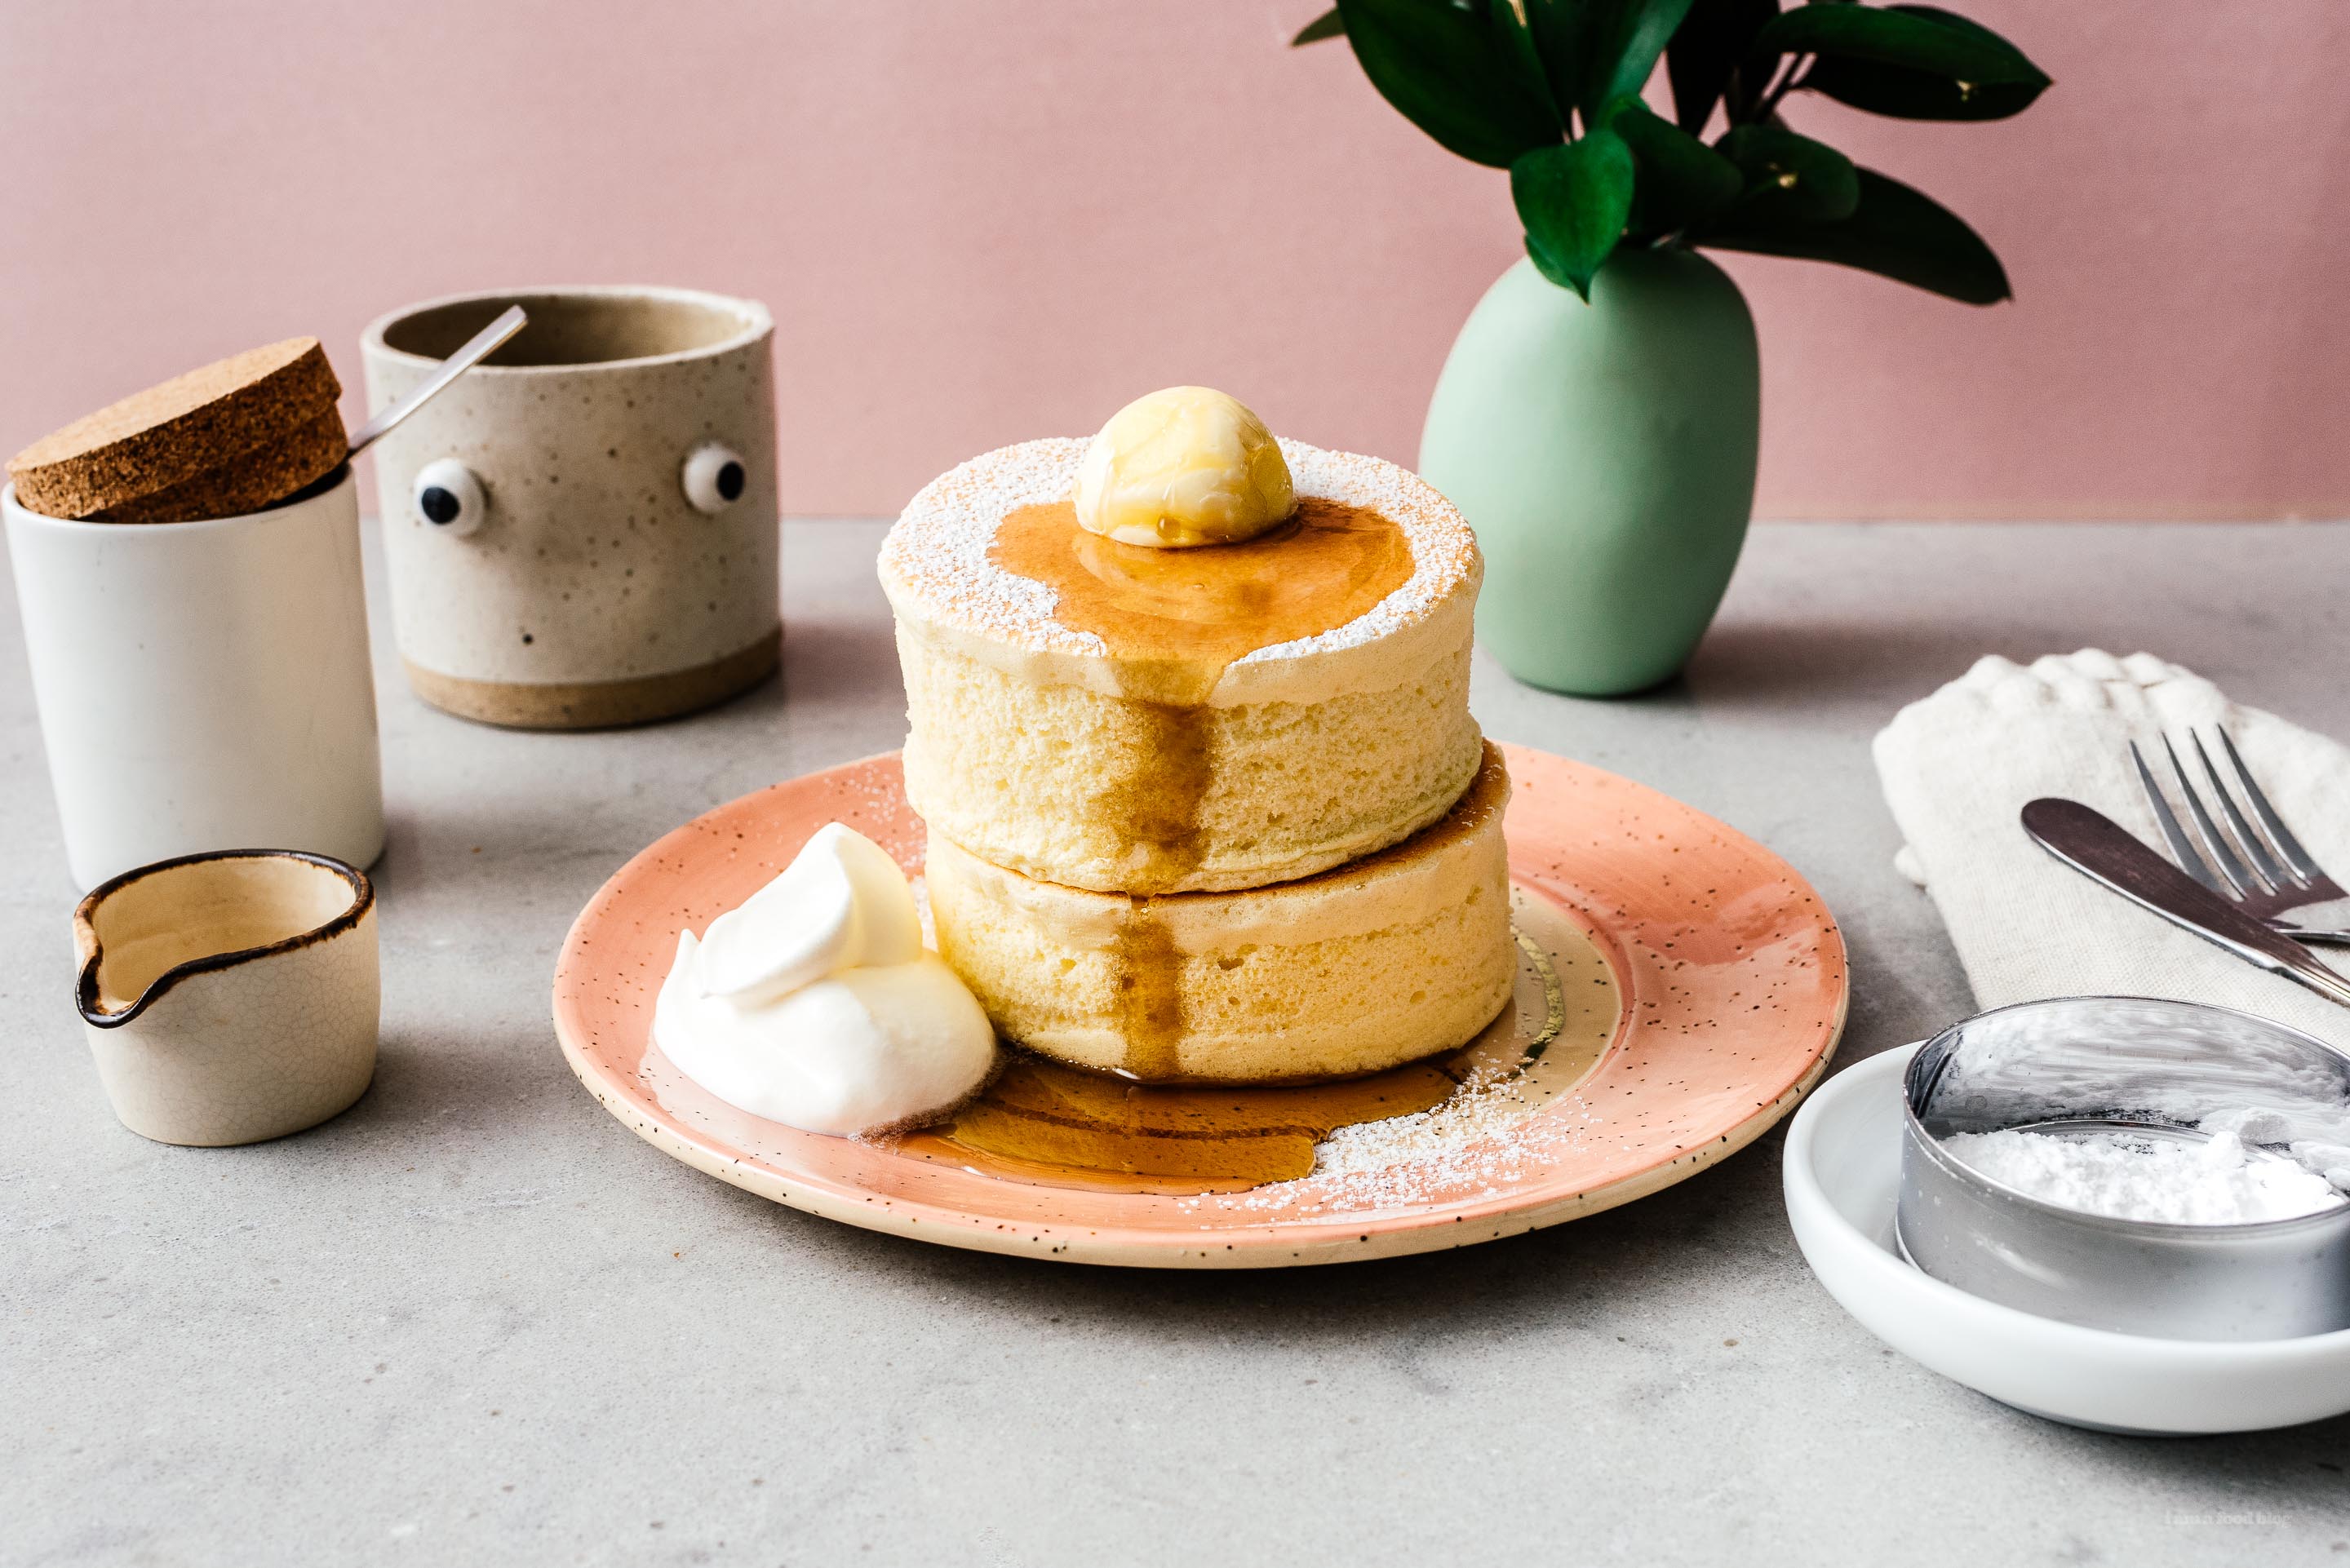
I Am... How to Make Extra Tall Extra Fluffy Japanese Soufflé Pancakes like Gram Cafe and Pancakes
Mike and I watch this youtube channel where this dude v-logs his days with his corgi. It’s infinitely cute because I love corgis and even more cute because sometimes he makes his corgi dog-friendly food. This post has nothing to do with dog friendly food. But, the youtube dude did inspire me to try my hand at Gram-style Fluffy Japanese pancakes.
Read More →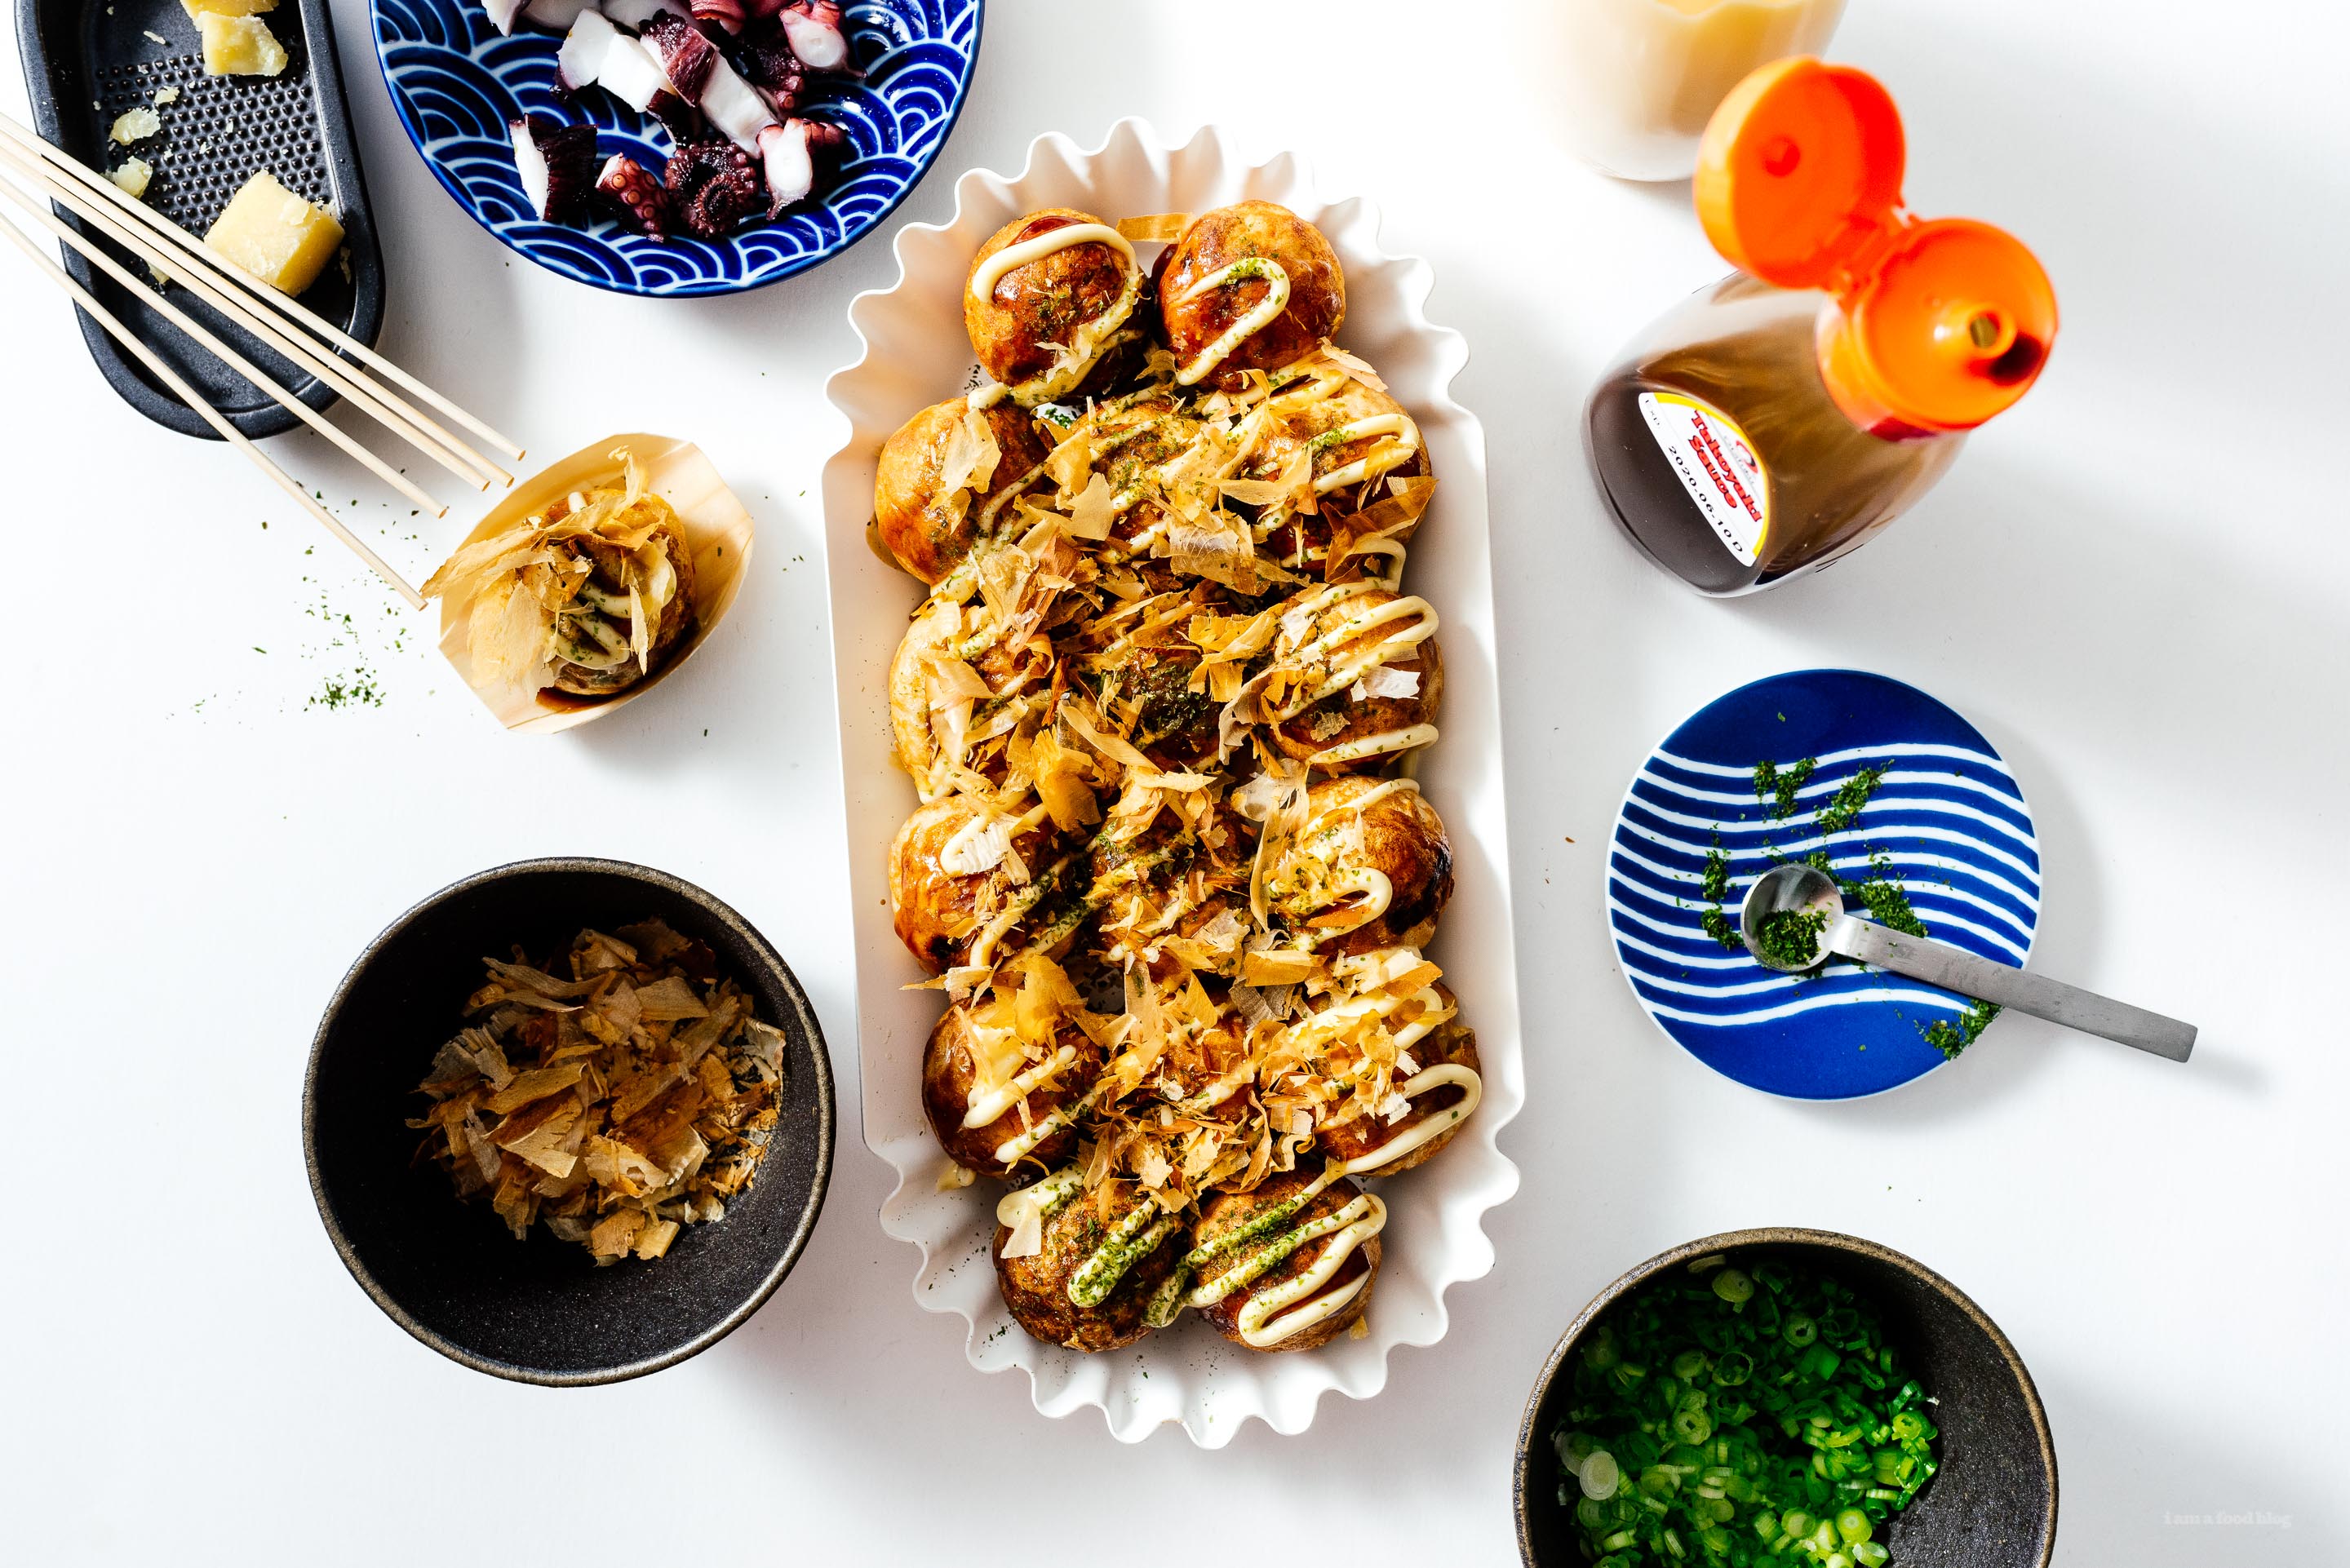
I Am... This is the Best Dinner Party Food Ever: an Easy Authentic Takoyaki Recipe to Make with Friends and Family
Takoyaki is THE PERFECT SNACK. I don’t know how many times Mike and I have stumbled home from a night out in Tokyo only to see the warm welcoming yellow lights and bright red awning of Gindado, Japan’s premier street side takoyaki stand. They’re the only ones open at 3 in the morning (okay, there are other places open, but for the purpose of this story, just pretend) and they are the ultimate drunk food. Crispy pan fried balls of savory seasoned batter filled with tender chunks of octopus, crispy tempura bits, and topped off with takoyaki sauce and seaweed. This is street food at its best: a la minute, fast, friendly, so bad for you, but oh-so-good.
Read More →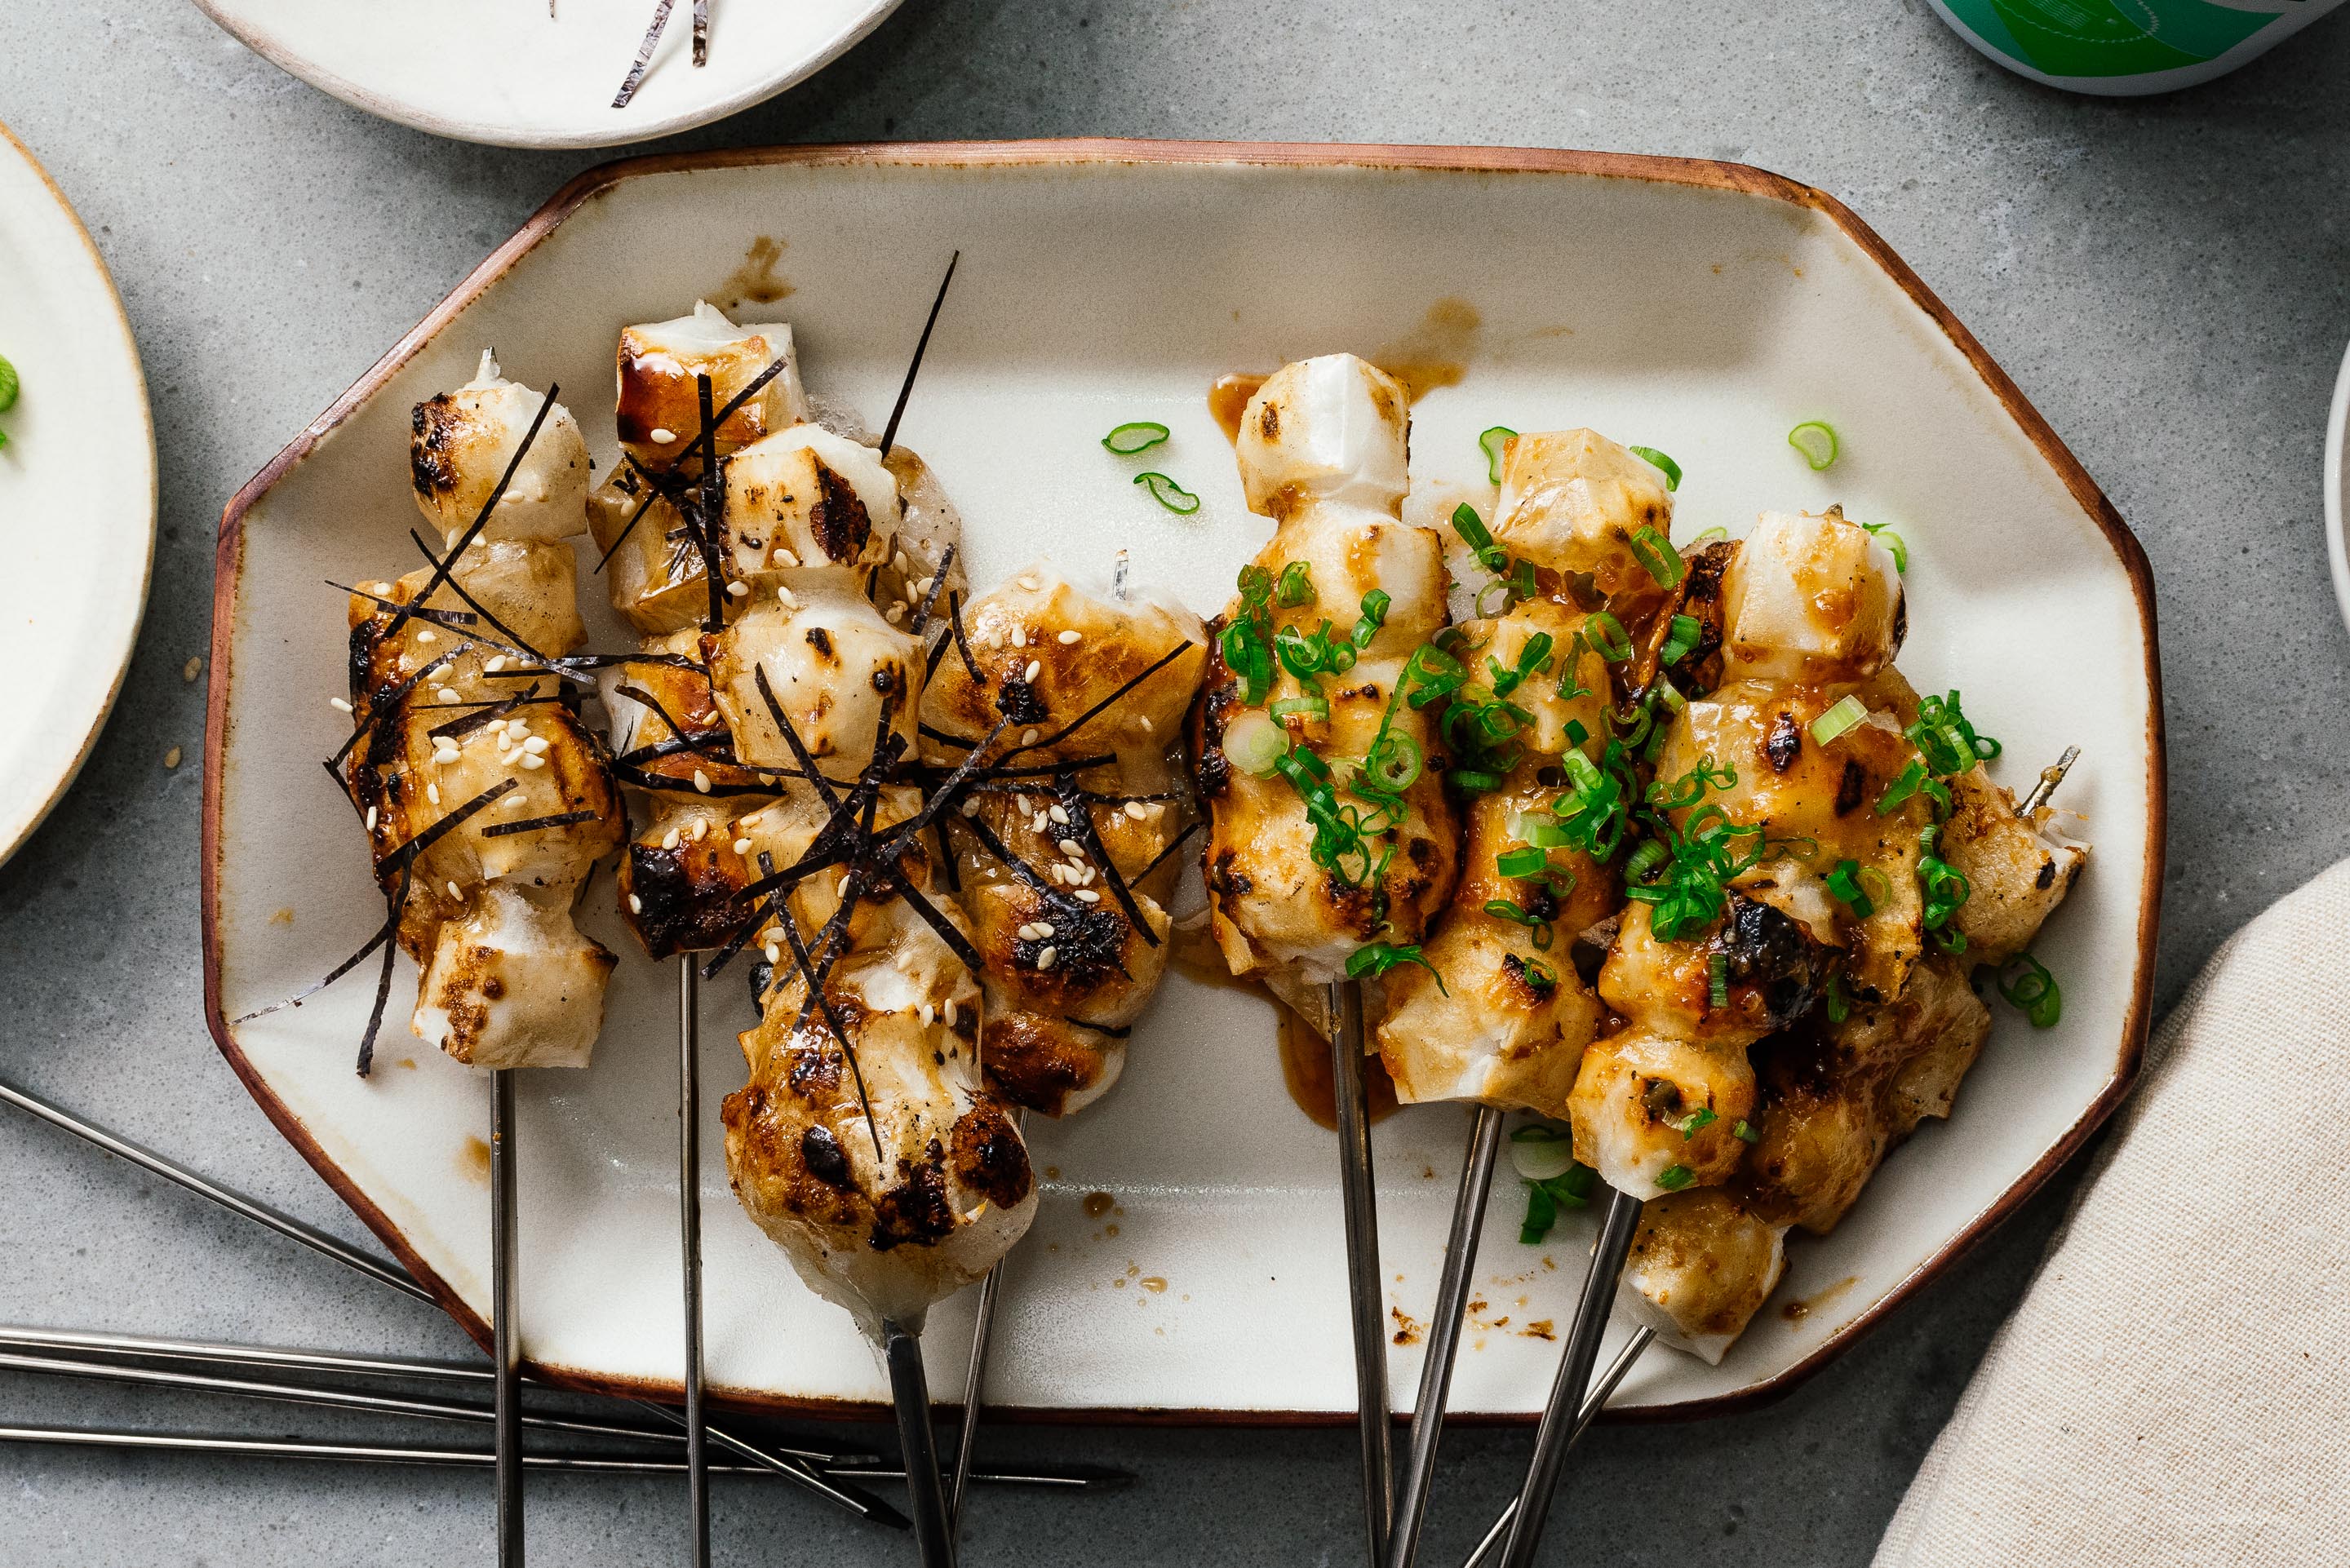
I Am... Grilled Yakimochi Recipe: Mochi is the Secret Ingredient Your BBQ Needs to be Next Level
Have you ever seen mochi and asked yourself, “why is mochi so popular?” What even is mochi? I’m hear to answer ALL your mochi questions.
Read More →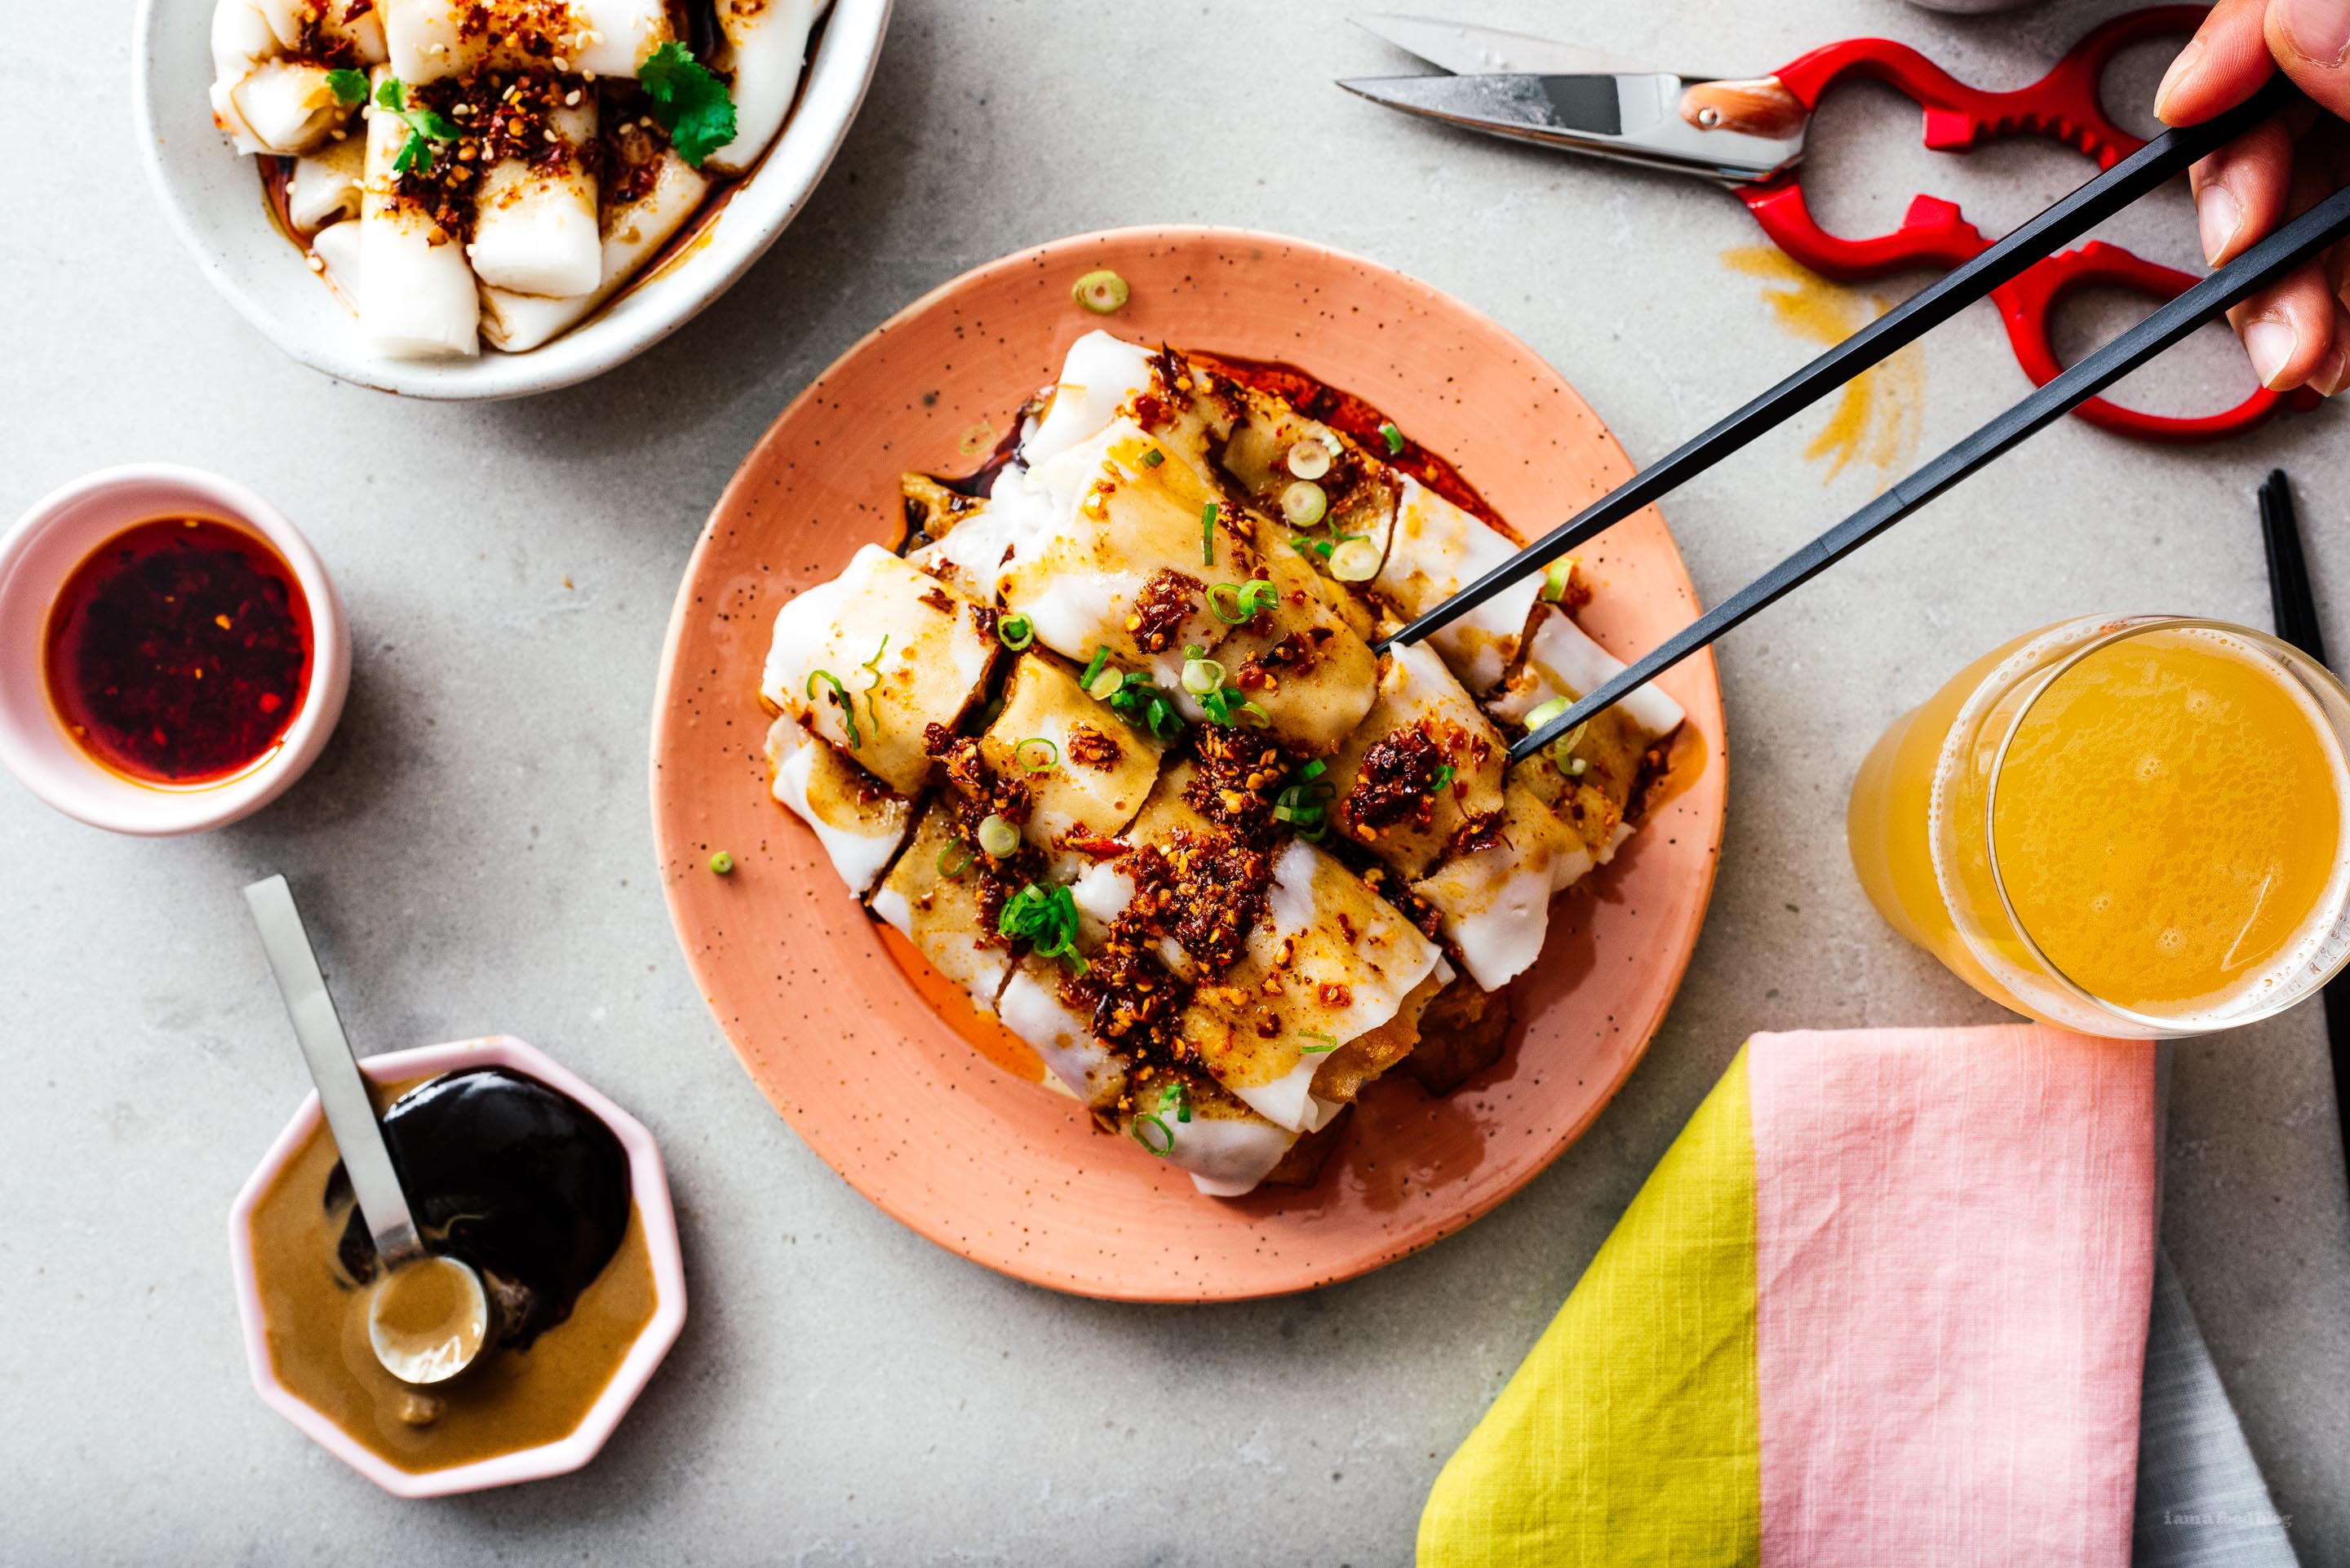
I Am... Zhaliang: Easy Homemade Rice Noodle Rolls Wrapped Around Chinese Doughnuts
Do you love carbs? Do you love carbs wrapped in carbs? Then you’ll love zhaliang: a crispy doughy Chinese donut tucked inside a slippery, chewy rice noodle, doused with sweet soy and served with hoisin and creamy sesame sauce. They serve it up at dim sum and it’s consistently a must order for me and Mike.
Read More →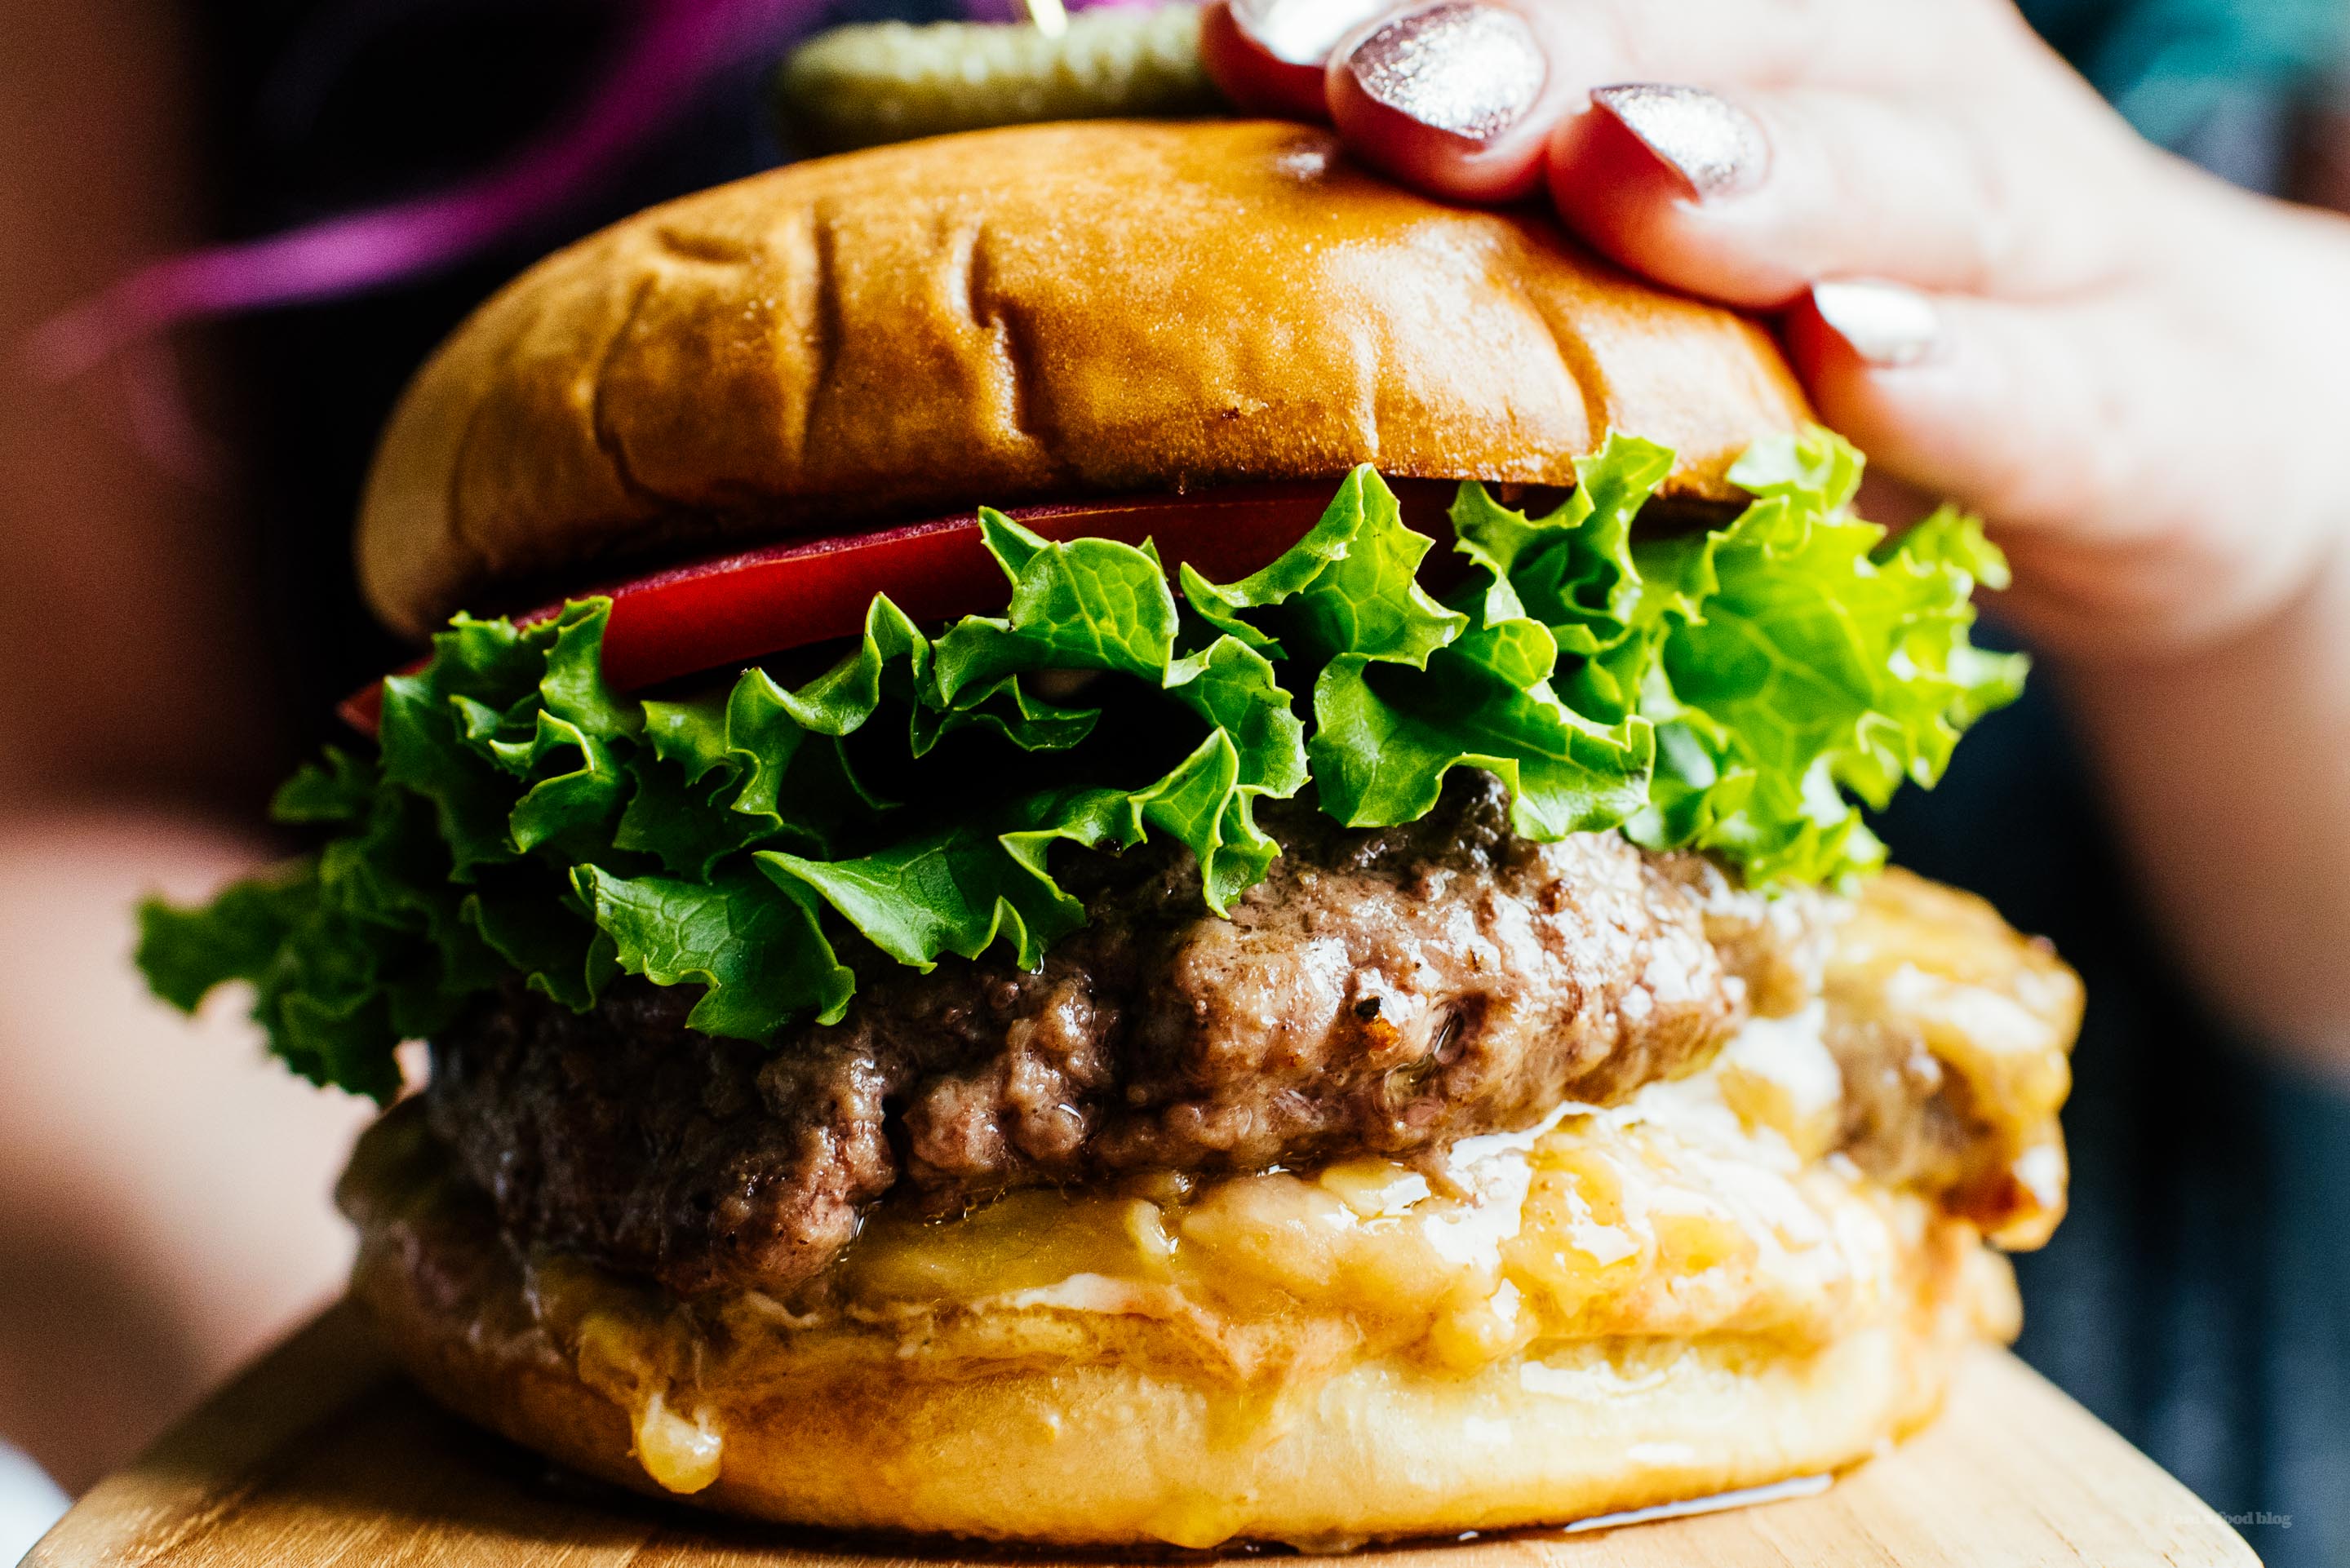
I Am... What to Make this Father’s Day Weekend Plus Friday Finds 6.14.19
Can you believe it’s the middle of June already!? Hope everyone is eating all the fruit and barbecuing all of the things. This weekend’s Father’s day but we’re not doing any grilling – instead we’re going for dim sum with my family and pizza with Mike’s. My dad loves Chinese food and Mike’s dad loves freshly baked bread so they both made sense. Other than that, no big plans, just going to enjoy the summery weather. But, if you’re are planning on grilling for dad – and you should! – here are a couple of recipes that’ll be sure to show him some love.
Read More →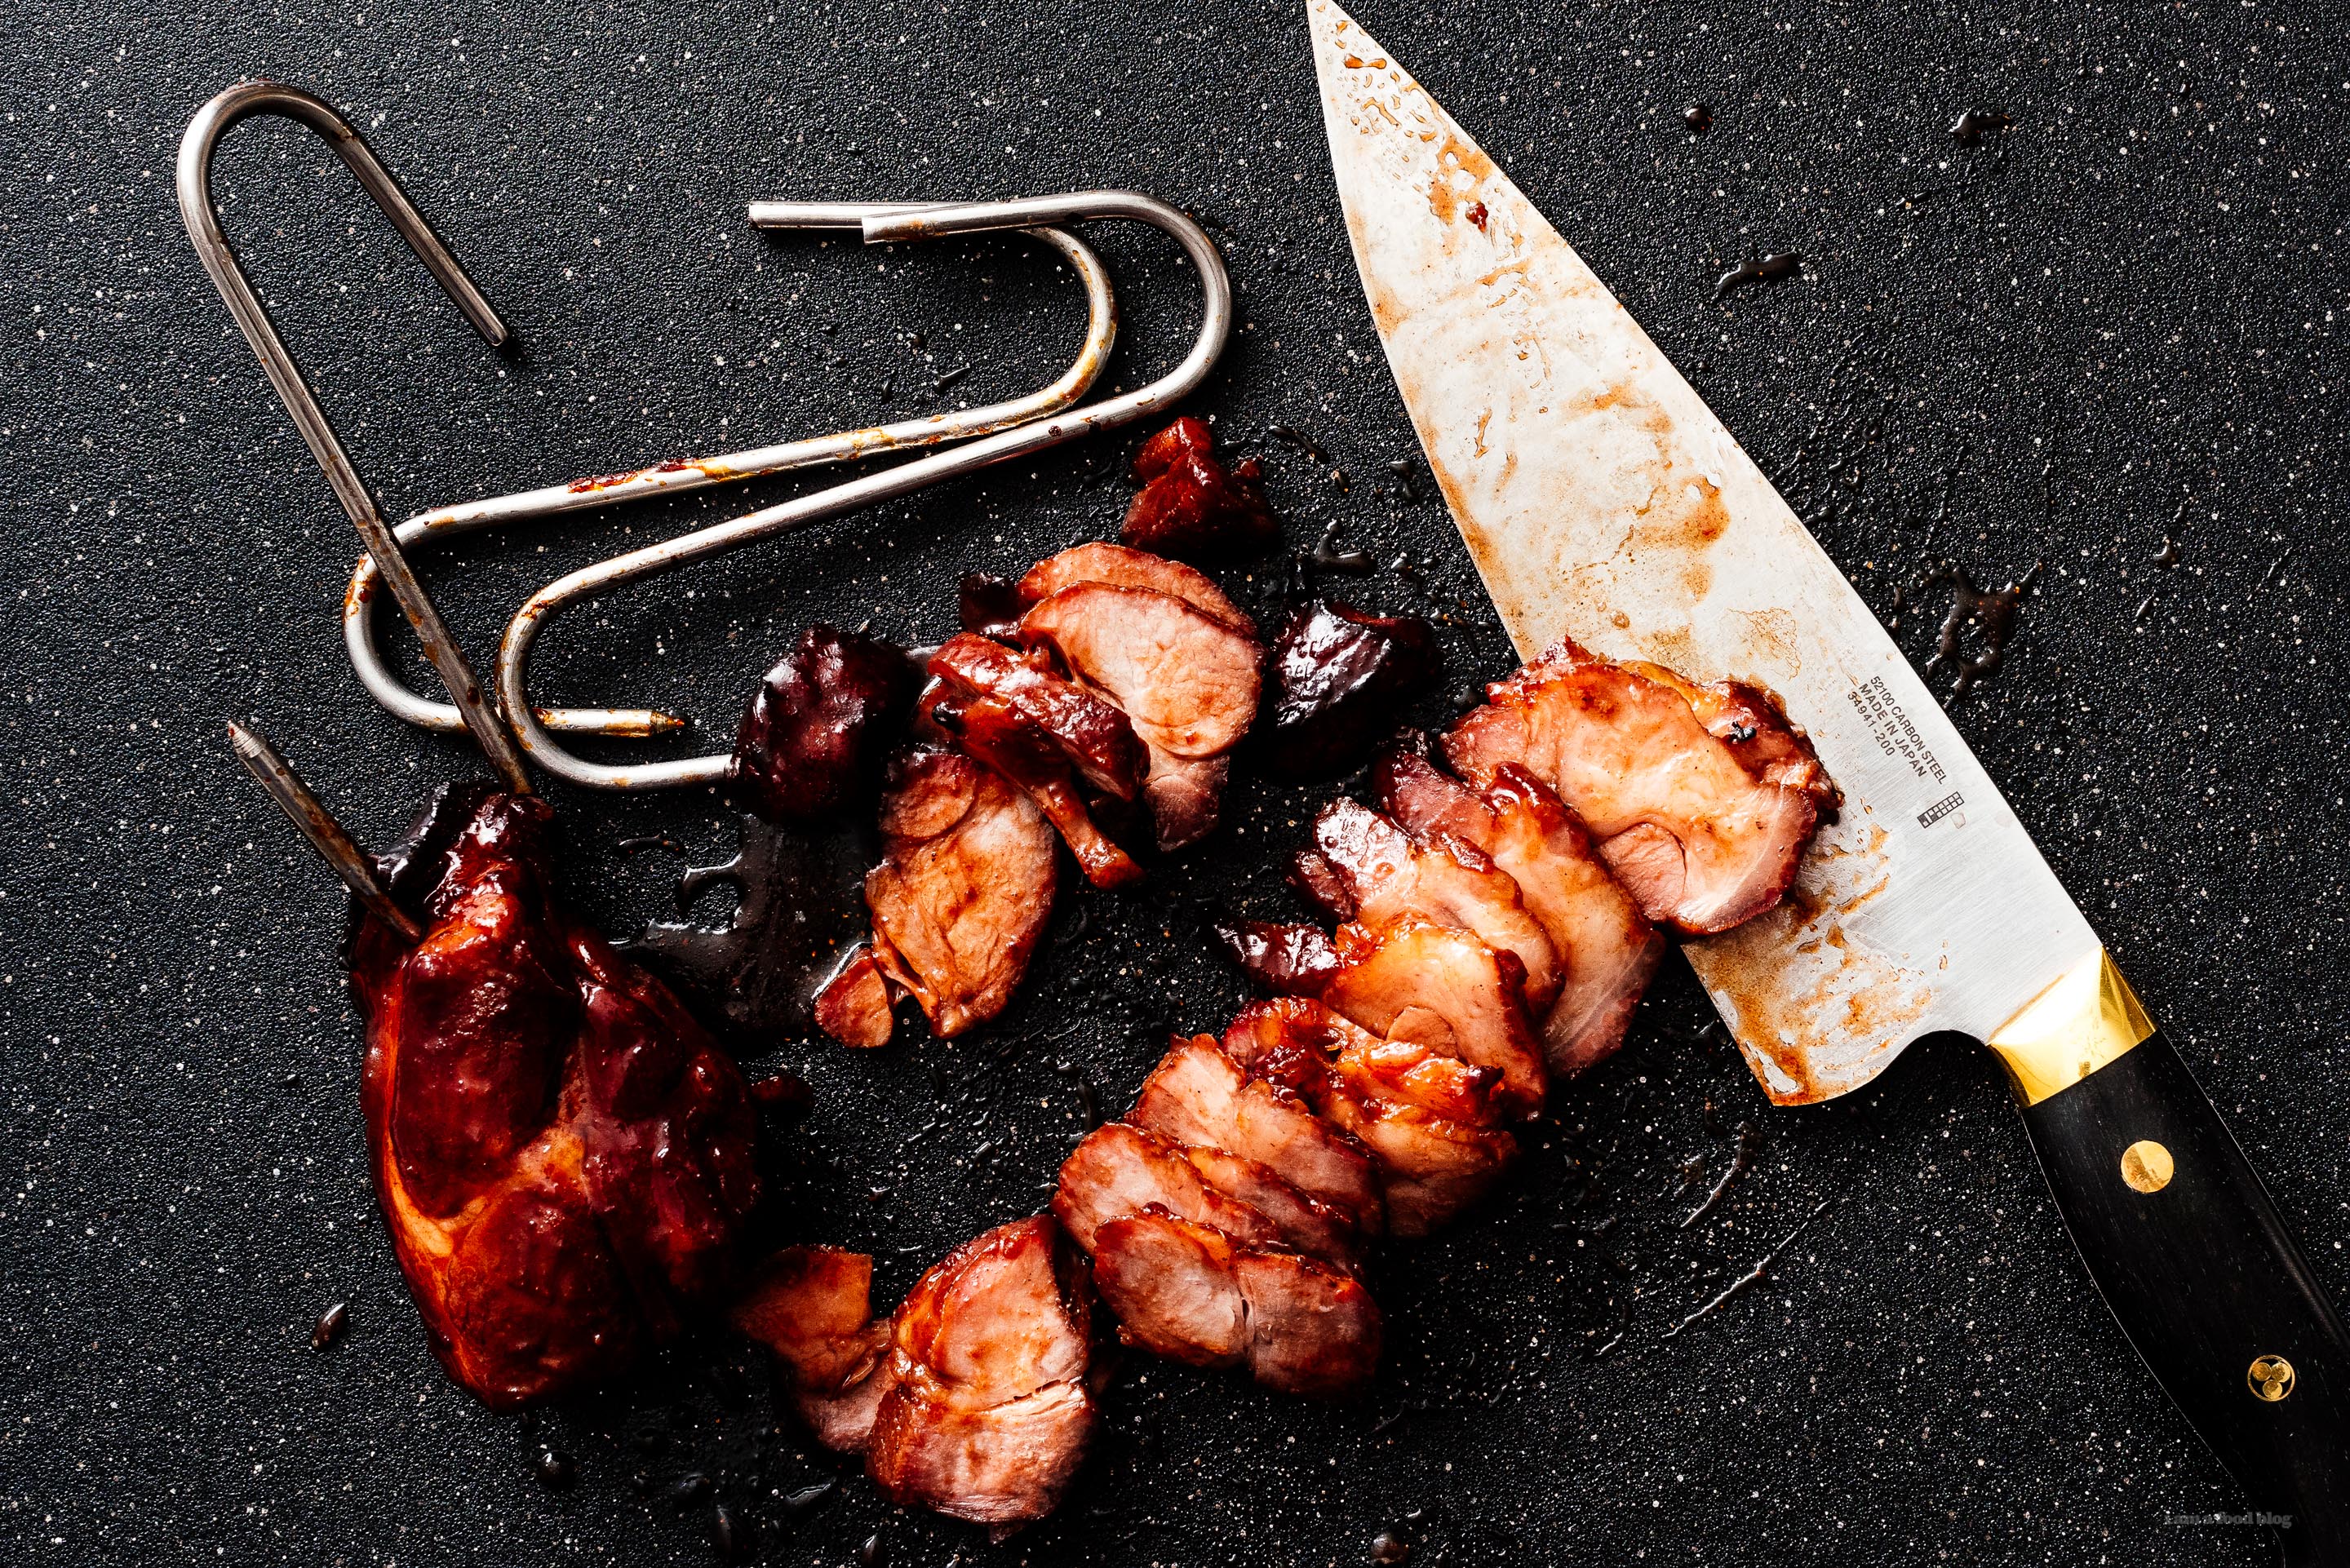
I Am... How to Make the Best Darn Ever Chinese BBQ Pork aka Char Siu
The other day Mike went out with a buddy of his and they had a conversation about the last five things they would want to eat before dying. When he came home and told me about it, I was like, “a morbid conversation about food obsessions?! I’m in.” I tried to guess Mike’s top 5 and only came up with 3 (burgers, sushi, and fried rice) so I guess I fail as a wife. Then again, I couldn’t even come up with my top 5 so maybe I just fail at being decisive?
Read More →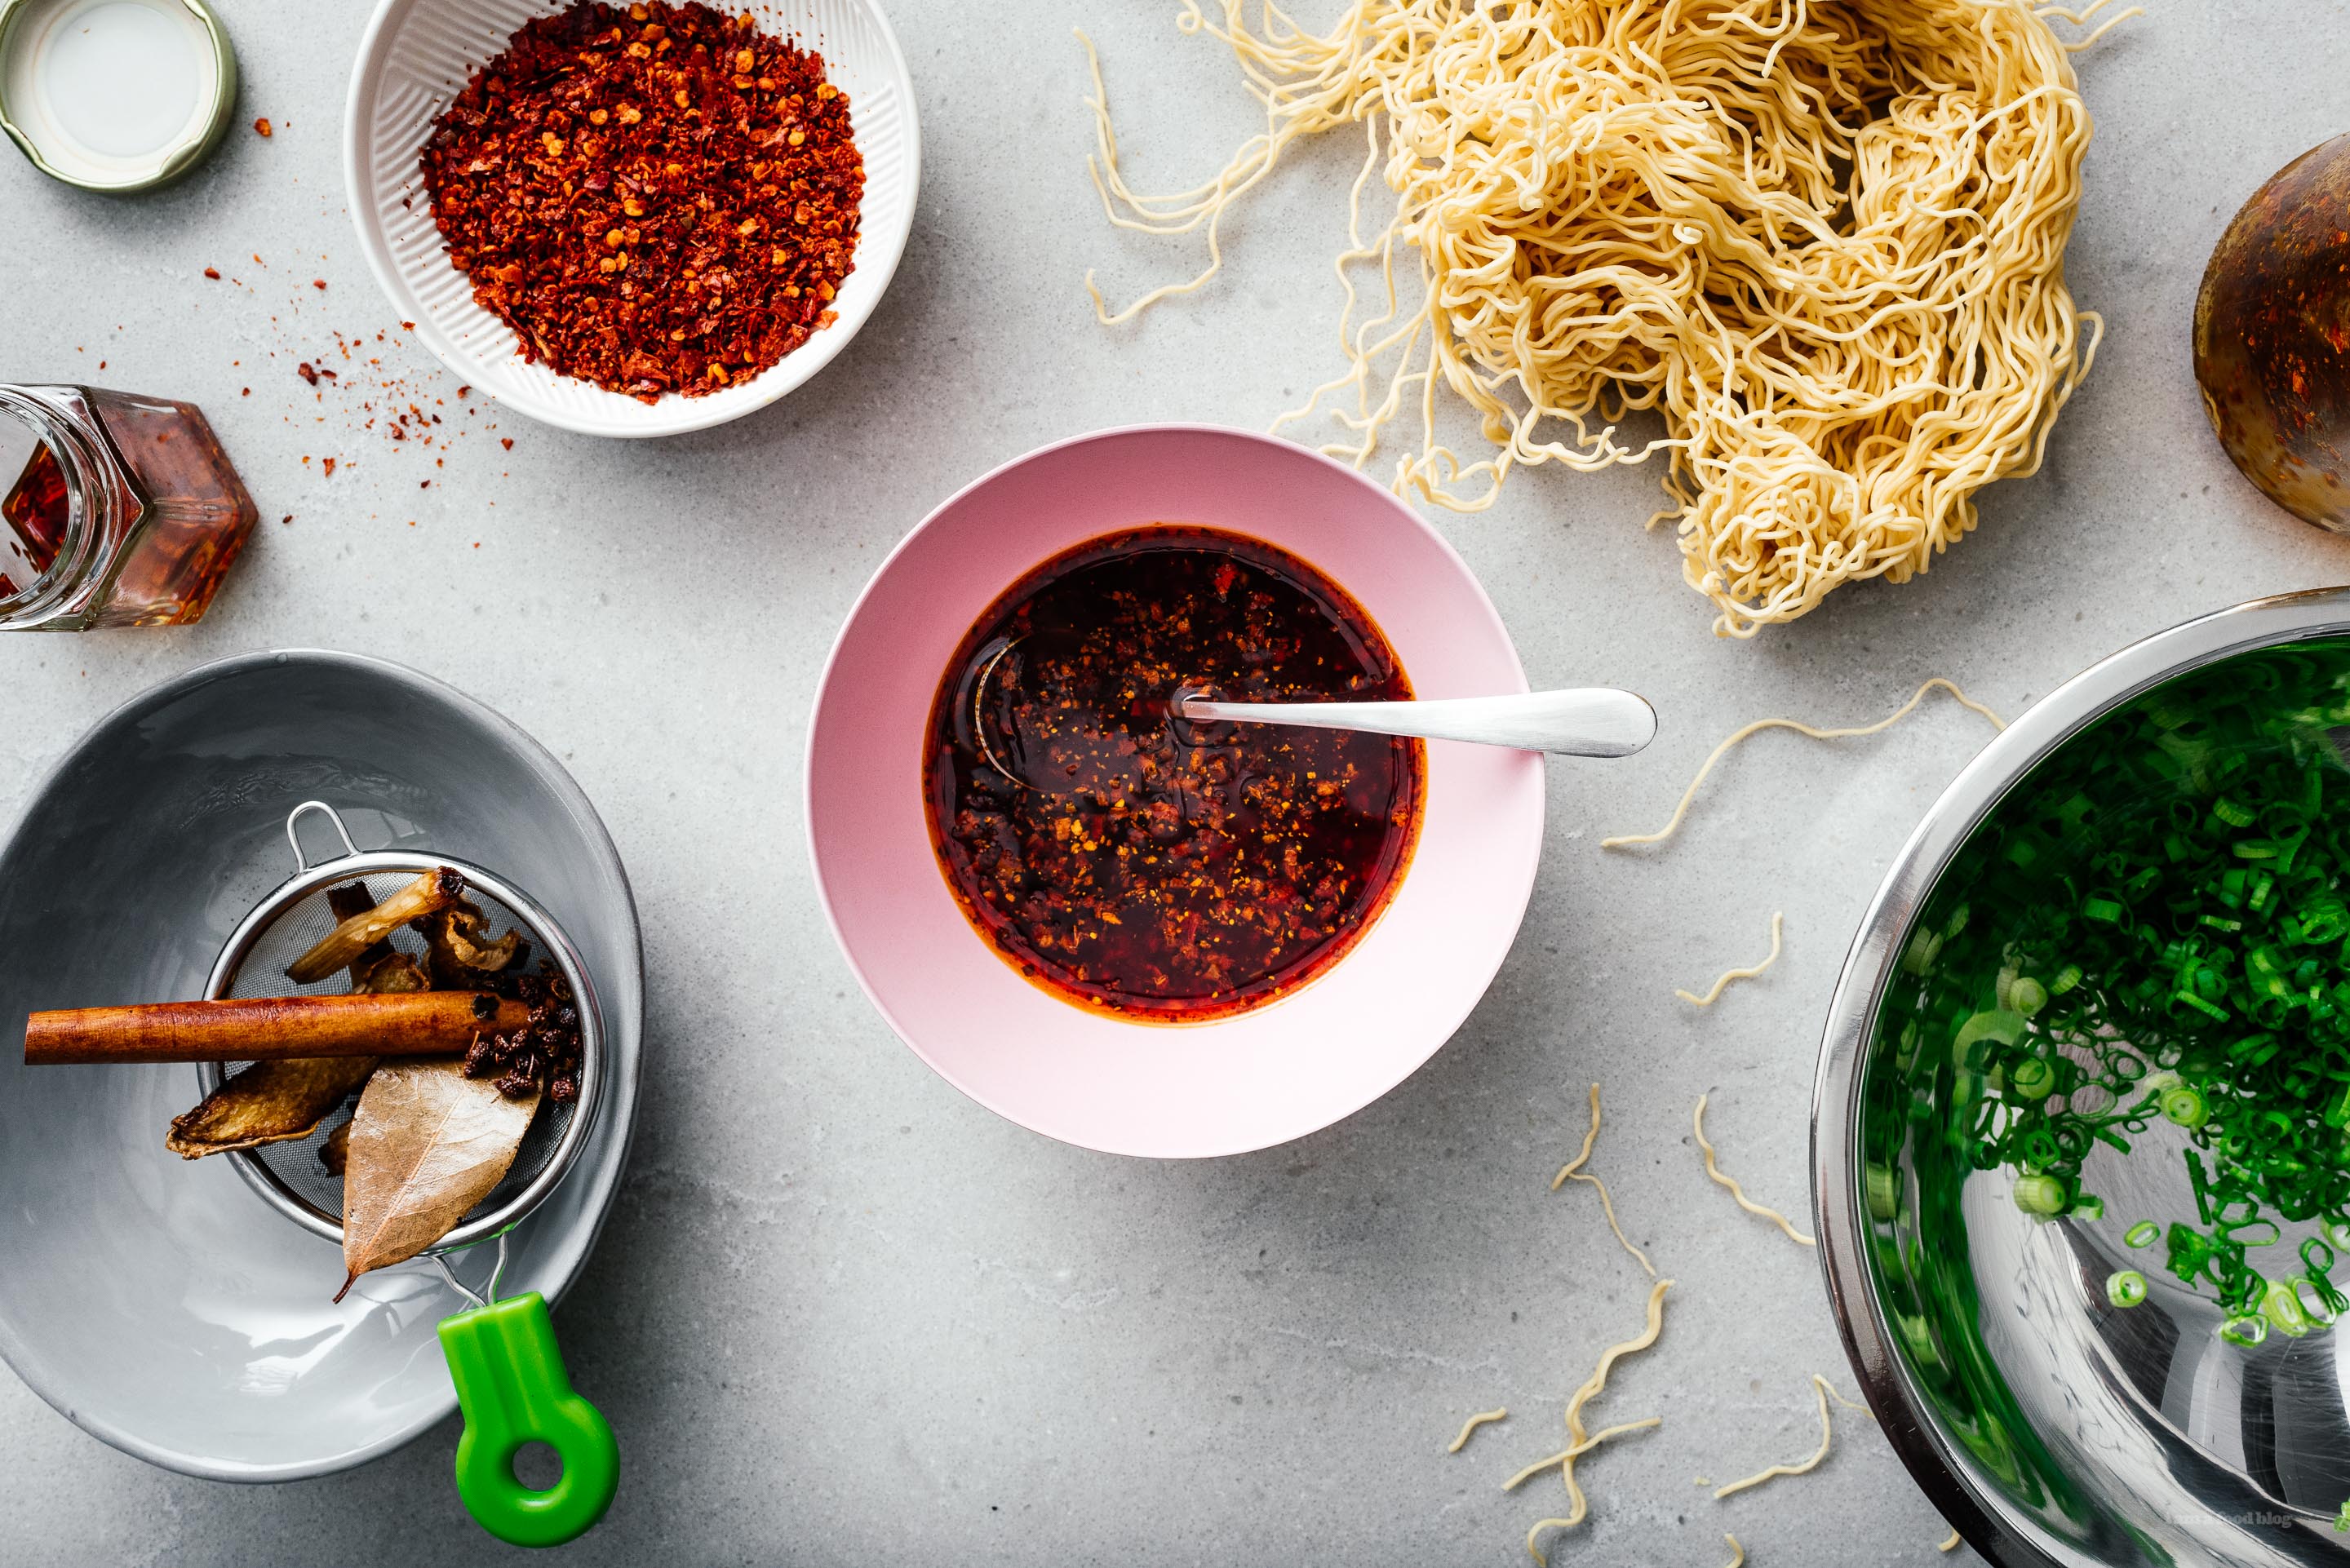
I Am... How to Make Authentic Chinese Spicy Hot Chili Oil
Fun fact: I used to hate spicy food. When I was tiny, I would straight up refuse to eat anything that looked remotely spicy. Anyway, because spicy was on my would-not-eat list, I was never interested in those little glass jars of chili oil you see sitting at table at Chinese restaurants. You know the ones, with the tiny spoon and the metal lid? They looked so dangerously spicy to me: deep red with mysterious bits of dark things at the bottom of the jar. Nope, it was a solid pass for me.
Read More →
I Am... How to Make Japanese Soufflé Creme Brûlée Pancakes
It’s no secret that I LOVE Japanese soufflé pancakes. I dream about them. I doodle them. I make them. I eat them. I look at pictures of them. I like to think that I’m one the founding members of the I heart Japanese Fluffy Pancakes Club. That’s a non-existent club, by the way. But it shouldn’t be – should I start one? Anyway, I constantly look at fluffy pancakes. I follow the hashtag on Instagram. I’m always on the look out for new flavors, new cafes, and new ideas.
Read More →