
I Am... 24 Hours in Aspen and Camping at Maroon Bells
Last summer Mike and I drove through Colorado, making a quick stop at Maroon Bells, one of the most photographed areas in all of the world – at least according to the Colorado tourism board. Not sure if that is true or not, but we lucked out and happened to get one of the very last camping spots right in the park, near the edge of the river. It was a perfect one night camp stop: being in the park meant that it would be easy enough to head up in the morning to watch sunrise over the famous peaks and close enough to Aspen that we spent the afternoon eating.
Read More →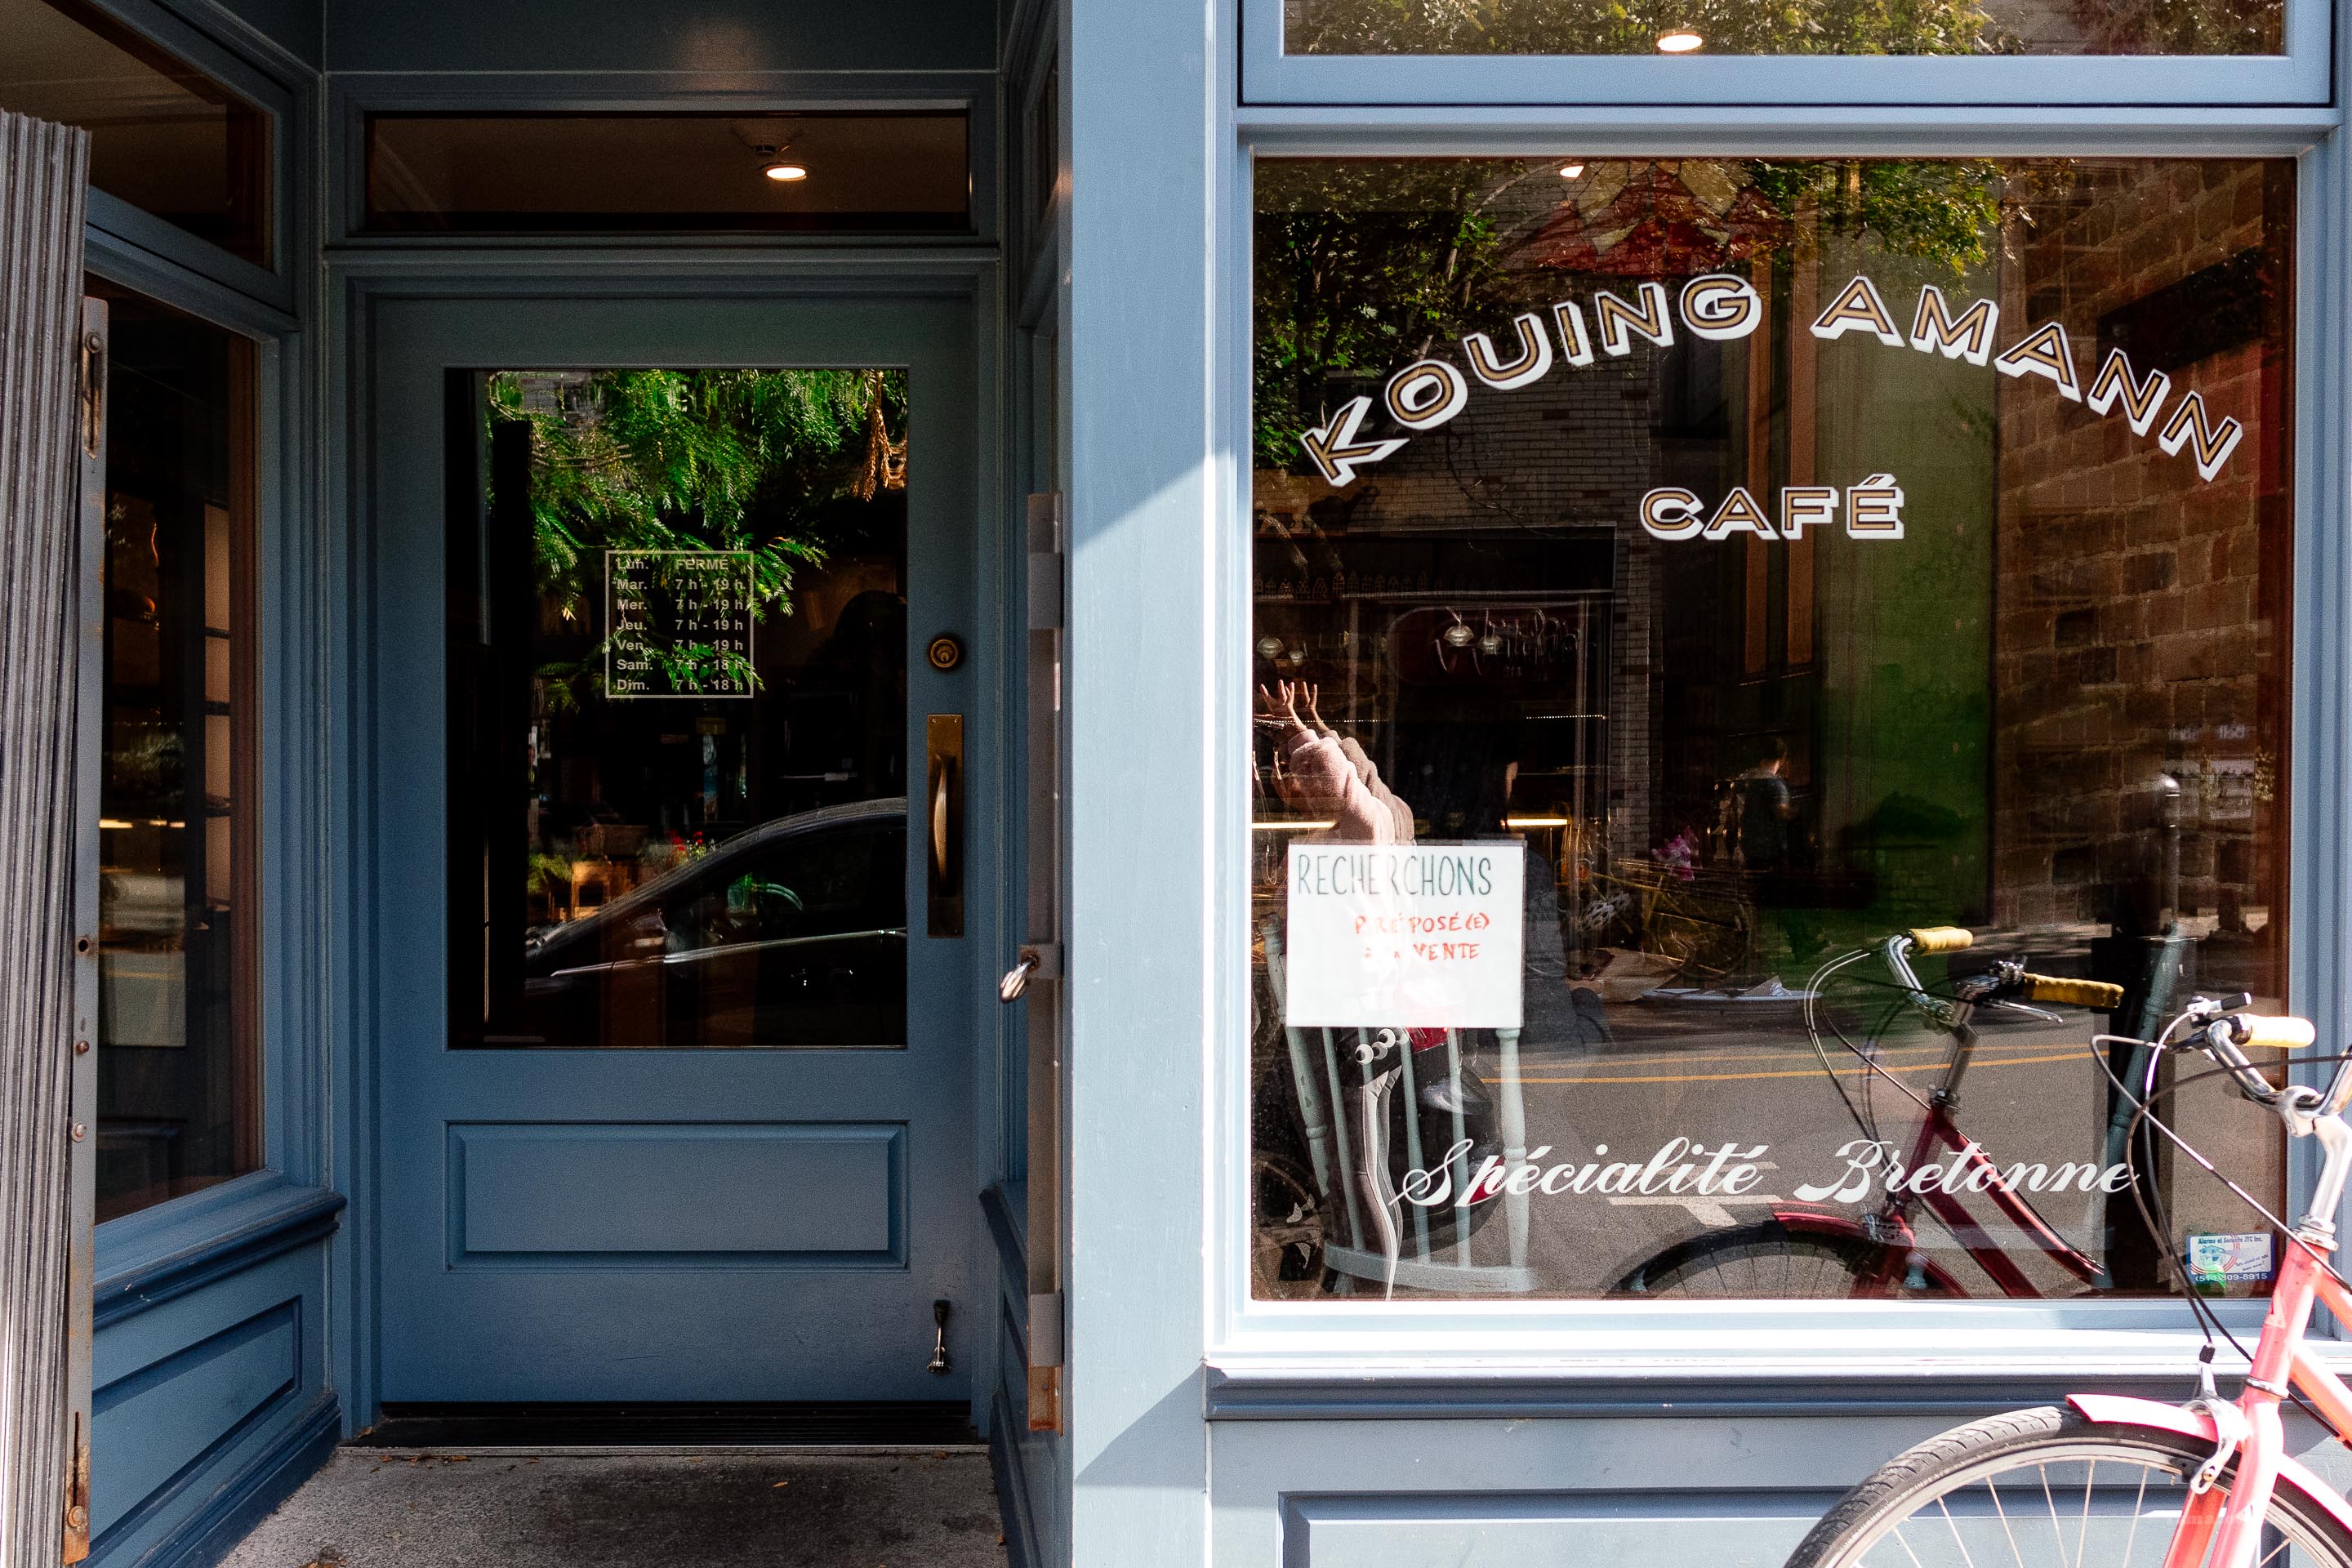
I Am... Friday Finds: 9.27.19
Yay! It’s Fall! It’s been getting chillier where we are, but the days are still lovely and warm, the way fall should be. I’m all about the cozy sweaters and crispy cool nights and eating more food to get a little more fluffy to stay warm during the winter. Maybe not the last one, but man oh man, is it hard to stick to my keto diet here in Montreal. I literally at an entire slice of kouign amann and it was so full of butter that it was practically oozing out. I didn’t regret one bite, it was SO good.
Read More →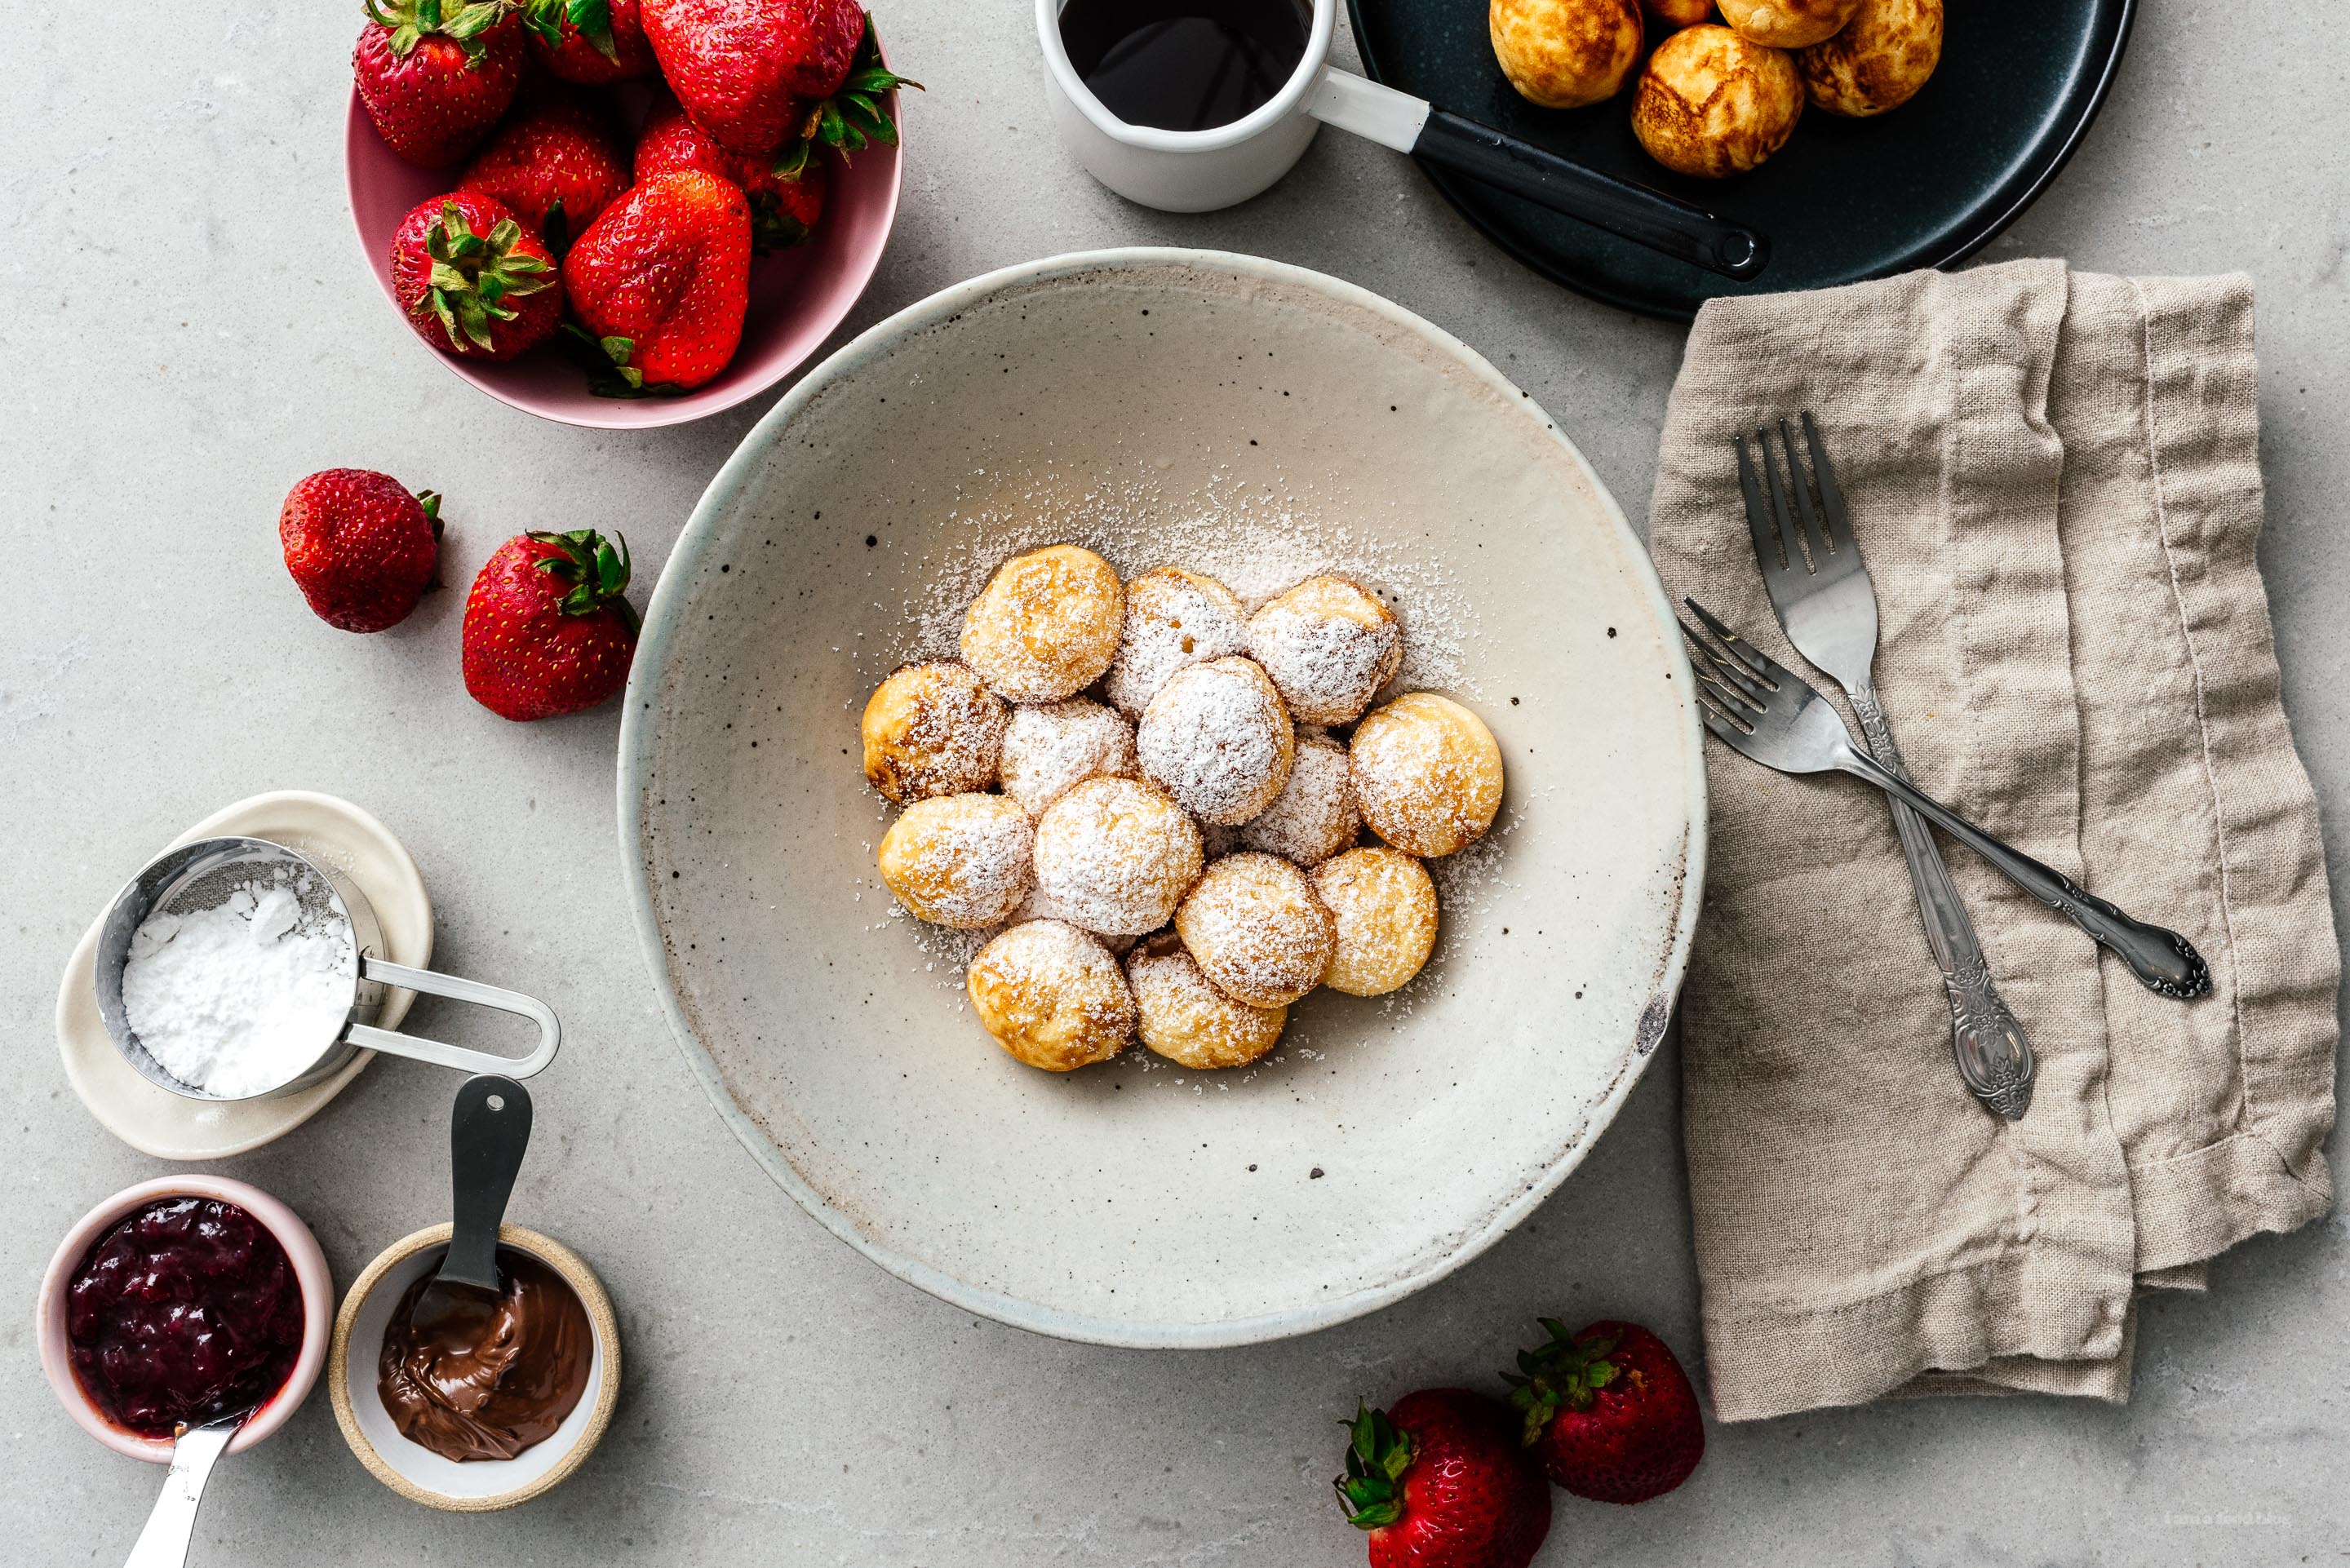
I Am... The Cutest Roundest Pancake Balls You’ll Ever Make and Eat: Danish Aebleskiver
I am currently obsessed with all things ball-shaped. Ever since I pulled out our takoyaki pan from the highest shelf, I’ve been convinced that I need to use it more and more. It takes a lot of effort to put it back – usually it’s buried behind a bunch of things – so I’m going to enjoy it while I can. If you have a takoyaki pan, you might be wondering, what can I make in a takoyaki pan? The answer is: EVERYTHING!
Read More →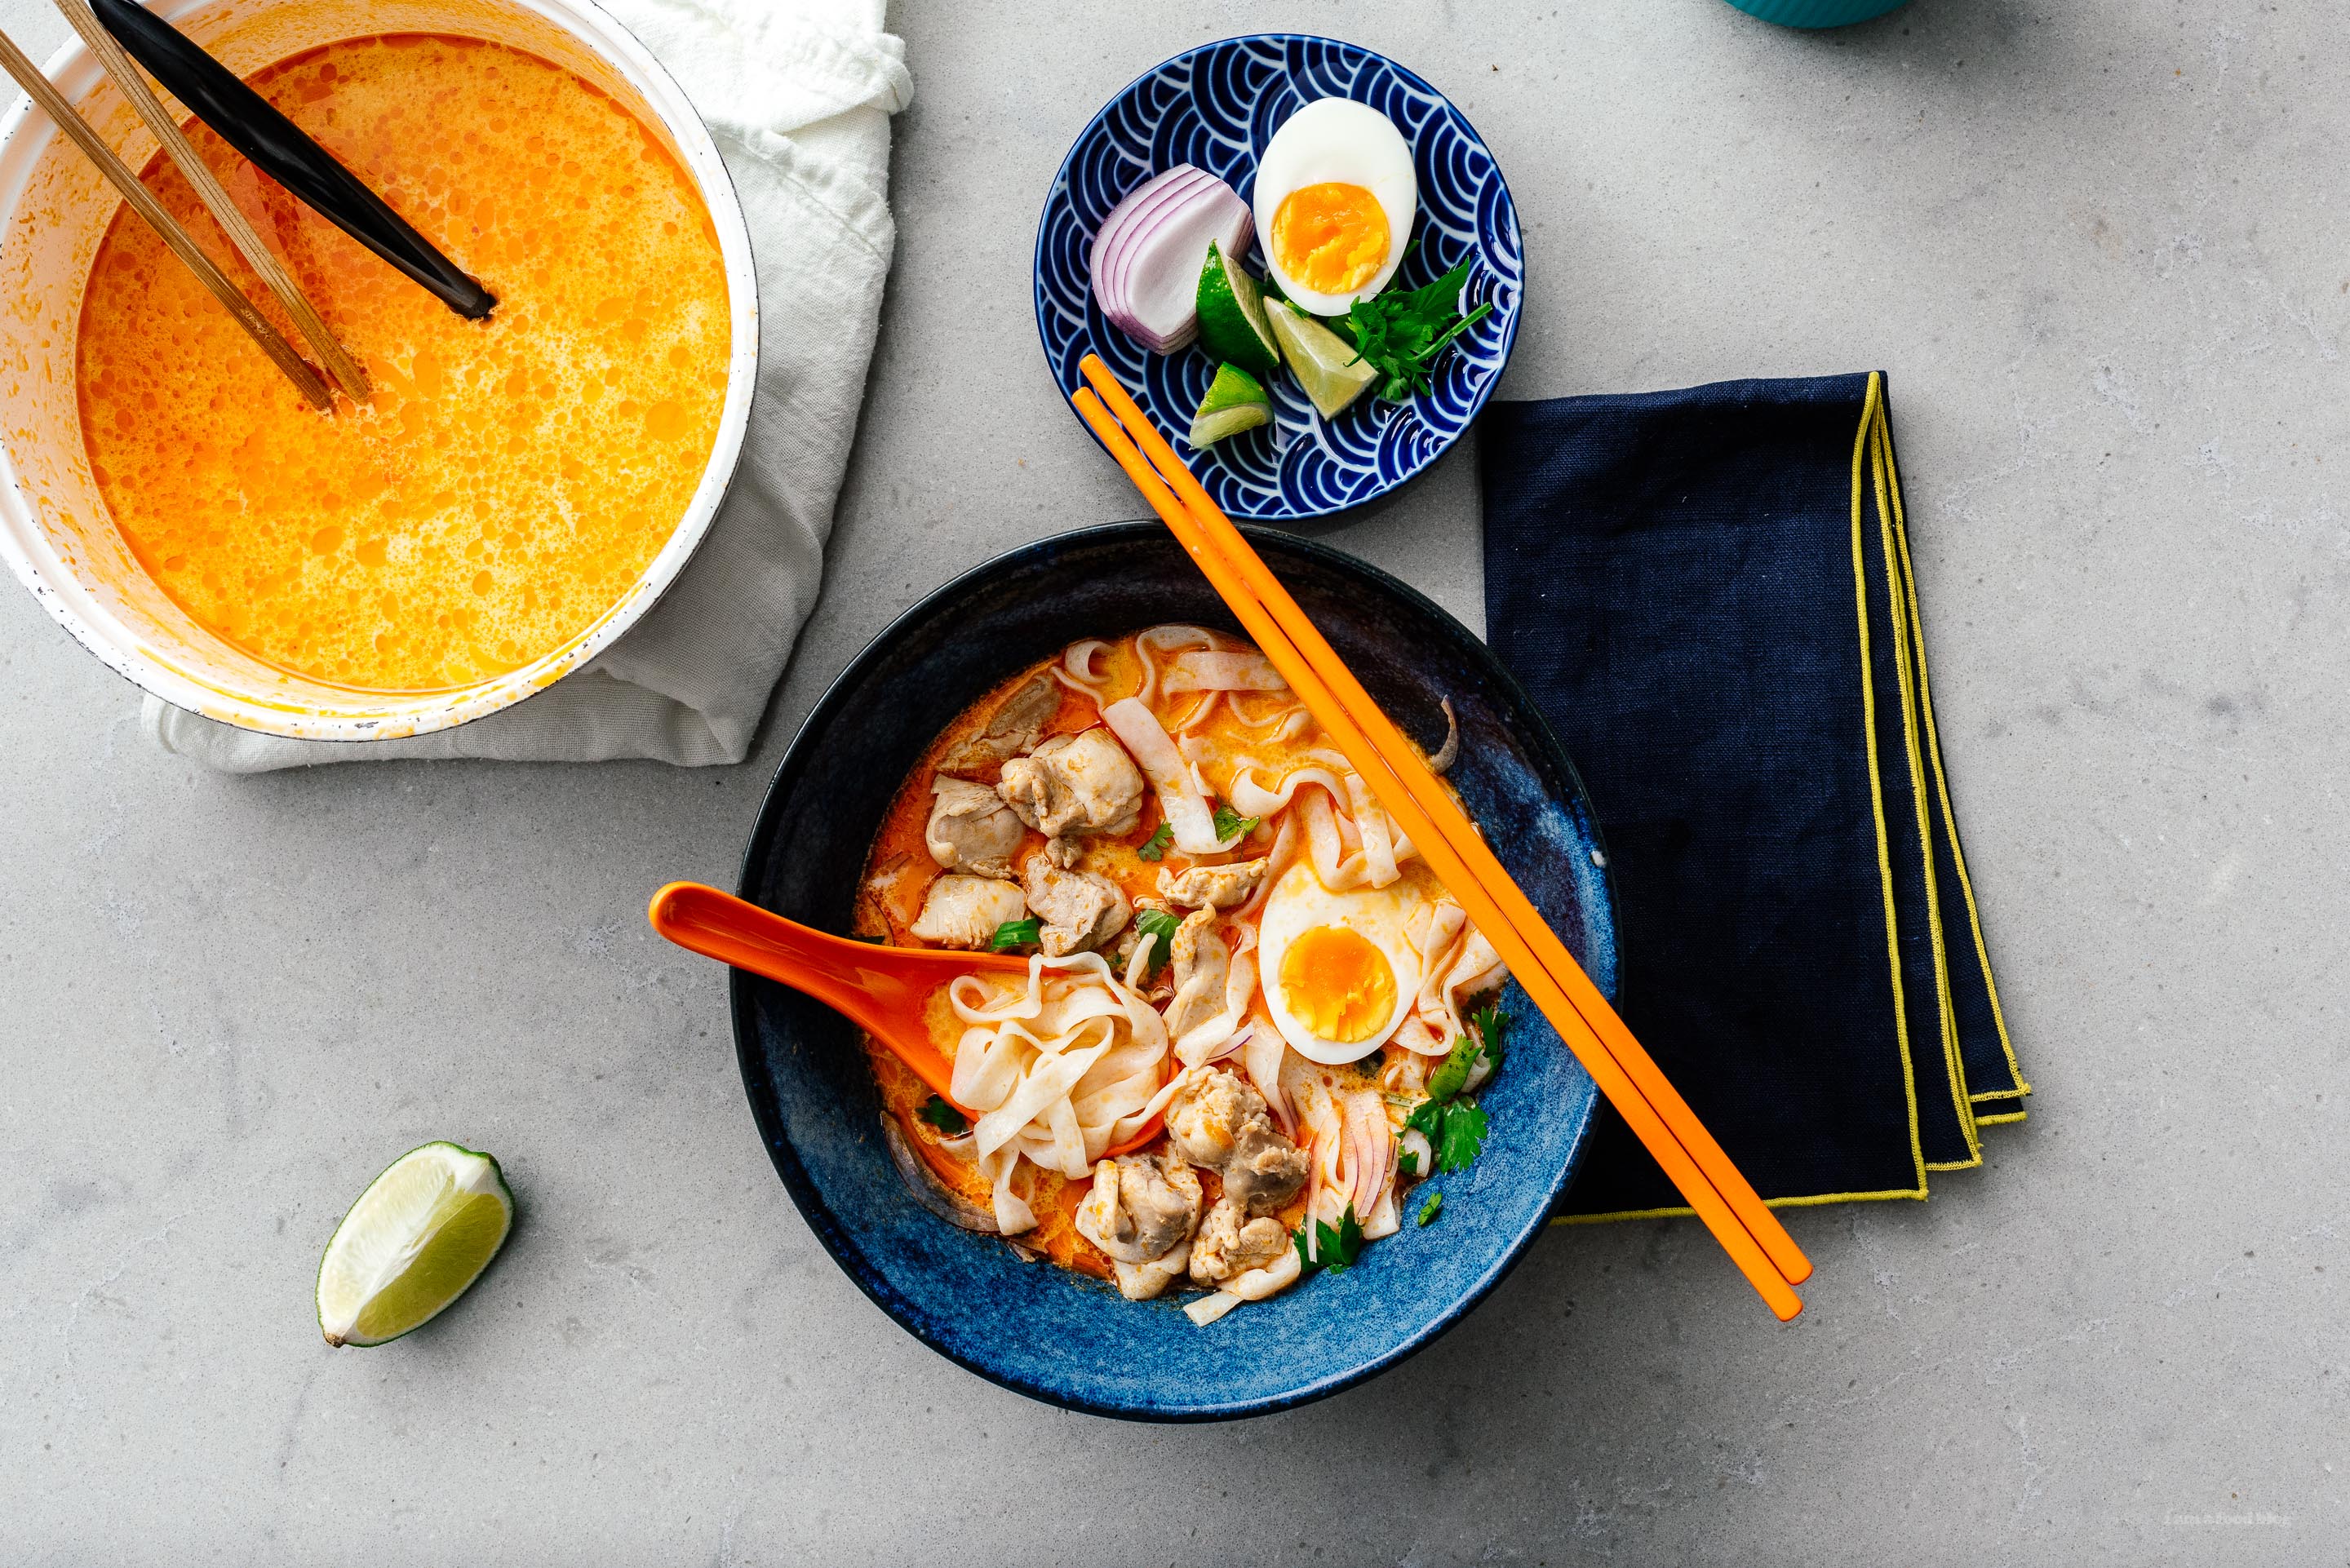
I Am... Low Carb Keto-Friendly Thai Red Curry Noodle Soup
Now that the weather is starting to turn just the tiniest bit chilly, it’s time for soup! There’s nothing quite like a cozy bowl of soup to warm you up from the cold, especially if there are noodles in it.
Read More →
I Am... 6 of The Best Things to Eat in Montreal Right Now
Mike and I are in Montreal right now eating our hearts out. We’ve only ever been here once before and the last time, all of the food was amazing. There are some spots we are definitely going back to and some new spots that we’re planning to hit up. If you’re looking for somewhere new to visit that’s beautiful and full of good food, Montreal is the place to be. Here are our six things you absolutely can’t miss!
Read More →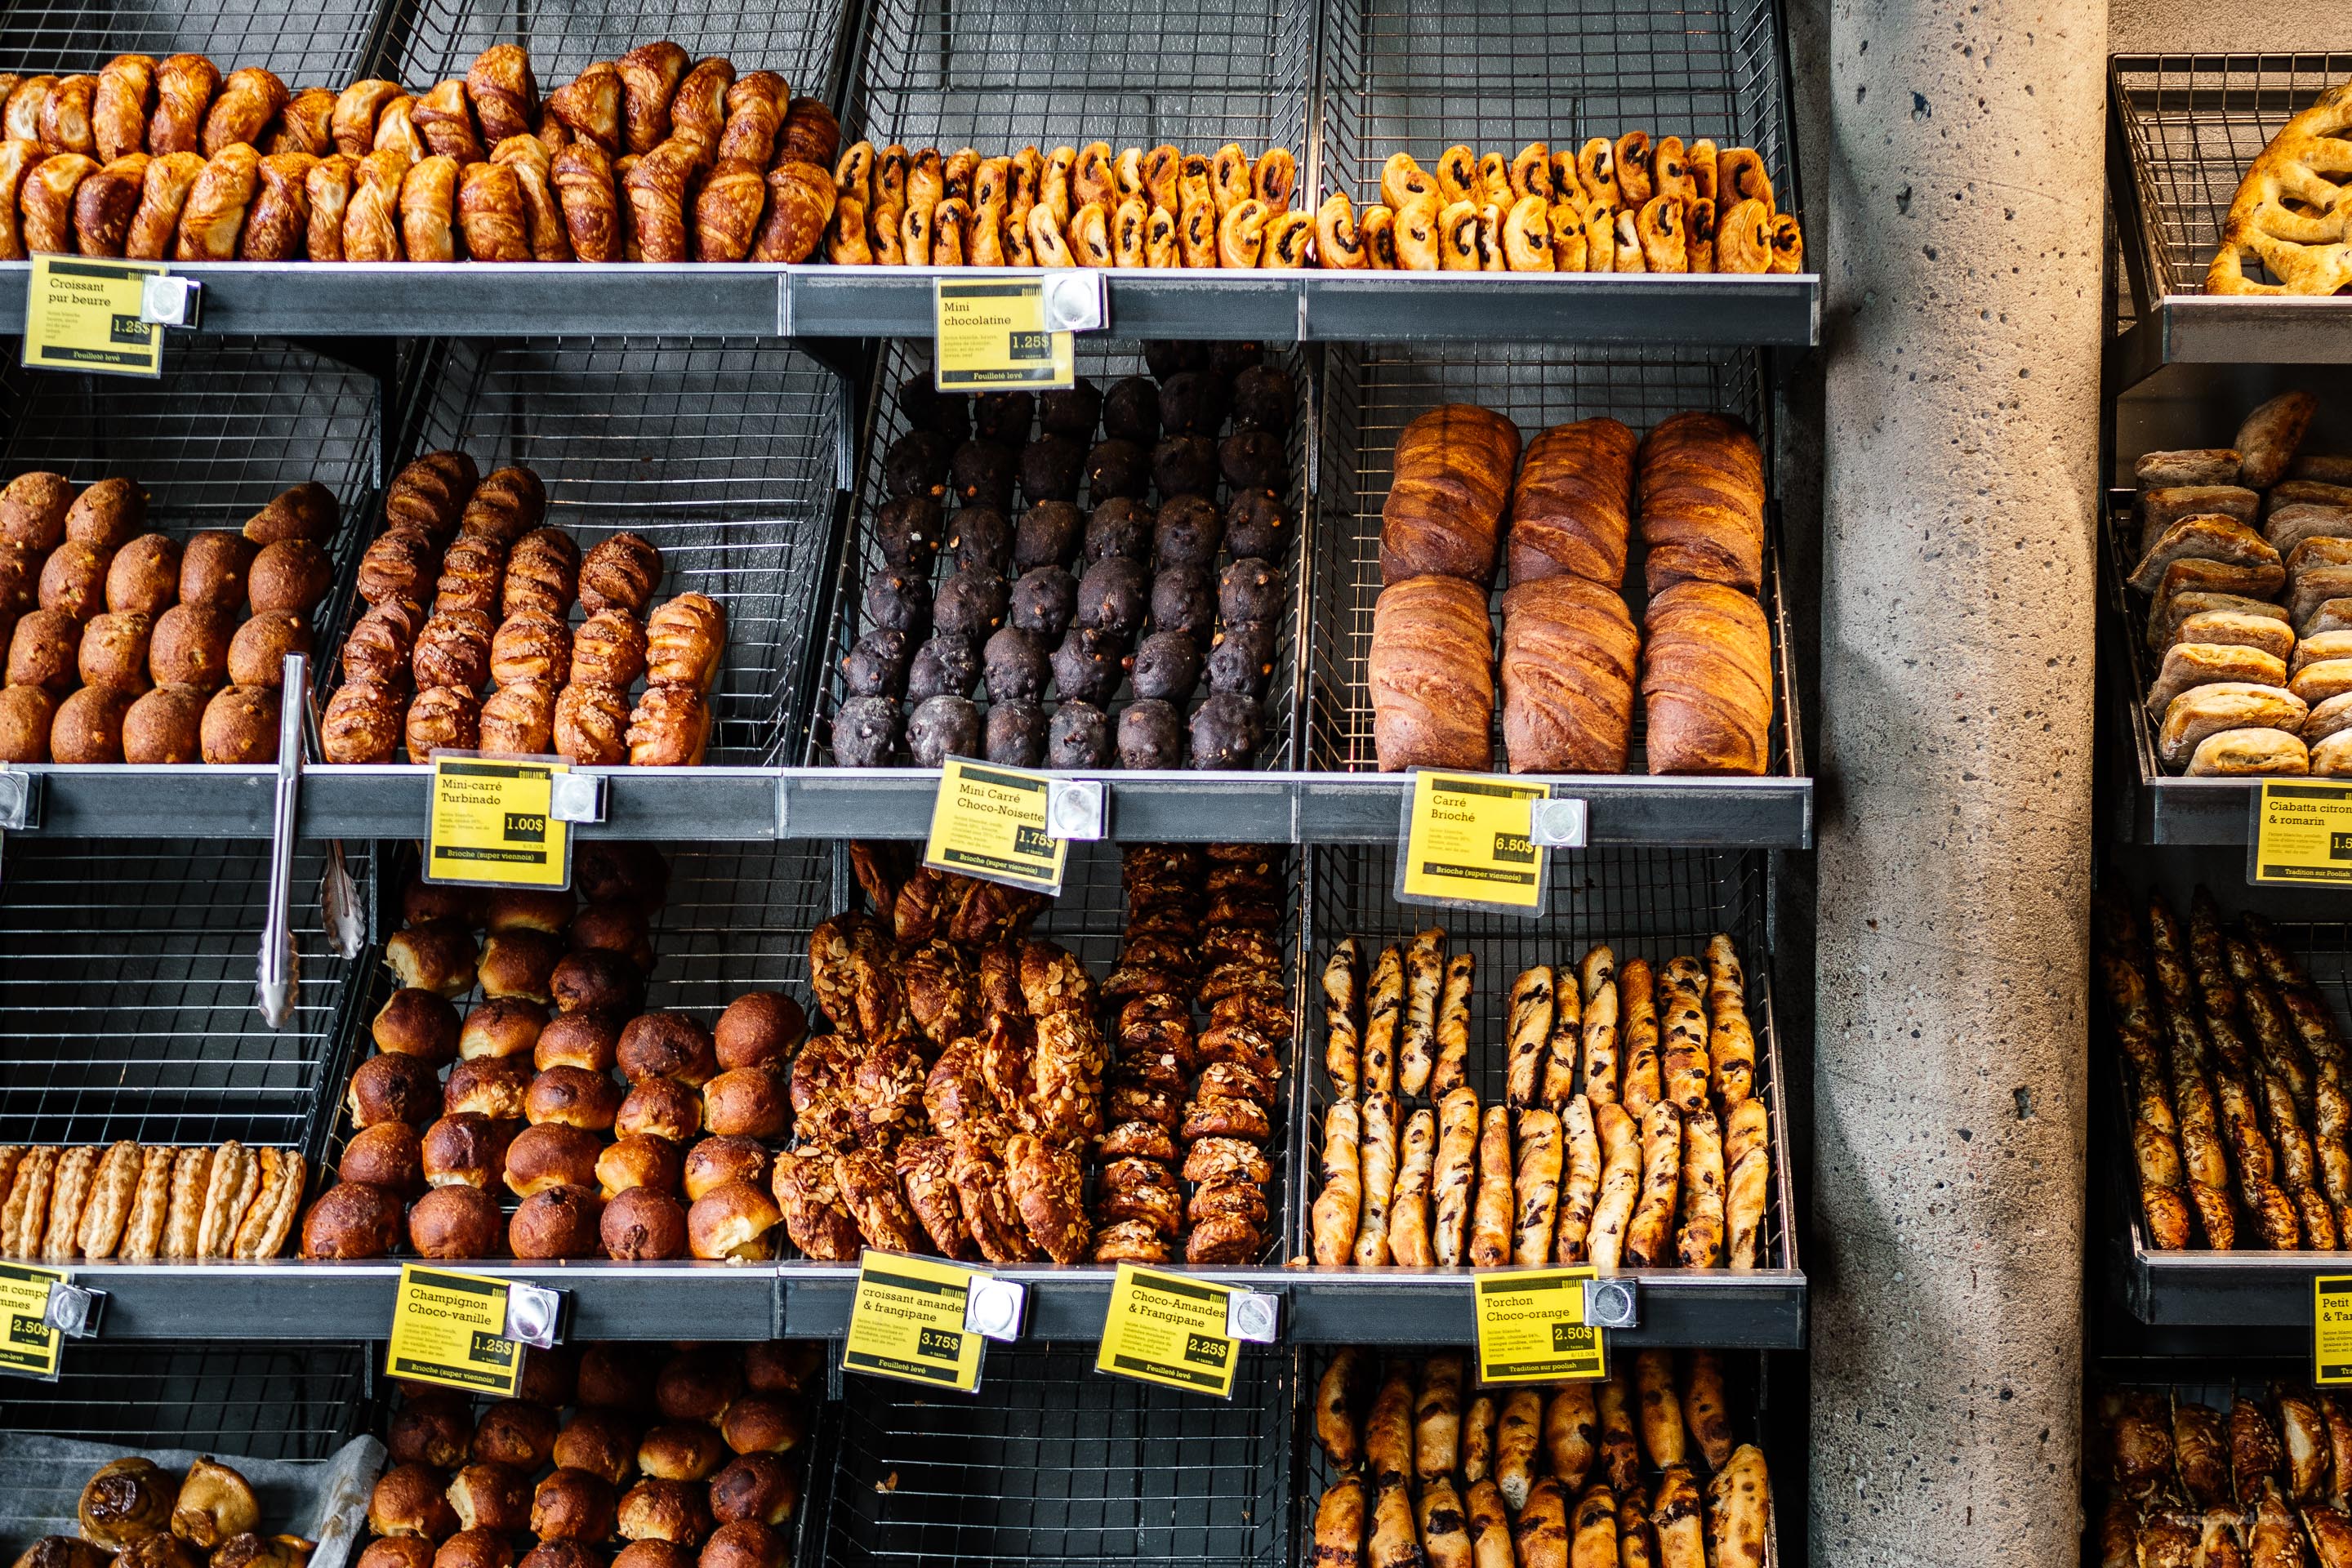
I Am... Friday Finds: 9.20.19
Happy Friday! How is it the third week of September already?! Is it me, or does time pass by more quickly the older you get? Mike and I talk about this all the time: when you’re a kid the summer seems endless. Now, it passes by in the blink of an eye. But, I’m excited anyway because it’s almost officially fall! Time for ALL the cozy things. Especially cozying up and drinking pumpkin spice lattes and spending the afternoon reading mildly interesting things on the internet.
Read More →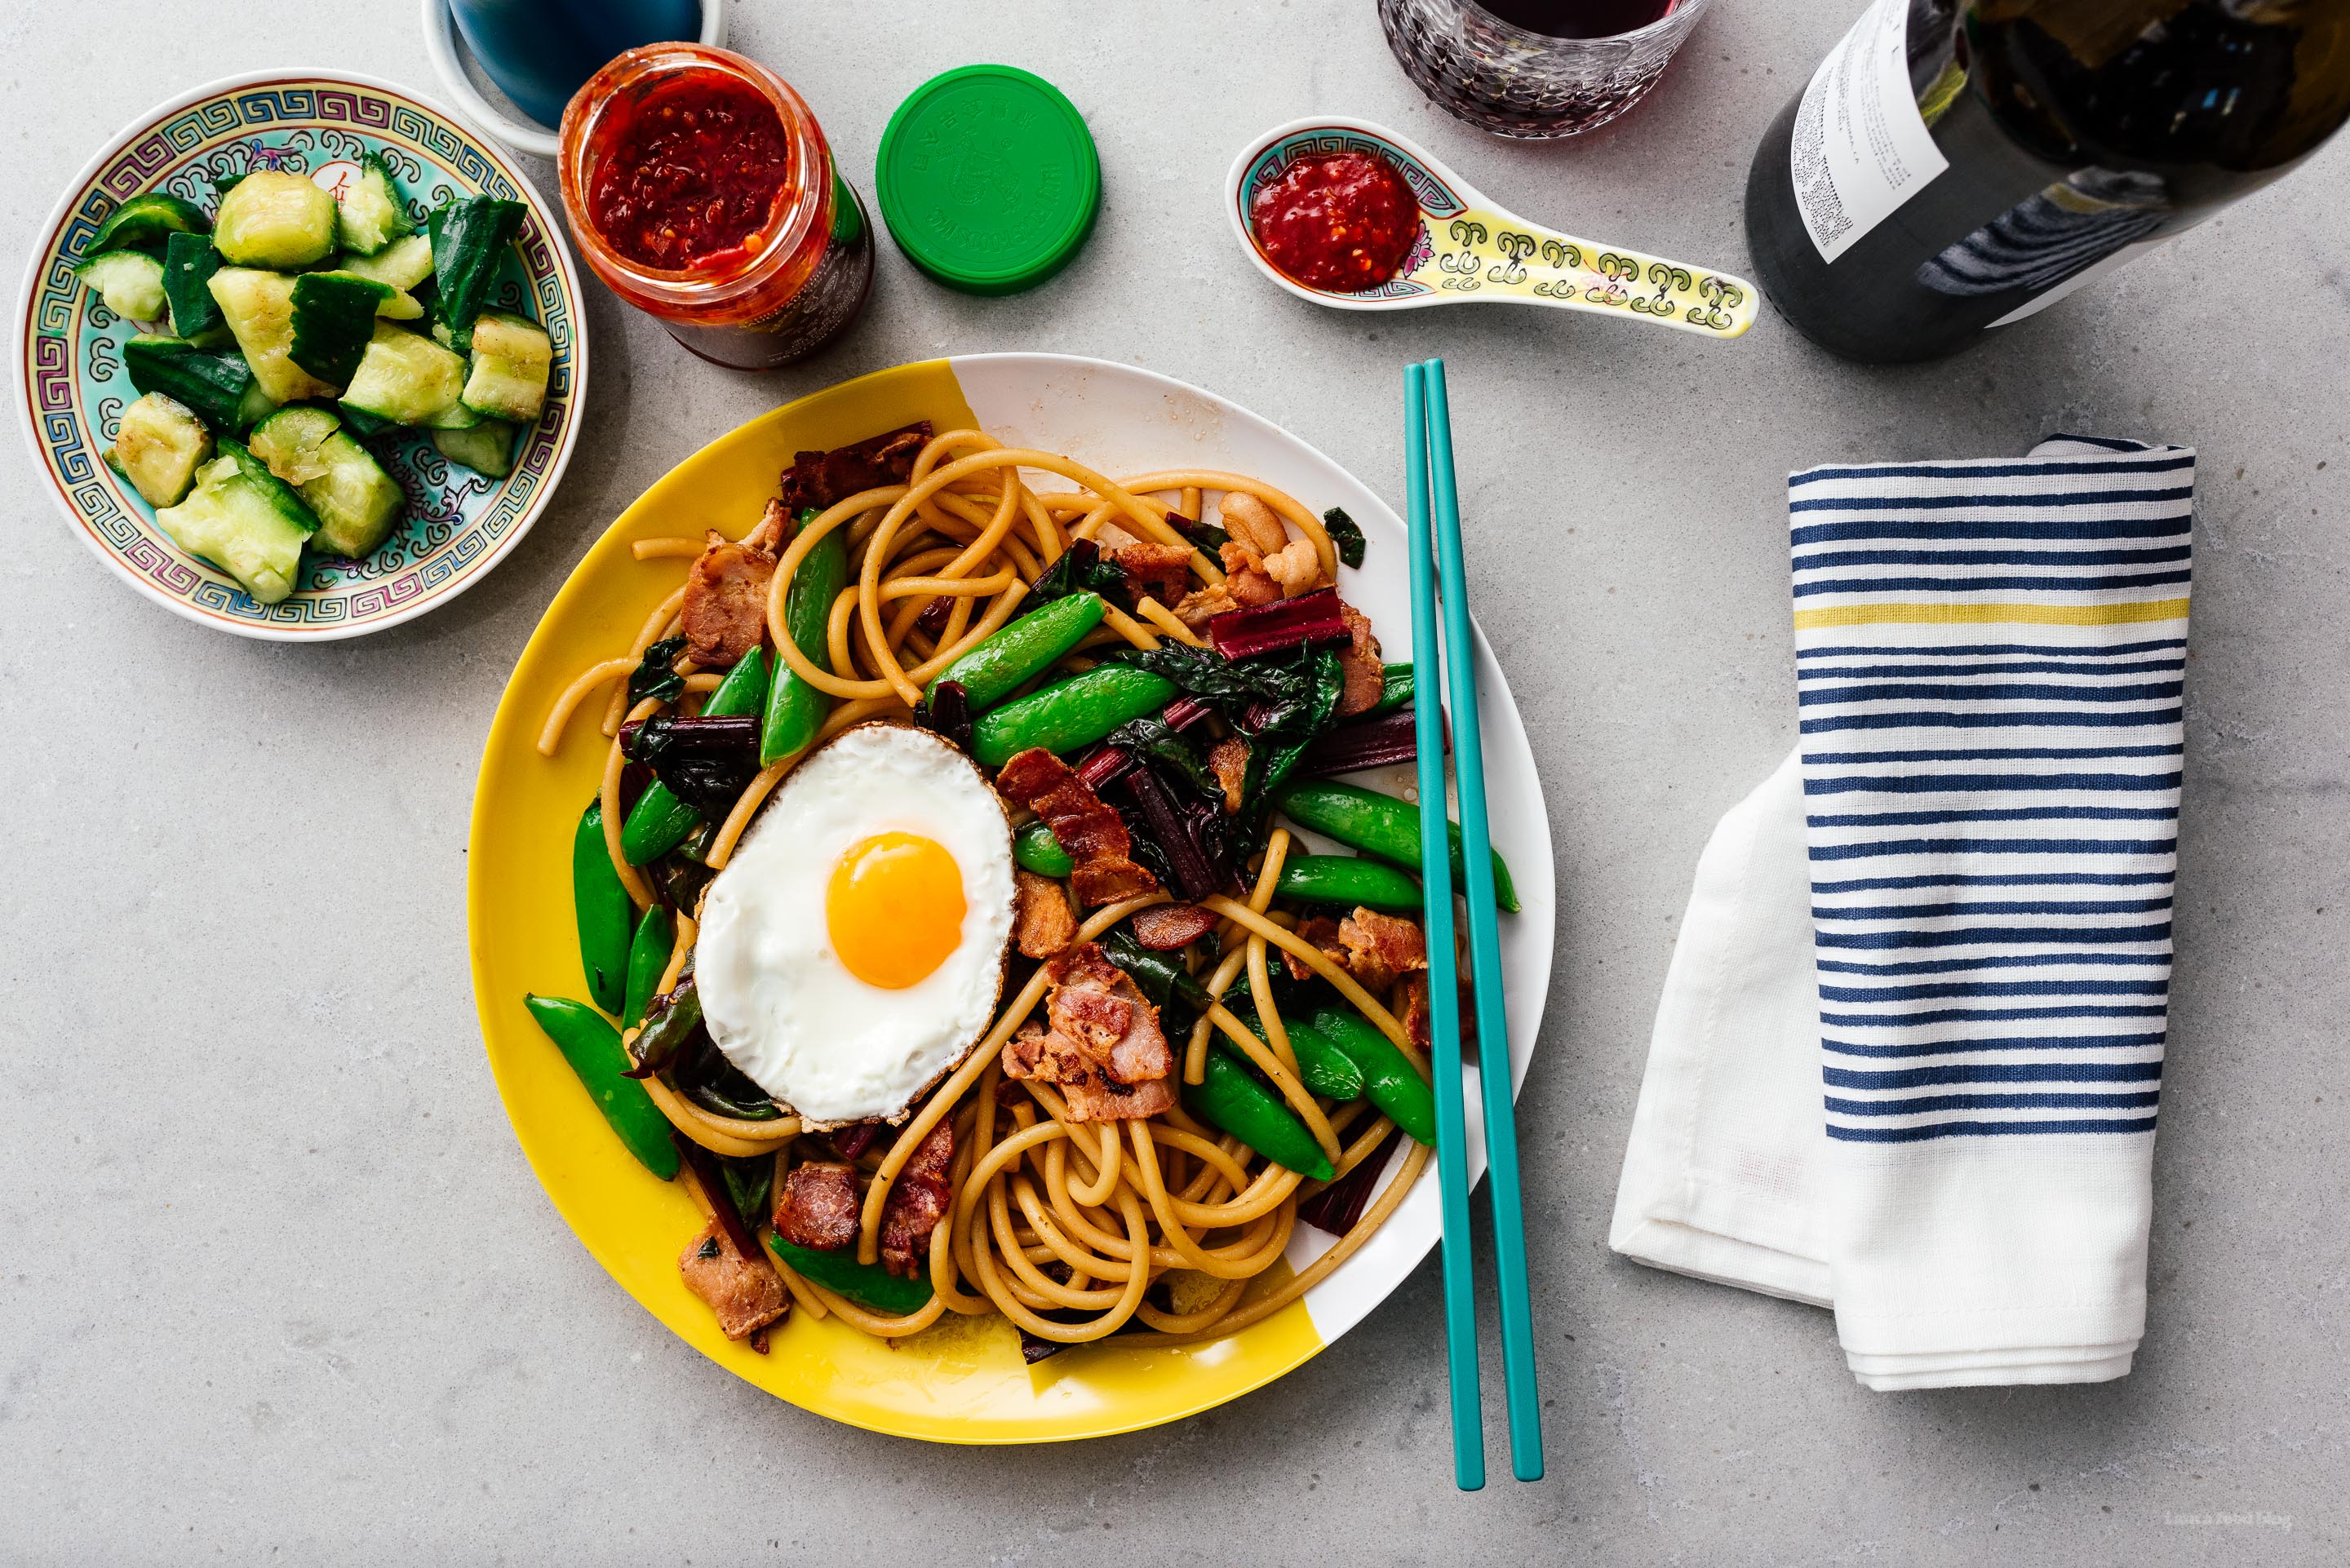
I Am... Easy Weeknight Bacon and Egg Stir Fry Lo Mein
If I were someone who could eat everything without consequence, I would definitely be living my best life. A lot of the times, the in-depth serious conversations Mike and I have are about food. Like, what would you eat if you could only eat one thing for the rest of your life? Mike always has well thought out answers, but I’m always waffling between 30 different choices, then I get extra confused because I start thinking about waffles and how many types of different waffle variations there are out there and basically it’s an endless loop of food obsessive thoughts.
Read More →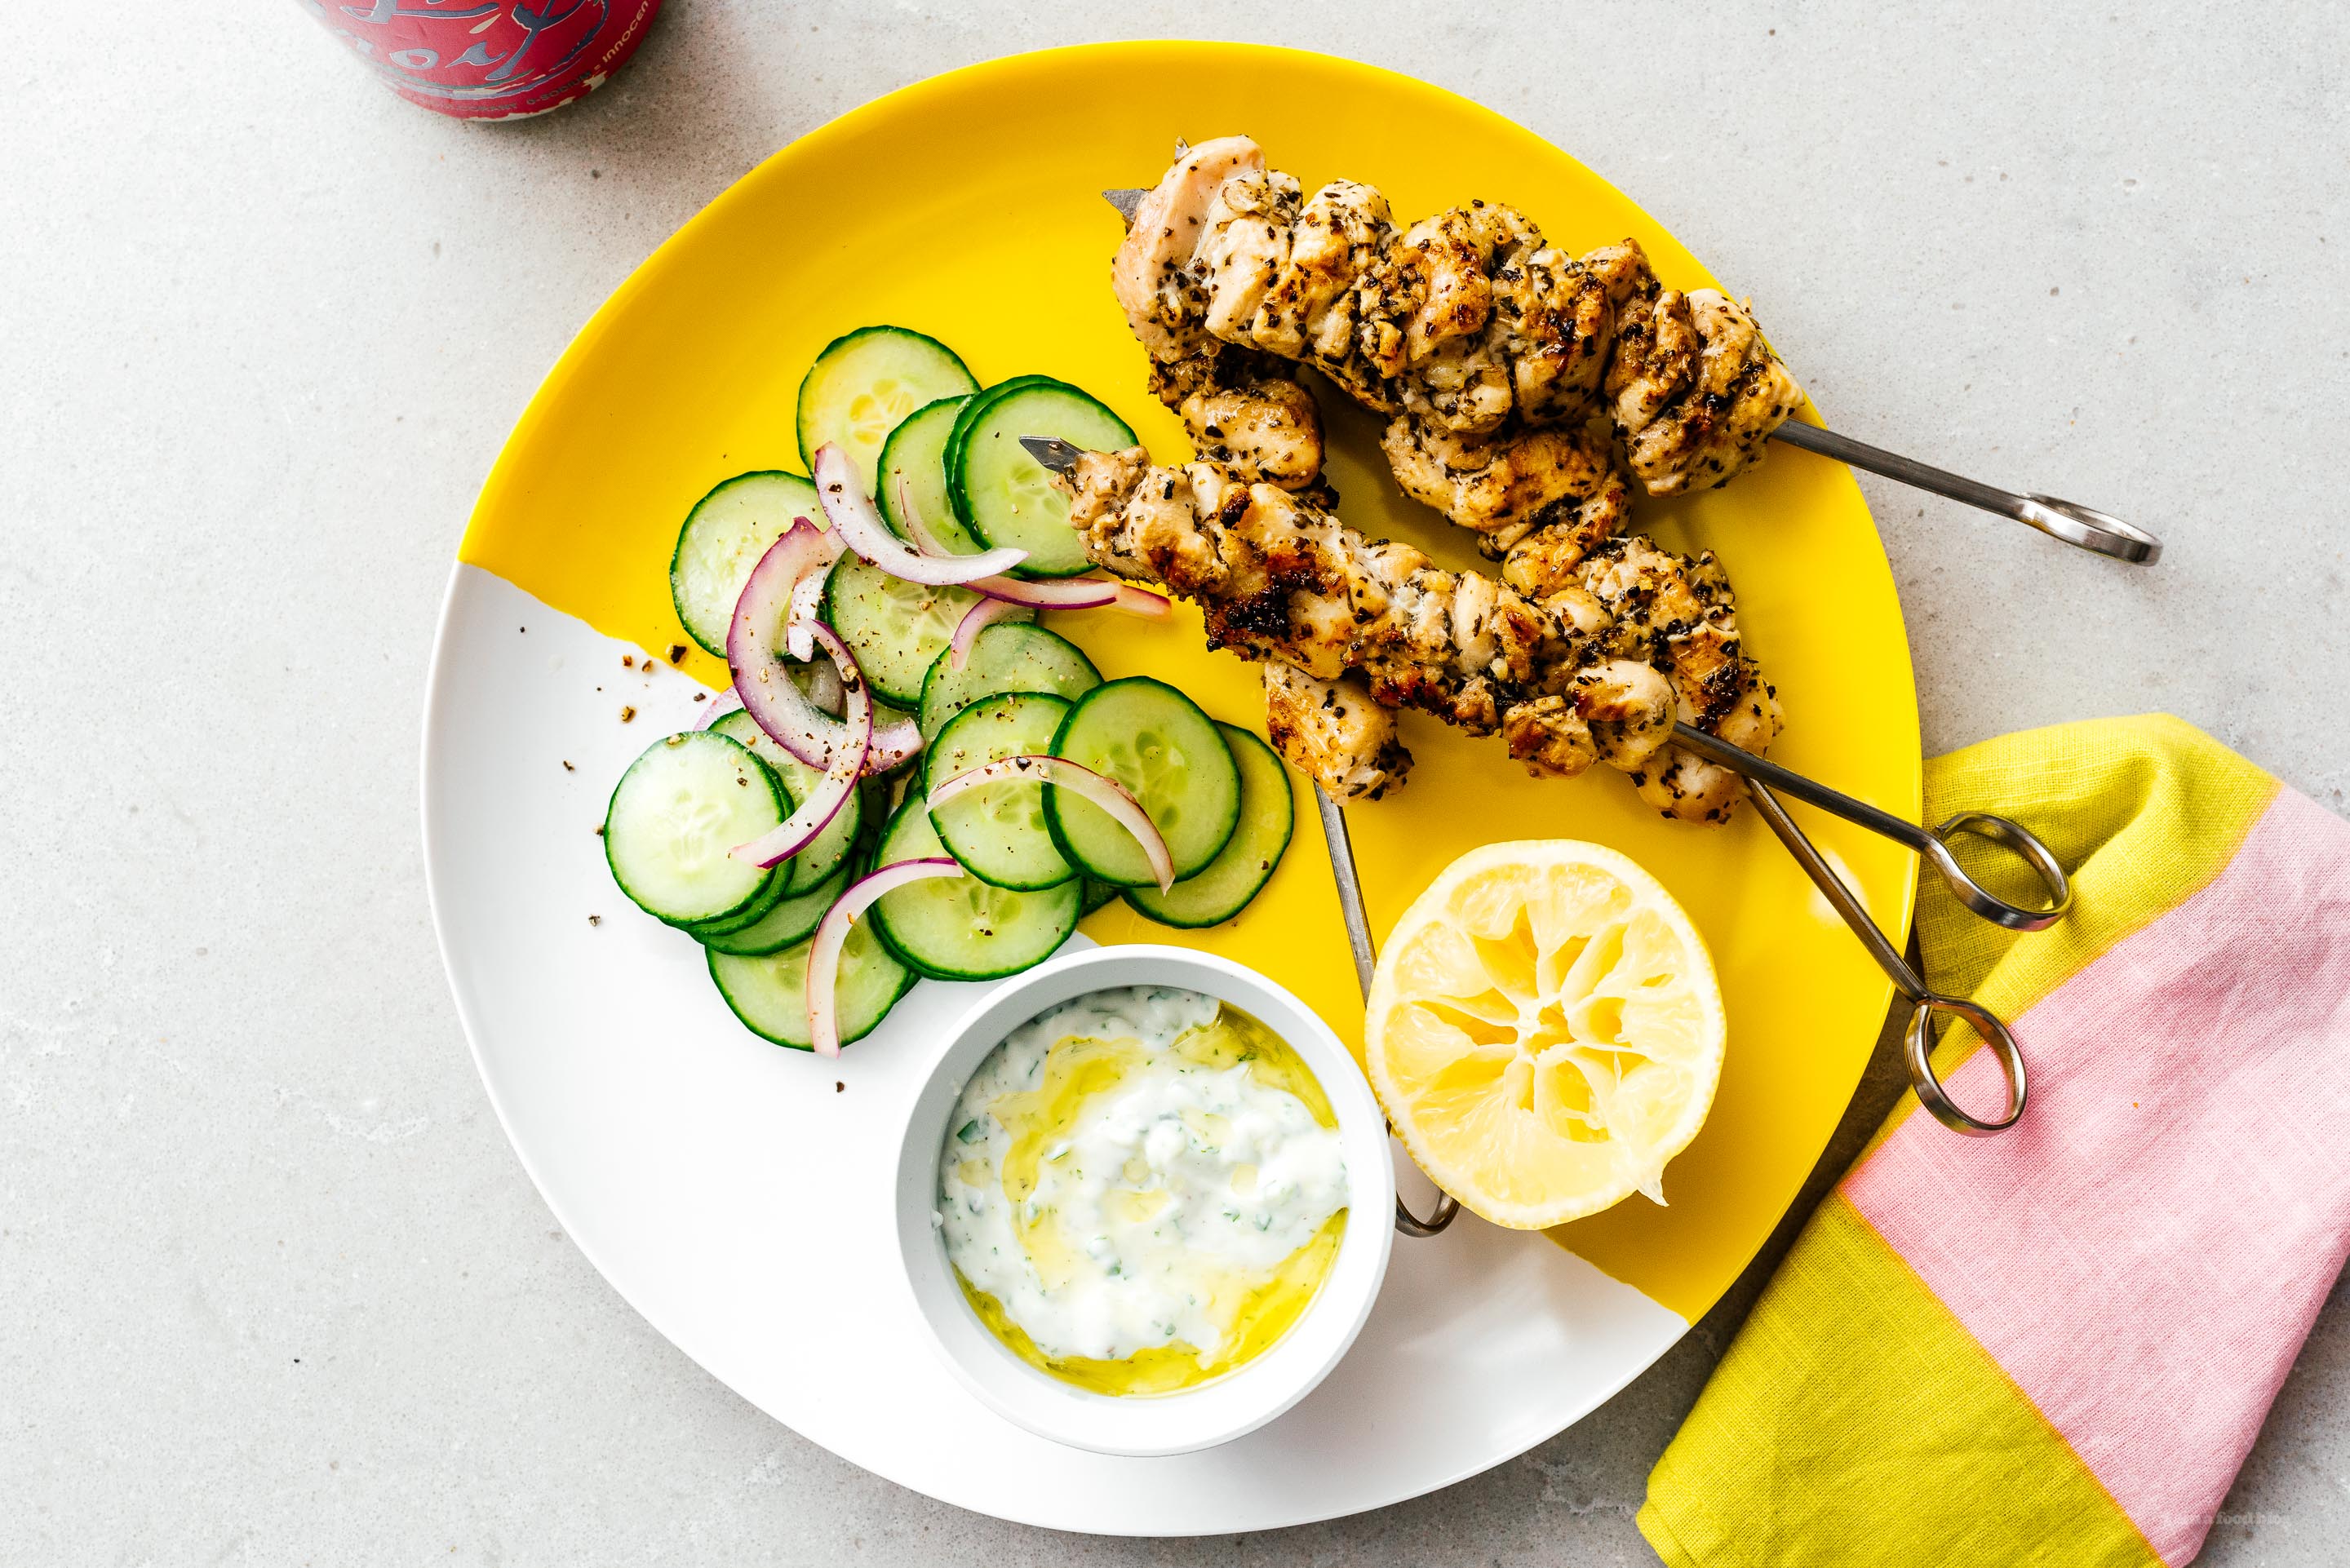
I Am... 7 Low Carb Keto Friendly Recipes for Your Next Tailgate Party
It’s tailgating season! Which means tailgating parties, which means SNACKS! Although, who am I really kidding? I have no idea what the heck tailgating season is. I know it has something to do with football and the fall and I absolutely love fall and I’m in deep with snacks, so I’m all for the tailgating. Really, what I end up doing is just making a bunch of snacks and calling it a tailgate even if there’s no sports involved. Sacrilegious I know, but how could anyone be upset if there are snacks involved?
Read More →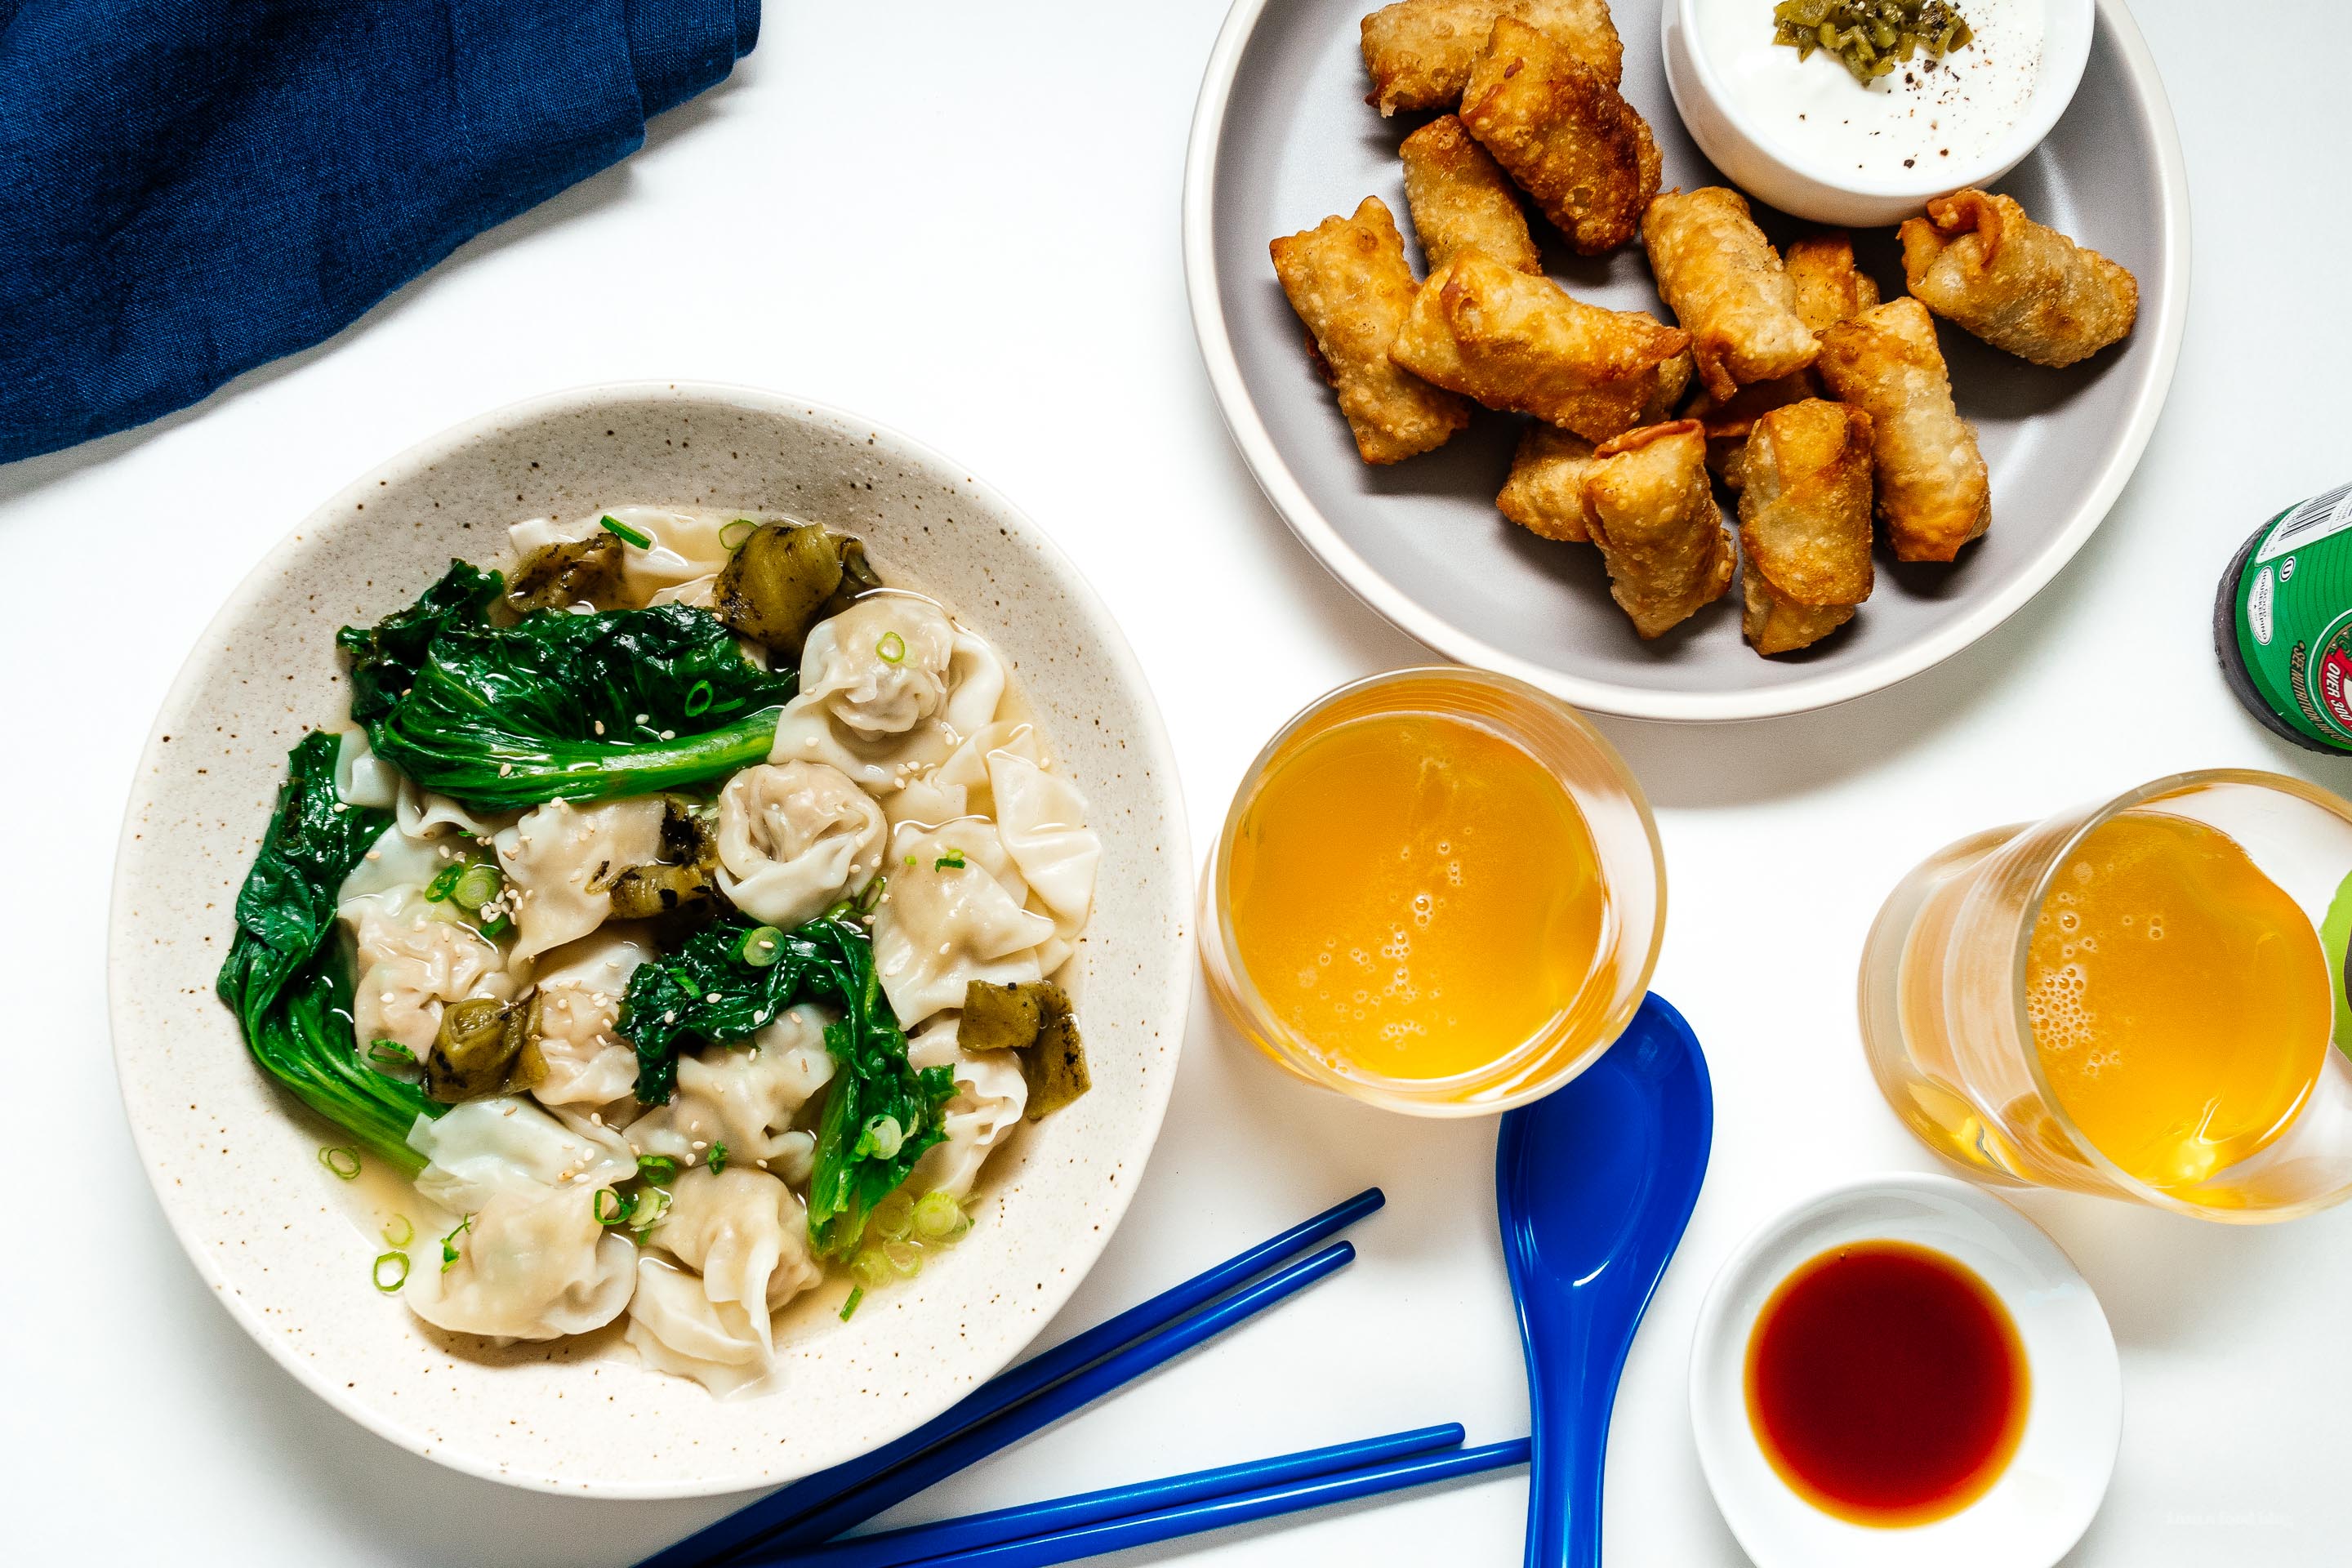
I Am... Hatch Green Chile Wonton Two Ways
This is the last of our Hatch green posts for this year, not because we’ve eaten all of our Hatch, but just because maybe kind of there’s too much green chile on the blog?! Anyway, when we were driving through New Mexico a couple of months ago, Mike kept seeing places that had green chile chicken wonton. We didn’t stop into any of those places, but ever since then, green chile wonton have been on my mind.
Read More →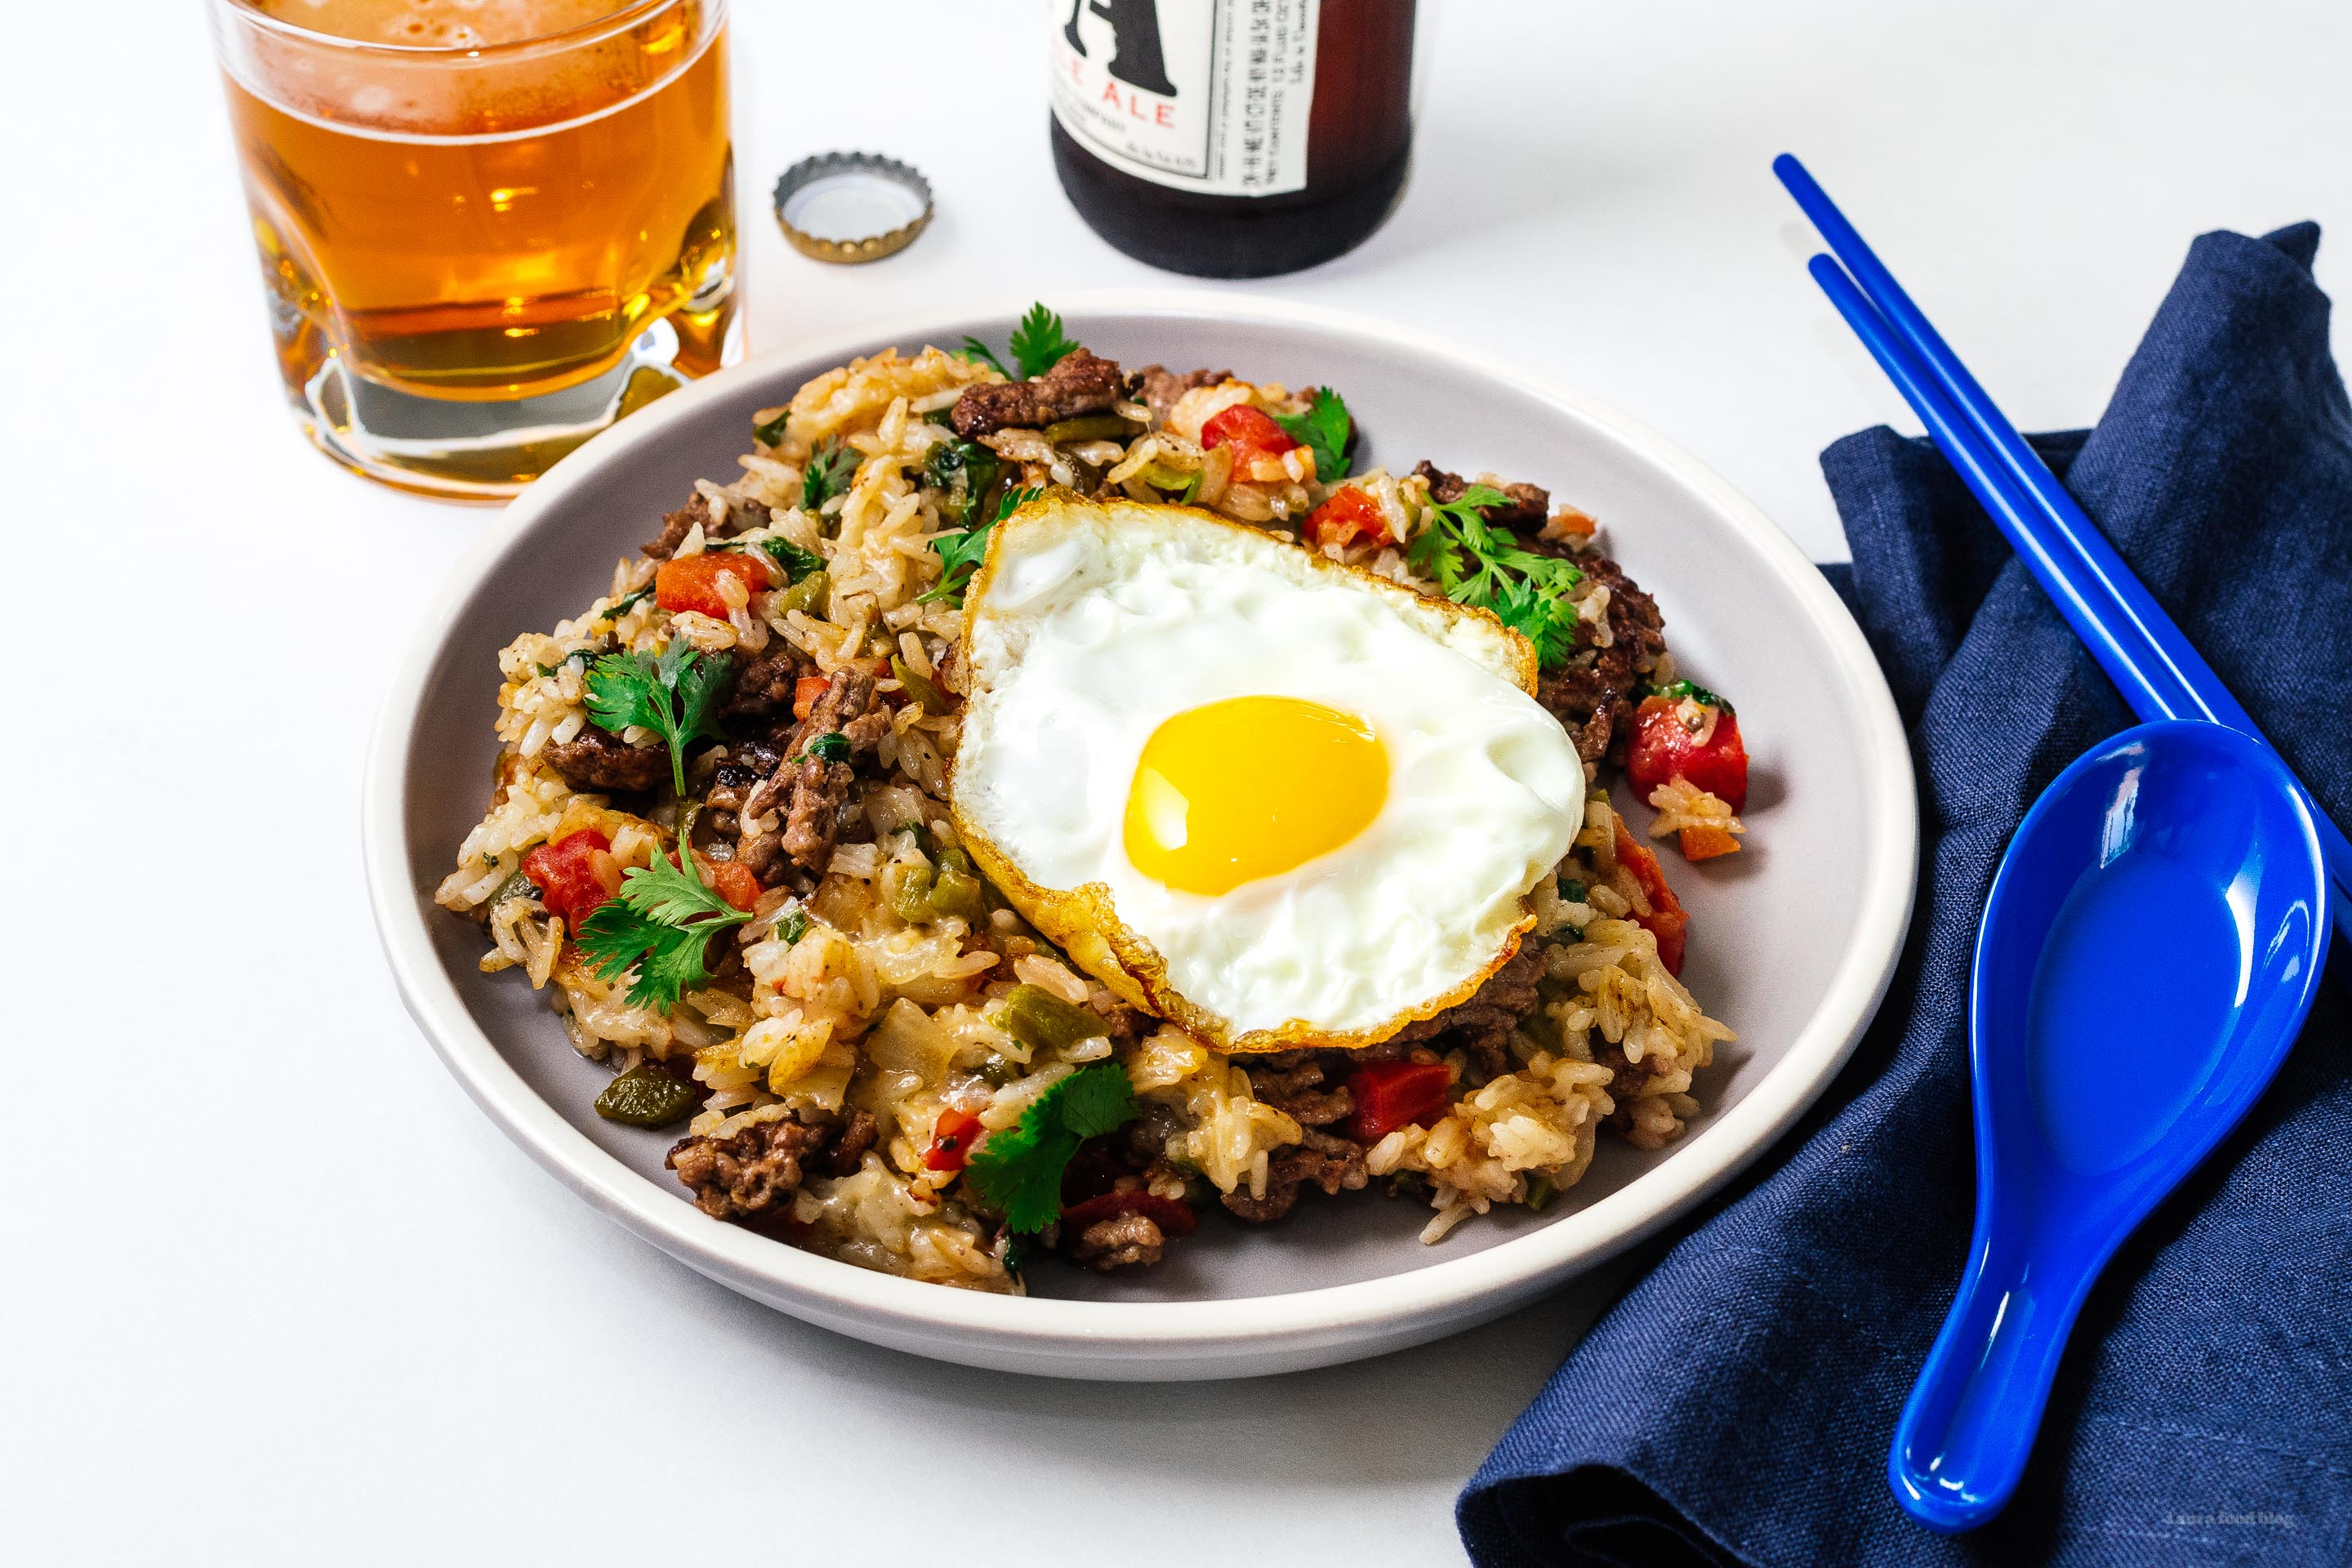
I Am... Hatch Green Chile Cheeseburger Fried Rice
Ever since we bought a 25 pound box of green chile, we’ve been eating green chile everything. Well, let me be a little more honest...Mike’s been eating green chile everything and I’ve just been regretting the fact that I decided that we should get a box of hot instead of a box of mild. Let me tell you, hot hatch chile are are forking hot.
Read More →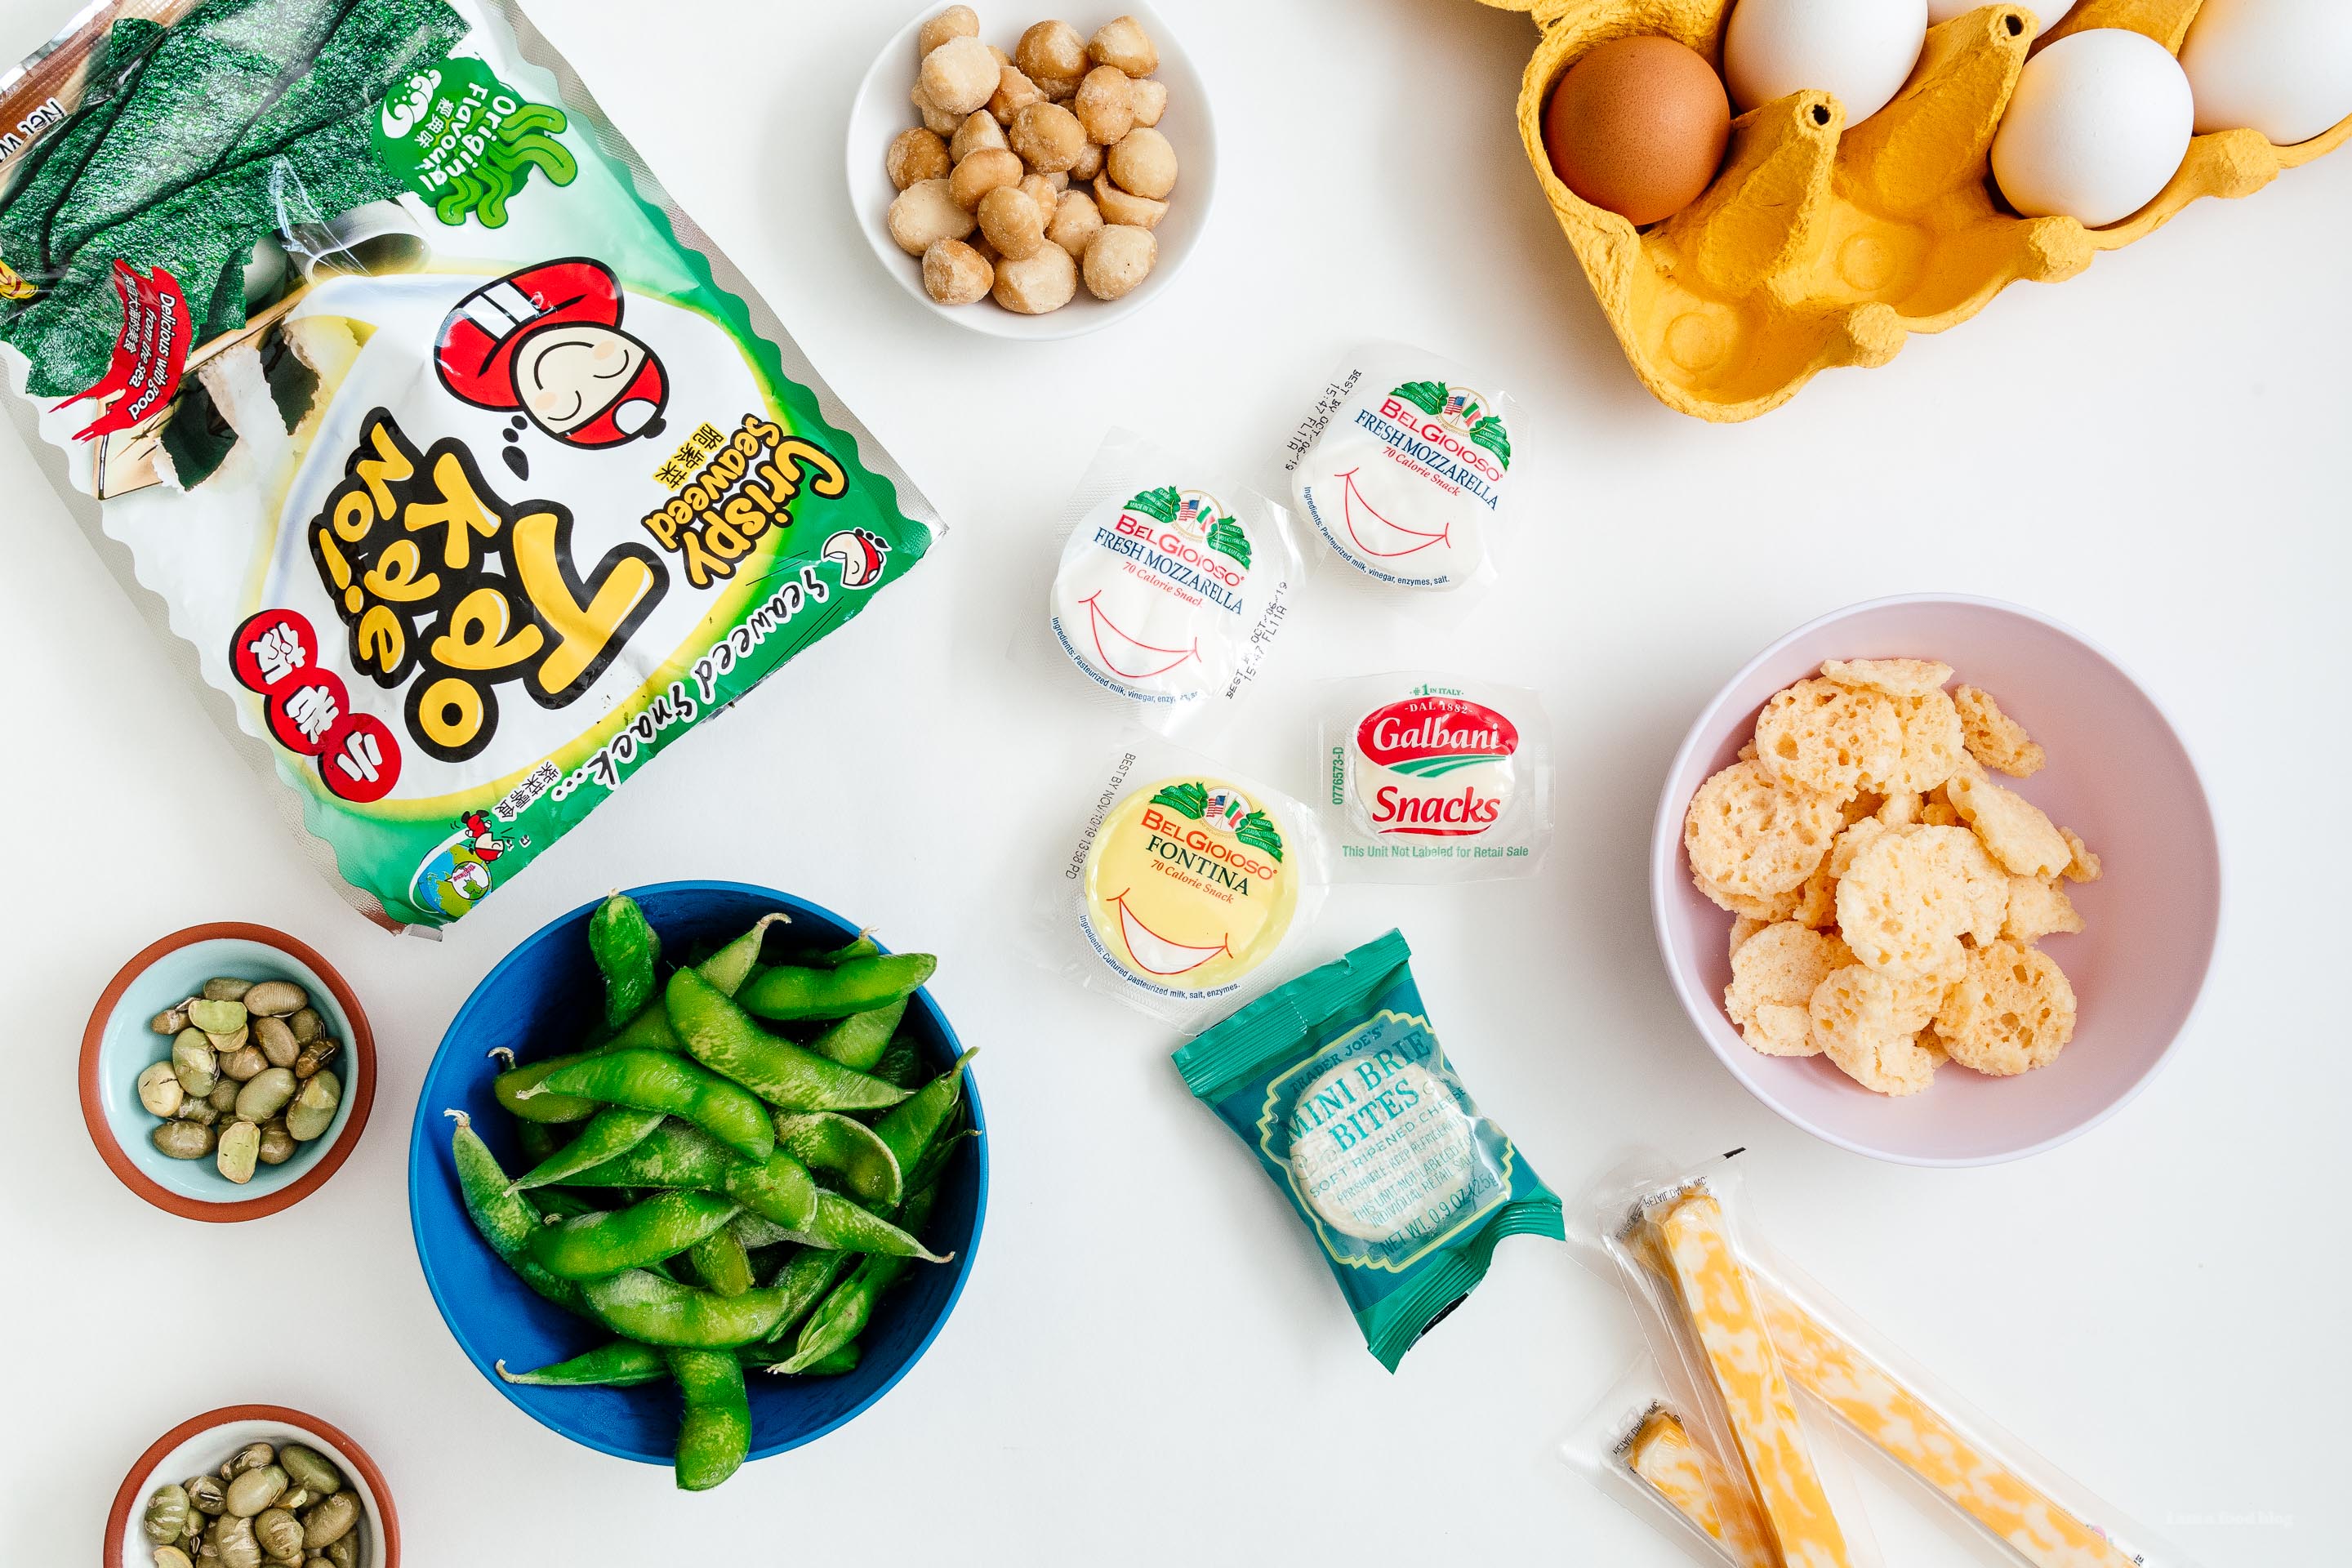
I Am... 9 of the Best Low Carb Snacks and Snack Recipes
I’m a snack monster and while on keto, there aren’t really that many snacks you can have. I’m used to reaching for a bag of chips or maybe if I’m feeling particularly healthy, some fruit. Both fruit and chips are a big NO on the keto diet so I had to find myself some snacks that were low carb and keto friendly because me without snacks just isn’t me at all.
Read More →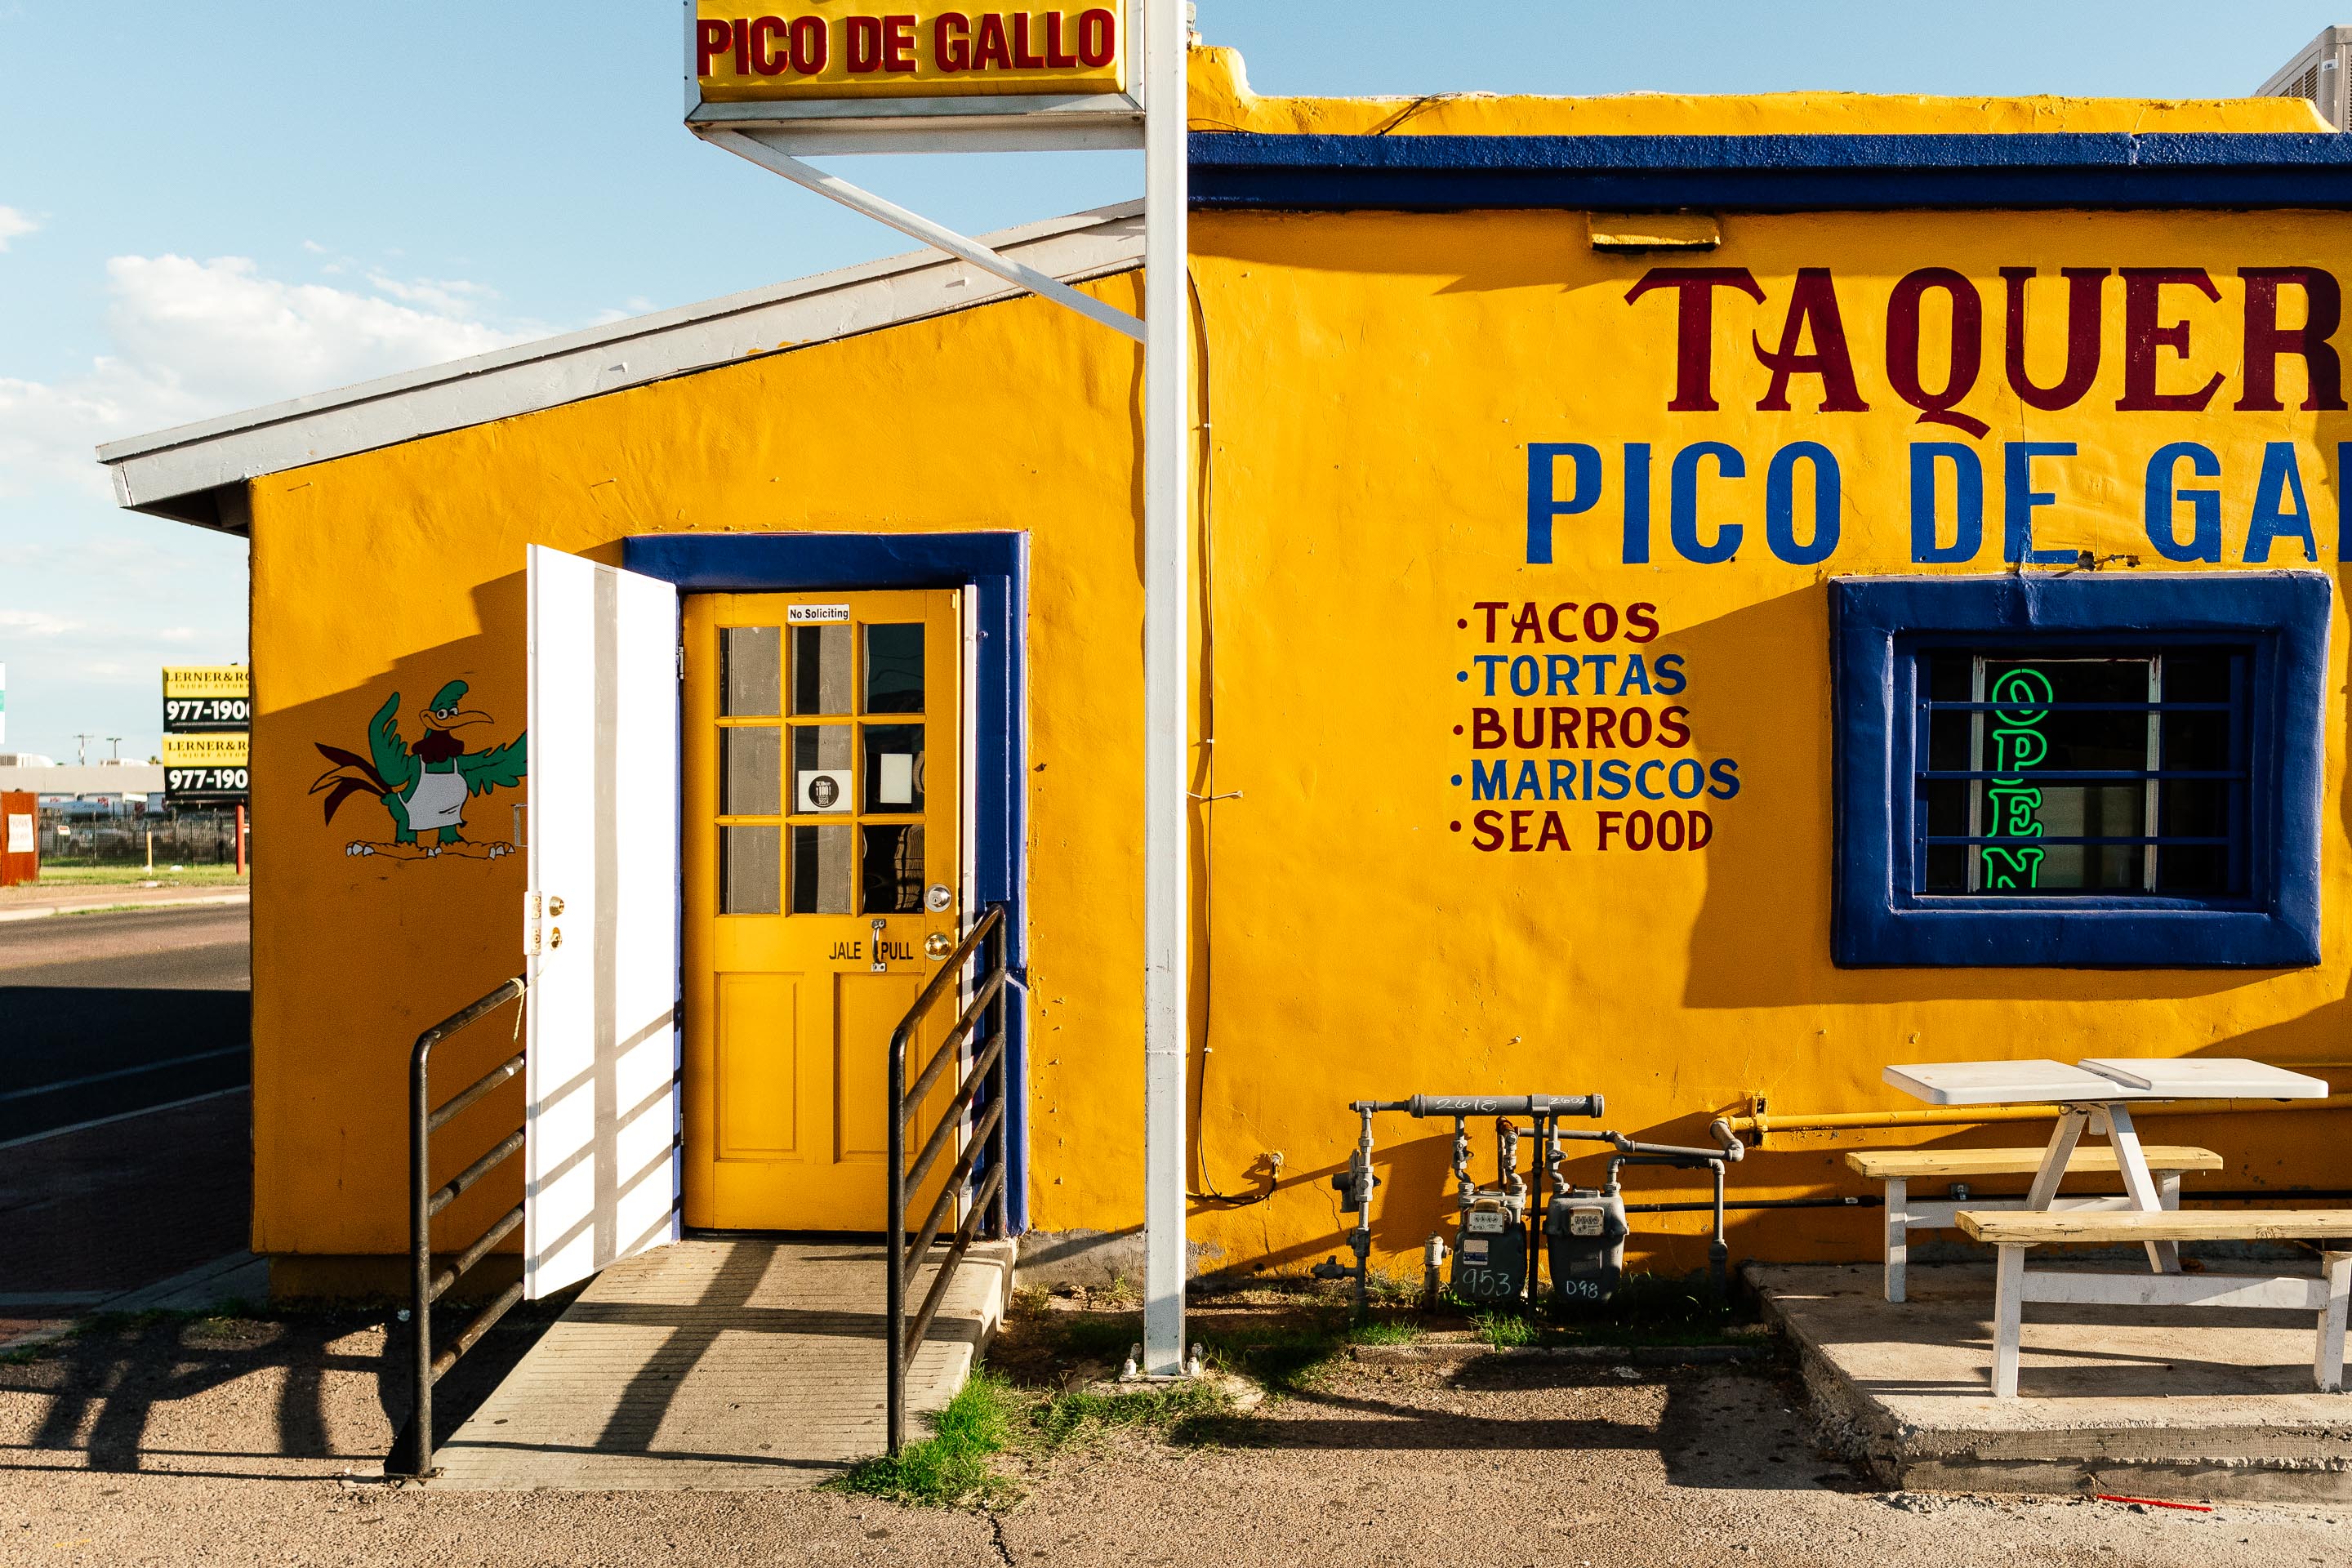
I Am... Friday Finds: 9.6.19
It’s the first Friday in September and as much as I’m hanging on to the last days of summer I’m all for fall because I’m basic and September is my birthday month and I’m a fall baby even though technically I’m a late summer baby. Give me ALL THE FALL THINGS please. The other day Mike and I were at Target and I picked up a tiny little felt pumpkin and all felt right with the world. I can’t wait until the air starts getting crispy and I can have pumpkin spice lattes without feeling funny that I’m still wearing shorts.
Read More →
Latest Comment
“Sending you love on your journey with chemo!”Beth on Tiktok Hot Honey Cottage Cheese Sweet Potato Beef BowlPopular
 2015 Holiday Giveaway
  One-Pot Lemon Scallop Pea Spaghetti
  Beer Battered Onion Rings, Jalapeno Aioli
  2014 Holiday Gift Guide and a Giveaway
 Easy Gourmet Hot Wings and a Giveaway!
  The Ultimate Veggie Sandwich
  Vegan(!) Creamy Corn Soup Recipe
  Sunday Brunch: Grilled Cheese Eggs Benny
